Basement water damage can ruin even the sturdiest british homes, especially in regions like Gauteng and Western Cape where unpredictable weather often exposes hidden leaks. Ignoring early warning signs can quickly turn a simple damp patch into repairs costing thousands. Protecting your property means understanding what makes your basement vulnerable and learning proven waterproofing strategies used by leading experts. This guide offers practical steps to help you prevent moisture problems and keep your home dry and secure all year round.
Table of Contents
- Step 1: Inspect Basement Walls And Flooring For Moisture
- Step 2: Identify And Repair External Drainage Issues
- Step 3: Apply Appropriate Waterproofing Solutions
- Step 4: Seal Potential Entry Points For Water Ingress
- Step 5: Test Results And Monitor For Recurring Damp
Quick Overview
| Significant Insight | Detailed Explanation |
|---|---|
| 1. Inspect for moisture | Perform a thorough inspection of basement walls and floors for signs of moisture such as stains or damp spots. |
| 2. Address drainage issues | Ensure that the ground slopes away from the foundation, and check that gutters and downspouts direct water away effectively. |
| 3. Apply waterproofing methods | Use a mix of interior and exterior waterproofing solutions to create a strong barrier against moisture penetration. |
| 4. Seal potential entry points | Identify and seal cracks, pipe penetrations, and joints to prevent water ingress into the basement. |
| 5. Establish a monitoring routine | Conduct regular moisture inspections at least twice a year to detect and address any new moisture issues early. |
Step 1: Inspect basement walls and flooring for moisture
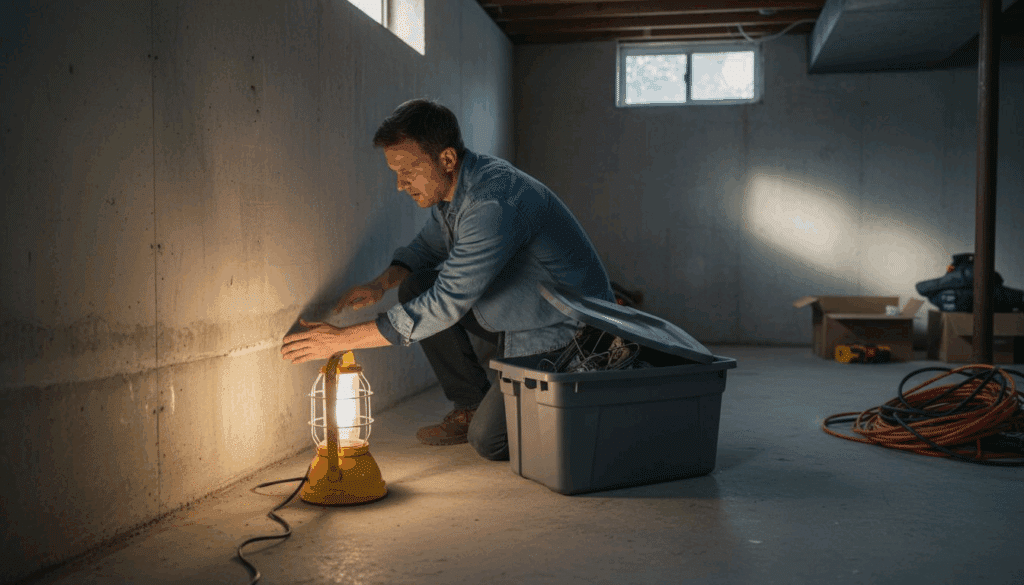
Preventing basement water damage starts with a thorough moisture inspection that catches potential problems before they become costly repairs. Your goal is to systematically examine every surface for signs of water intrusion or potential vulnerabilities.
Begin your inspection by carefully checking concrete walls and floors for telltale moisture indicators. Look for water stains, damp spots, efflorescence (white powdery residue), or dark patches that suggest ongoing moisture problems. Pay special attention to areas near floor joints, wall corners, and around any basement windows. Detailed moisture assessment methods recommend using a moisture metre for precise measurements, which can detect hidden dampness not visible to the naked eye.
Run your hands along walls and floors, feeling for cold or damp surfaces. Check for signs of mould growth, musty odours, or peeling paint, which often indicate long-term moisture issues. Use a bright torch to illuminate dark corners and inspect closely for any hairline cracks or potential water entry points. Look underneath any stored items for water rings or dampness that might be hidden from immediate view.
Here is a summary of common basement moisture indicators and their implications:
| Indicator | Typical Location | Why It Matters |
|---|---|---|
| Efflorescence | Concrete walls/floors | Shows prolonged dampness risk |
| Damp patches | Wall corners/joints | Signals active moisture issue |
| Musty odours | Near storage areas | Points to hidden mould growth |
| Peeling paint | Around windows/edges | Suggests long-term water seepage |
Top tip: Conduct your basement moisture inspection during or immediately after rainfall to identify active water infiltration points more effectively.
Step 2: Identify and repair external drainage issues
Addressing external drainage problems is crucial for protecting your basement from water damage. Your objective is to create a comprehensive drainage system that effectively redirects water away from your home’s foundation.
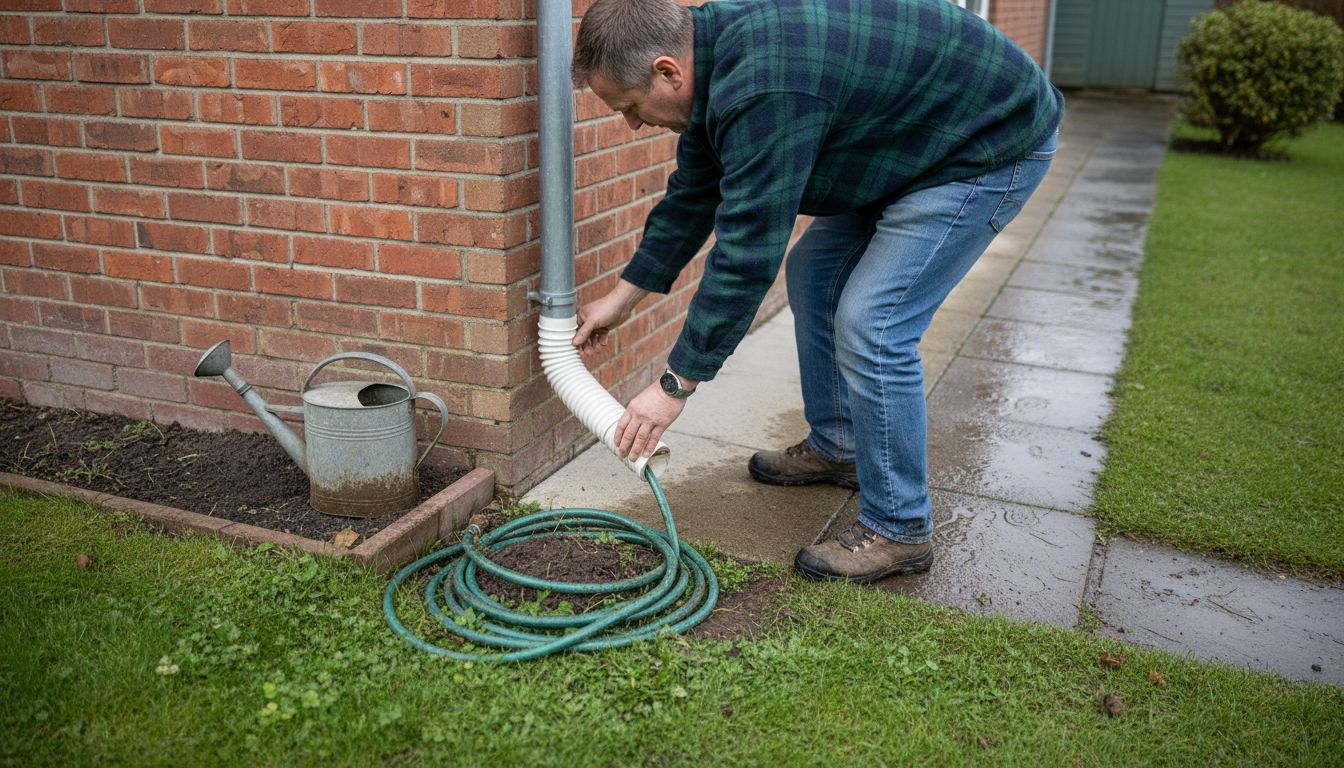
Start by examining the ground surrounding your property. Proper grading is essential to prevent water accumulation near your basement walls. Comprehensive drainage solutions recommend ensuring the ground slopes away from your foundation at a minimum gradient of 5 to 10 centimetres over the first three metres. This natural slope helps gravity move water away from your basement, reducing potential seepage risks.
Inspect your guttering and downspouts to confirm they are functioning correctly. Ensure downspouts extend at least one metre away from your foundation, preferably discharging water onto a sloped surface that directs moisture further from your home. Consider installing underground drainage pipes or French drains if surface water management remains problematic. Check for any blockages, damaged sections, or improper alignments that might cause water to pool near your foundation.
Top tip: Perform a simple water test by soaking the ground near your foundation during dry weather to identify potential drainage weaknesses before they become serious problems.
Step 3: Apply appropriate waterproofing solutions
Selecting and applying the right waterproofing solutions is critical for long lasting basement protection. Your goal is to create a comprehensive barrier that prevents moisture penetration and safeguards your property against potential water damage.
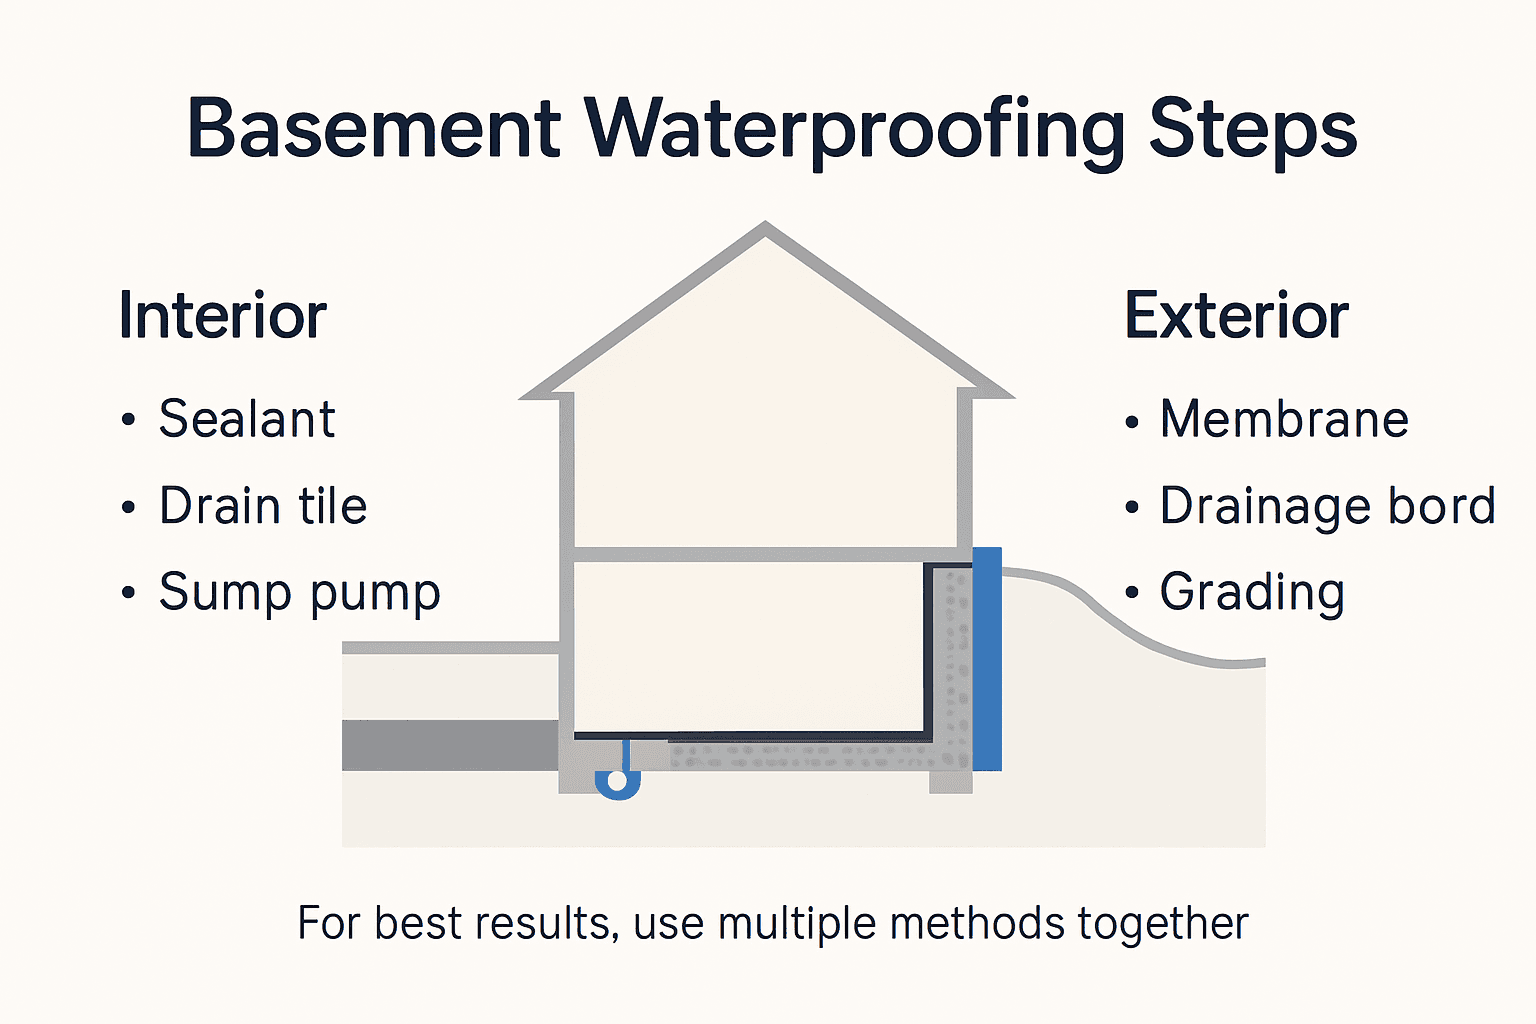
Comprehensive waterproofing techniques recommend a multi layered approach combining different methods for maximum effectiveness. Begin by cleaning the basement walls thoroughly, removing any existing moisture, dirt, or loose material. For concrete surfaces, apply a high quality cementitious waterproofing coating that penetrates and seals microscopic capillaries. These specialised coatings create a robust membrane that blocks water molecules from passing through the concrete substrate.
Consider both interior and exterior waterproofing strategies. For interior protection, use elastomeric sealants that remain flexible and can bridge small cracks. On the exterior, apply waterproof membranes directly against foundation walls, ensuring complete coverage from ground level to below the footing. Professional grade liquid applied membranes offer superior protection compared to traditional sheet membranes, providing a seamless continuous barrier against water intrusion.
Comparison of interior vs exterior waterproofing solutions:
| Approach | Application Area | Durability | Recommended For |
|---|---|---|---|
| Interior | Basement walls/floors | Moderate | Minor cracks, surface damp |
| Exterior | Outer foundation walls | High | Major seepage, deep cracks |
Top tip: Always allow each waterproofing layer to cure completely according to manufacturer instructions before applying subsequent treatments to ensure maximum effectiveness and durability.
Step 4: Seal potential entry points for water ingress
Identifying and sealing water entry points is a critical defence against basement moisture problems. Your mission is to locate and permanently block every potential pathway that could allow water to infiltrate your basement.
Structural vulnerability assessment involves carefully examining basement walls, floors, and utility penetrations for any signs of potential water entry. Focus on hairline cracks, pipe entry points, wall joints, and window wells where water might seep through. Use professional grade polyurethane or epoxy injection techniques to seal small cracks comprehensively. These specialised sealants expand and create a permanent waterproof barrier that prevents moisture migration through microscopic openings.
Pay special attention to areas around plumbing pipes, electrical conduits, and other utility penetrations through foundation walls. These are often overlooked entry points that can compromise your basement’s water resistance. Apply flexible sealants specifically designed for masonry and concrete surfaces, ensuring a complete seal that can accommodate slight structural movements without cracking. Inspect these areas annually and reapply sealants as needed to maintain long term protection against water intrusion.
Top tip: Conduct your sealing inspection during dry weather and use a bright torch to help identify even the smallest potential entry points that might otherwise go unnoticed.
Step 5: Test results and monitor for recurring damp
After completing your waterproofing efforts, establishing a systematic monitoring strategy is crucial to ensure long term protection and early detection of potential moisture issues. Your objective is to create a proactive approach that catches any emerging problems before they escalate.
Ongoing moisture assessment techniques recommend conducting regular comprehensive inspections at least twice annually. Use a reliable moisture metre to measure humidity levels in different basement areas, tracking any changes over time. Look for subtle indicators such as slight colour variations on walls, musty odours, or small patches of condensation that might signal developing moisture problems. Pay particular attention to previously repaired areas and zones with historical water infiltration.
Develop a detailed inspection checklist that includes examining wall surfaces, checking for new cracks, assessing sealant integrity, and monitoring utility penetrations. Document your findings with photographs and precise measurements to create a baseline for comparison in future inspections. Consider installing digital humidity sensors that can provide continuous monitoring and alert you to any sudden changes in moisture levels.
Top tip: Schedule your moisture inspections during seasonal transitions when temperature and humidity fluctuations are most likely to reveal hidden moisture vulnerabilities.
Secure Your Home with Expert Basement Waterproofing Solutions
Preventing basement water damage requires more than just basic inspections and patchwork repairs. If you face persistent moisture issues, efflorescence, or cracking walls as explained in the article, you need professional intervention that guarantees long lasting protection. At Pro Waterproofing, we understand the critical importance of combining interior and exterior waterproofing methods to stop water intrusion and protect your property structurally and financially.

Explore our expertise today in the Uncategorized – Pro Waterproofing section and discover tailored solutions that tackle basement dampness, sealing vulnerabilities, and external drainage challenges. Do not wait for the damage to escalate. Visit Pro Waterproofing now to request a quote and take the first step towards a dry, secure basement with trusted professionals committed to quality, experience, and guaranteed results.
Frequently Asked Questions
How can I inspect my basement for moisture effectively?
To inspect your basement for moisture, thoroughly examine concrete walls and floors for indicators like water stains, damp spots, and efflorescence. Ensure to check areas near joints and windows, using a moisture metre for precise measurements and identifying hidden dampness within 30 minutes.
What external drainage issues should I look for to prevent basement water damage?
Look for proper grading around your property so the ground slopes away from your foundation at a minimum of 5 to 10 centimetres over the first three metres. Check that gutters and downspouts are functioning properly and discharging water at least one metre away from the foundation to reduce potential seepage risks.
What waterproofing solutions are recommended for my basement walls?
For basement walls, consider using high-quality cementitious waterproofing coatings on concrete surfaces. Clean walls thoroughly before application, and allow each layer to cure completely according to the manufacturer’s instructions for optimal durability over time.
How can I seal potential entry points for water in my basement?
Identify potential entry points, such as hairline cracks and utility penetrations, and seal them with professional-grade polyurethane or epoxy injection sealants. Perform this inspection during dry weather to effectively block pathways that could allow water infiltration.
How often should I monitor my basement for moisture issues?
Conduct comprehensive inspections of your basement at least twice a year to monitor for moisture issues. Use a reliable moisture metre to measure humidity levels in different areas and track any changes, addressing problematic areas promptly to prevent long-term damage.
What signs indicate I may have recurring dampness in my basement?
Look for indicators like colour variations on the walls, musty odours, and small patches of condensation that might suggest developing moisture problems. Revisiting previously repaired areas and documenting findings can help catch these issues early.