
Leaks and water damage can quickly turn a flat roof in Gauteng or Western Cape into a costly headache. Many South African properties face challenges from harsh climate and subpar roof assessments, making regular roof condition inspection and thorough cleaning vital. This guide walks you through expert steps for waterproofing your flat roof, helping you avoid expensive repairs and protect your investment with proven techniques tailored for South African conditions.
Table of Contents
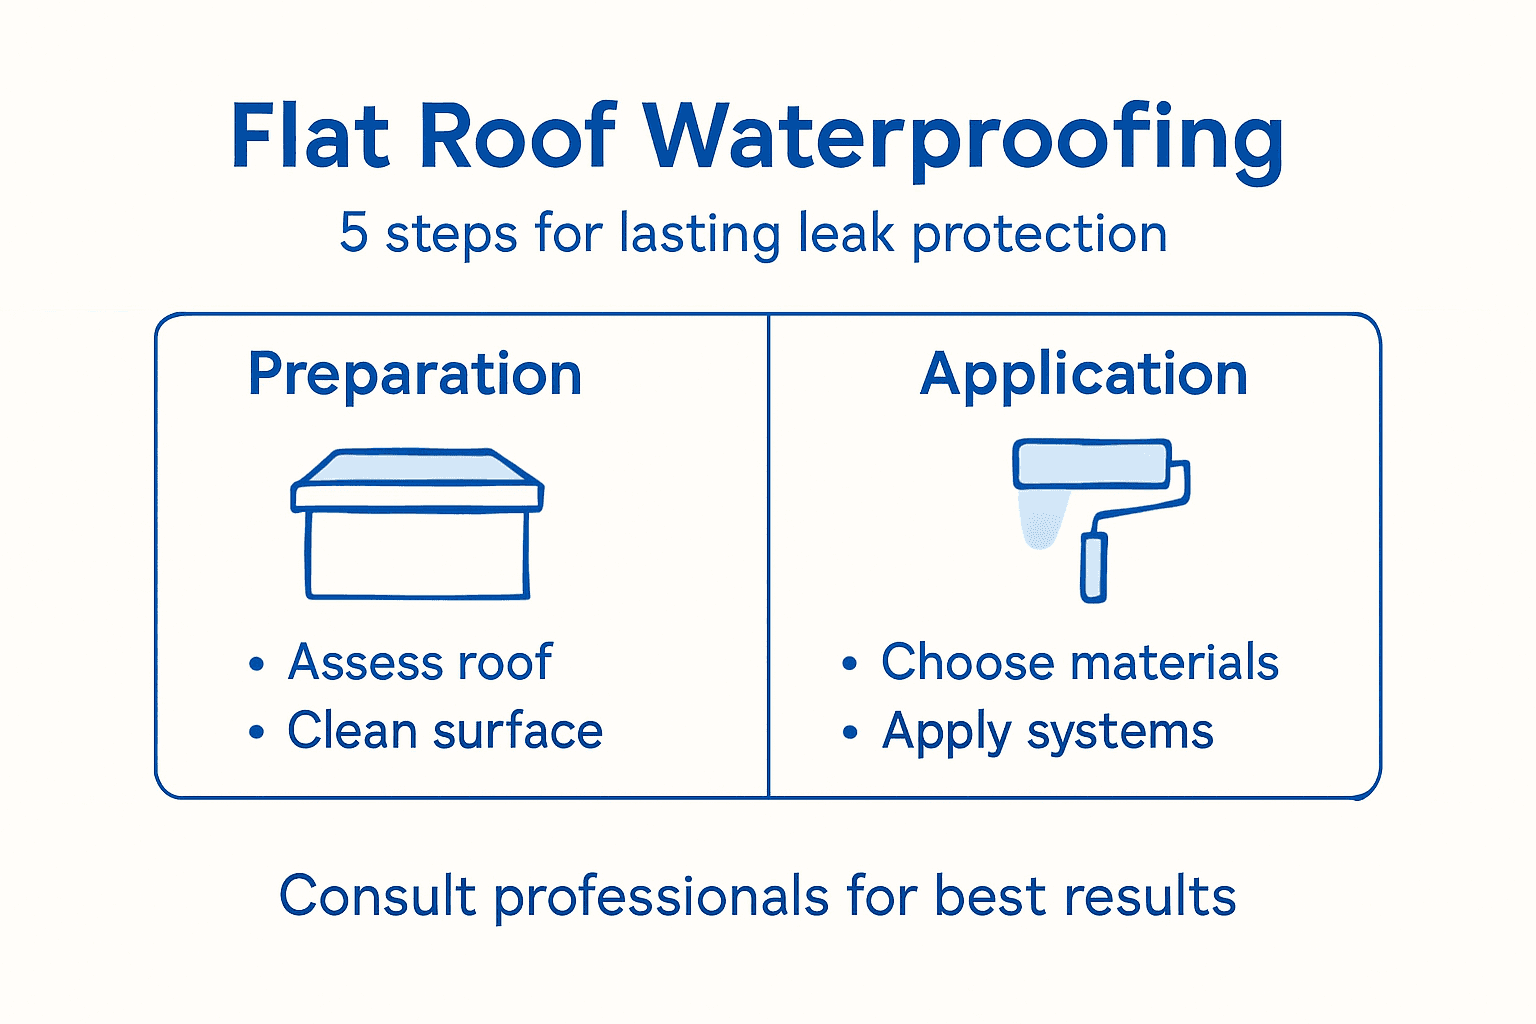
- Step 1: Assess Roof Condition Thoroughly
- Step 2: Clean And Prepare Flat Roof Surfaces
- Step 3: Select Suitable Waterproofing Materials
- Step 4: Apply Waterproofing Systems Correctly
- Step 5: Inspect And Verify Waterproofing Quality
Quick Summary
| Important Insight | Clarification |
|---|---|
| 1. Thoroughly assess the roof | Conduct a detailed inspection to identify damage such as cracks or leaks before waterproofing. |
| 2. Clean and prepare surfaces | Ensure the roof is completely clean and dry to promote effective adhesion of waterproofing materials. |
| 3. Choose suitable materials | Select waterproofing materials based on climate, roof characteristics, and expected lifespan for durability. |
| 4. Apply systems with precision | Follow manufacturer guidelines strictly to ensure a flawless application and long-lasting protection. |
| 5. Inspect after application | Conduct a thorough inspection of the waterproofing to verify its integrity and detect any potential issues early. |
Step 1: Assess roof condition thoroughly
Before waterproofing your flat roof, conducting a thorough assessment is crucial. A comprehensive inspection will help you identify potential vulnerabilities and prevent costly future repairs by addressing issues early.
Begin by performing a detailed visual examination of your entire roof surface. Look for key indicators of damage such as cracks, blistering, ponding water, or membrane deterioration. Pay special attention to areas around roof penetrations like chimneys, vents, and skylights, as these are common sites for potential leaks. The condition assessment of residential buildings highlights the critical importance of identifying these potential weak points.
To systematically assess your roof, follow these key steps:
- Inspect roof surface for visible damage
- Check drainage points and gutters
- Examine roof edges and flashings
- Look for signs of water pooling or stagnation
- Assess the overall structural integrity
Documenting your findings with photographs can provide valuable reference points for future repairs or professional consultations. The roof must meet South African National Building Regulations standards for durability and water resistance.
Expert Tip: Consider scheduling a professional roof inspection every two years to catch potential issues before they become major problems.
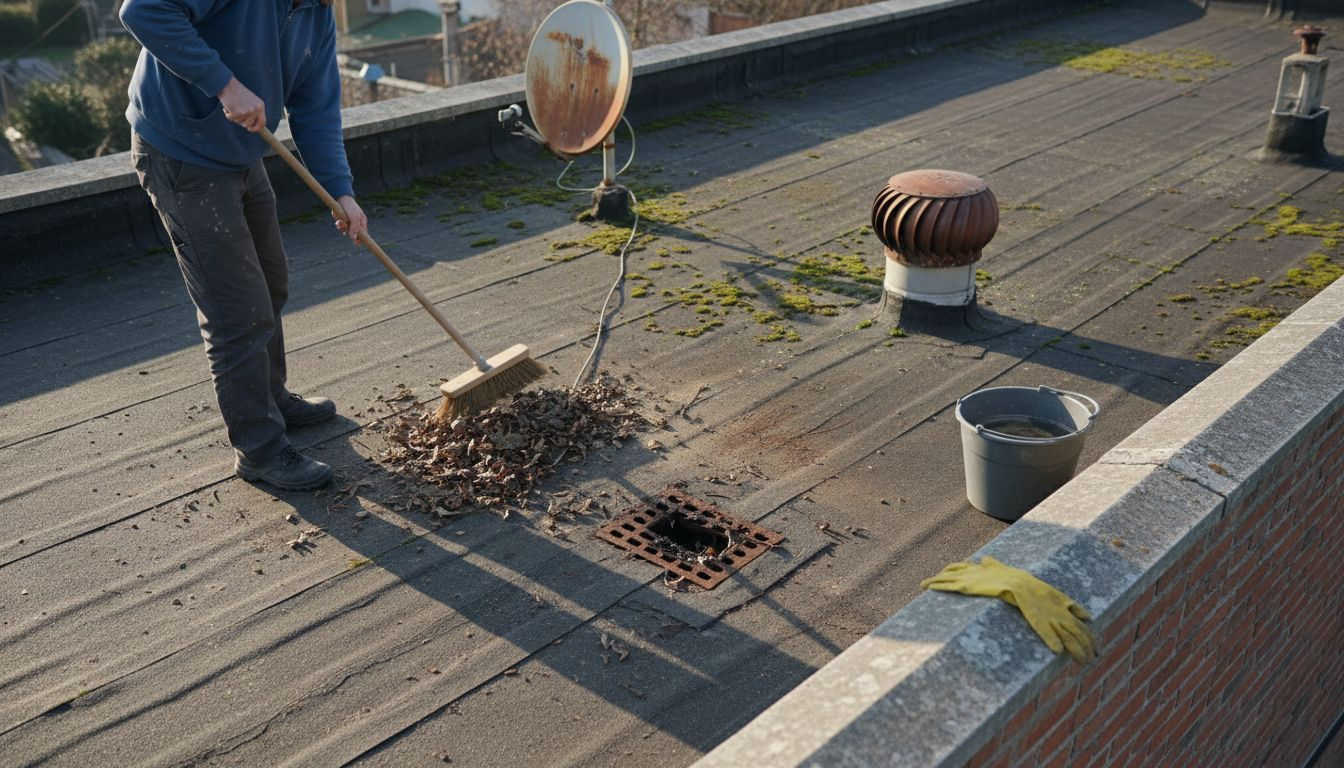
Step 2: Clean and prepare flat roof surfaces
Before applying any waterproofing treatment, thoroughly cleaning and preparing your flat roof surface is absolutely essential. A meticulously prepared surface ensures maximum adhesion and long-lasting protection against water penetration.
Roof surface preparation standards require comprehensive cleaning to remove all potential contaminants. Begin by systematically clearing the roof of debris, using the following approach:
- Remove loose dirt and dust using stiff brushes
- Clear fallen leaves, branches, and organic matter
- Check for and remove moss or algae growth
- Sweep entire surface thoroughly
- Inspect for any existing damage or weak points
Next, focus on deep cleaning and surface preparation. Use appropriate cleaning solutions specifically designed for roof surfaces, ensuring you eliminate grease, grime, and other substances that might prevent proper waterproofing membrane adhesion. National Building Standards emphasise the critical importance of achieving a clean, dry surface before applying any waterproofing treatment.
A perfectly prepared surface is the foundation of effective waterproofing.
Expert Tip: Allow the roof surface to dry completely for at least 24 hours after cleaning to ensure optimal waterproofing membrane adhesion.
Step 3: Select suitable waterproofing materials
Choosing the right waterproofing materials is critical for ensuring your flat roof remains protected against moisture and environmental challenges. Your selection will directly impact the longevity and effectiveness of your waterproofing solution.
South African waterproofing standards require materials that can withstand harsh environmental conditions. Consider these primary waterproofing material options:
- Liquid membranes: Flexible, seamless application
- Bitumen membranes: Durable, traditional approach
- Cementitious coatings: Rigid, cement-based protection
- Synthetic rubber membranes: Highly elastic, long-lasting
- Polyurethane coatings: Chemical-resistant, UV-stable
Each material offers unique advantages based on your specific roof characteristics. Waterproofing material selection depends on factors like roof pitch, climate exposure, budget, and expected lifespan. Evaluate materials based on their:
Here is a comparison of popular flat roof waterproofing materials to help inform your selection:
| Material Type | Main Advantage | Typical Lifespan | Best Use Case |
|---|---|---|---|
| Liquid membrane | Seamless leak protection | 10–15 years | Irregular roof shapes |
| Bitumen membrane | Strong weather resistance | 15–20 years | Traditional low-slope roofs |
| Cementitious coating | Good rigidity, affordable | 7–12 years | Concrete roof decks |
| Synthetic rubber membrane | Excellent elasticity | 20–25 years | High movement areas |
| Polyurethane coating | Superior chemical resistance | 12–18 years | Industrial environments |
- UV radiation resistance
- Temperature fluctuation tolerance
- Chemical and biological growth resistance
- Expected service life
- Cost-effectiveness
Selecting the right waterproofing material is an investment in your property’s long-term protection.
Expert Tip: Consult a professional waterproofing specialist to assess your specific roof requirements and recommend the most suitable material for your unique conditions.
Step 4: Apply waterproofing systems correctly
Properly applying waterproofing systems demands precision, patience, and strict adherence to manufacturer guidelines. Your goal is to create a seamless, impenetrable protective layer that guards your roof against moisture intrusion.
Waterproofing application techniques require meticulous attention to detail. Follow these critical steps for successful application:
- Prepare primer for enhanced material adhesion
- Apply waterproofing layer systematically
- Ensure complete surface coverage
- Seal all joints and edges thoroughly
- Maintain recommended curing times
- Check for uniform thickness
When applying different waterproofing materials, specific techniques vary. Liquid membranes require smooth, even rolling, while membrane systems need precise heat welding or careful adhesive application. Pay special attention to:
- Surface temperature requirements
- Material mixing ratios
- Application tool selection
- Layer thickness consistency
- Overlap and seam treatments
Precision during application determines the long-term effectiveness of your waterproofing system.
Expert Tip: Always perform a small test area first to ensure compatibility and proper application technique before covering the entire roof surface.
Step 5: Inspect and verify waterproofing quality
After applying your waterproofing system, a comprehensive inspection is crucial to ensure its effectiveness and long-term performance. Your goal is to identify any potential weaknesses or application errors that could compromise the roof’s protection.
National waterproofing inspection standards require a systematic approach to quality verification. Conduct a thorough examination using these key assessment criteria:
- Check for uniform membrane coverage
- Inspect all seams and joint connections
- Look for bubbles, cracks, or uneven areas
- Test drainage system functionality
- Verify proper adhesion to substrate
- Examine edges and penetration points
Pay special attention to critical inspection points that are most vulnerable to water penetration:
The table below summarises critical inspection points for newly waterproofed flat roofs:
| Area to Inspect | Reason for Focus | Possible Issue Detected |
|---|---|---|
| Roof penetrations | Prone to water entry | Leakage or seam failure |
| Drainage channels/gutters | Ensure efficient water run-off | Blockages or poor slope |
| Roof corners/edges | Structural stresses accumulate | Cracks or delamination |
| Repaired zones | Higher risk of failure recurrence | Imperfect membrane bonding |
- Roof penetrations (vents, pipes, skylights)
- Drainage channels and gutters
- Roof corners and edge interfaces
- Areas with previous repair history
- Zones with potential structural movement
Meticulous inspection is your first line of defence against potential water damage.
Expert Tip: Consider using a professional moisture detection device to identify any hidden weak points that might not be visible during visual inspection.
Secure Your Flat Roof with Expert Waterproofing Solutions
Waterproofing flat roofs requires careful assessment, precise surface preparation, and the right choice of materials to ensure lasting protection against leaks and water damage. At Pro Waterproofing, we understand how critical it is to address every detail from inspection to final quality checks. Our professional team specialises in delivering tailored waterproofing solutions designed to enhance durability and safeguard your property against harsh South African weather conditions. Discover how expert application and thorough verification can give you peace of mind.

Ready to protect your flat roof from costly repairs and moisture intrusion? Visit Uncategorized – Pro Waterproofing and explore our comprehensive services. Benefit from trusted advice, quality workmanship, and licensed contractors who prioritise your roof’s integrity. Don’t wait for the next leak to appear. Take action now by contacting us at Pro Waterproofing for a personalised consultation and reliable waterproofing solutions tailored to your needs.
Frequently Asked Questions
How can I assess the condition of my flat roof before waterproofing?
Before waterproofing your flat roof, conduct a thorough visual inspection to identify any visible damage, such as cracks or blistering. Document your findings and check key areas like roof penetrations for potential leaks. Regular inspections help catch issues early, potentially saving you significant repair costs.
What cleaning steps should I follow before applying waterproofing on my flat roof?
Thoroughly remove all debris from your roof, including leaves, dust, and organic material, using stiff brushes and brooms. After clearing the surface, use suitable cleaning solutions to eliminate grease and grime, ensuring a clean, dry surface for optimal waterproofing adhesion.
What factors should I consider when selecting waterproofing materials for my flat roof?
When choosing waterproofing materials, consider durability, climate exposure, and the expected lifespan of the materials. Evaluate different options, such as liquid membranes or bitumen membranes, based on your roof’s unique characteristics and specific needs to ensure long-lasting protection.
How do I properly apply waterproofing systems to my flat roof?
To apply waterproofing systems correctly, start by preparing the primer and then apply the waterproofing layer systematically, ensuring complete coverage and sealing all joints. Follow the manufacturer’s guidelines on curing times and material application techniques to achieve a seamless protective layer.
How can I inspect the quality of the waterproofing applied to my flat roof?
After application, conduct a thorough inspection to check for uniform membrane coverage and inspect seams for any bubbles or cracks. Pay special attention to roof penetrations and drainage systems, as these are critical areas prone to leakage. This helps ensure that your waterproofing system is functioning effectively.
Why is it important to document the assessment and maintenance of my flat roof?
Documenting your roof assessment and maintenance creates a valuable reference for future repairs and consultations. It allows you to track potential weak points over time, enabling proactive measures to maintain your roof’s condition and ensure its longevity.