
Water damage in basement spaces can quickly turn from a minor inconvenience into a major repair headache for homeowners in Gauteng. With the South African National Standard guidelines advising thorough assessment of all potential entry points, staying ahead of water intrusion is crucial in protecting your property. This guide breaks down practical steps you can follow to address the risks, secure your basement, and maintain the resale value of your home.
Table of Contents
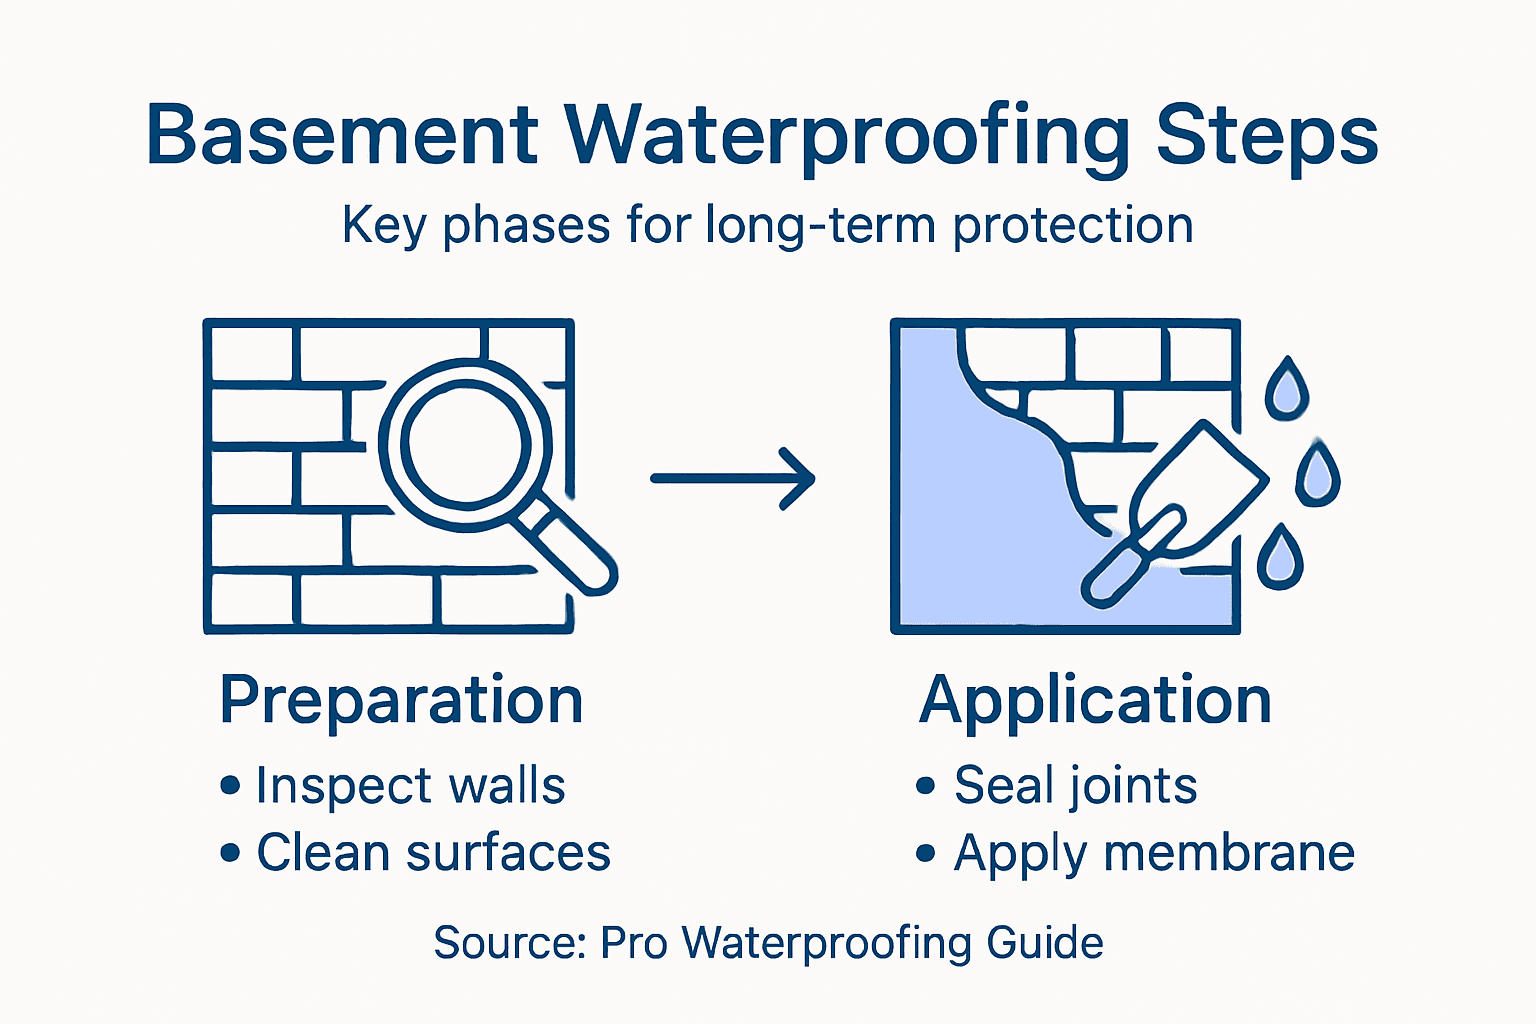
- Step 1: Assess Basement For Water Damage And Entry Points
- Step 2: Prepare Surfaces And Clear Problem Zones
- Step 3: Apply Professional Waterproofing Treatments
- Step 4: Seal All Joints And Critical Edges Thoroughly
- Step 5: Verify Effectiveness And Perform Quality Checks
Quick Summary
| Key Point | Explanation |
|---|---|
| 1. Assess for water damage ASAP | Conduct a thorough visual inspection for signs of water intrusion to identify and address vulnerabilities before they escalate. |
| 2. Prepare surfaces meticulously | Clean and repair all basement surfaces to ensure effective adhesion of waterproofing treatments, making it the foundation of your protection plan. |
| 3. Apply treatments systematically | Choose the right waterproofing systems and apply them with care, ensuring complete coverage for optimum moisture protection. |
| 4. Seal joints and edges thoroughly | Carefully seal all potential water entry points with appropriate materials to prevent moisture infiltration into your basement. |
| 5. Verify waterproofing effectiveness | Perform rigorous quality checks to ensure that all previous waterproofing efforts are successful, preventing future moisture issues. |
Step 1: Assess basement for water damage and entry points
Properly assessing your basement for water damage and potential entry points represents a critical first stage in comprehensive waterproofing. By systematically evaluating your basement’s current condition, you can identify vulnerabilities before they develop into significant structural issues.
Begin your assessment by conducting a thorough visual inspection, paying close attention to walls, floors, and corners. Look for telltale signs of water intrusion such as:
- Damp or discoloured patches on walls
- Efflorescence (white, chalky mineral deposits)
- Visible cracks in concrete or masonry
- Musty odours indicating hidden moisture
- Water stains or rust marks
The South African National Standard guidelines recommend examining all potential water entry zones, including foundation joints, window wells, and utility penetrations. Use a bright torch to illuminate dark corners and inspect surfaces carefully.
Check exterior grading around your property, ensuring that soil slopes away from the foundation to prevent water pooling. Measure the gradient – ideally, you want a minimum 15-centimetre drop over the first 3 metres from your basement walls. This simple assessment can reveal critical drainage issues that might compromise your waterproofing efforts.
Water damage often starts small but can quickly escalate into expensive structural repairs if left unaddressed.
Expert advice: Photograph all potential damage areas to track changes and provide documentation for professional waterproofing consultations.
Step 2: Prepare surfaces and clear problem zones
Successfully waterproofing your basement requires meticulous surface preparation and strategic problem zone management. This crucial step ensures that any subsequent waterproofing treatments adhere effectively and provide long-lasting protection against moisture intrusion.
Begin by thoroughly cleaning all basement surfaces, removing dirt, dust, and debris. Professional waterproofing standards recommend a comprehensive cleaning process that includes:
- Scraping away loose paint or plaster
- Removing existing efflorescence with a wire brush
- Cleaning surfaces with a degreasing solution
- Rinsing thoroughly and allowing complete drying
- Checking for structural integrity
Next, address any visible structural vulnerabilities. Inspect and repair:
- Foundation cracks larger than 3 millimetres
- Gaps around utility penetrations
- Deteriorating mortar joints
- Window well seals
- Pipe entry points
Pay special attention to exterior drainage systems. Redirect water away from your foundation by ensuring gutters, downspouts, and landscape grading channel moisture effectively. Aim for a minimum slope of 15 centimetres over the first 3 metres away from your basement walls.
Proper surface preparation is the foundation of effective waterproofing – skipping this step can compromise entire protection efforts.
Pro advice: Use a high-quality hydraulic cement for repairing smaller cracks, and consider professional assessment for significant structural issues.
Step 3: Apply professional waterproofing treatments
Applying professional waterproofing treatments transforms your basement’s moisture protection from basic defence to comprehensive protection. Understanding the nuanced approach to treatment application is crucial for long-lasting results that safeguard your property against water intrusion.
Professional waterproofing standards recommend selecting treatments based on specific environmental conditions. Choose from three primary waterproofing systems:
- Barrier Systems: Physical membranes blocking water penetration
- Integral Systems: Chemical treatments mixed directly into concrete
- Drainage Systems: Redirecting water away from structural surfaces
Begin by selecting a high-quality waterproofing membrane appropriate for your basement’s specific moisture challenges. Apply treatments systematically, ensuring complete coverage and paying extra attention to:
Here is a quick comparison of common basement waterproofing systems and their best-use scenarios:
| System Type | Best For | Typical Materials |
|---|---|---|
| Barrier System | High water table areas | Sheet membranes, coatings |
| Integral System | New builds | Admixtures, pore blockers |
| Drainage System | Persistent seepage | French drains, sump pumps |
- Corner junctions
- Potential stress points
- Previously identified crack areas
- Utility penetration zones
- Window and door interfaces
Ensure each layer is applied meticulously, allowing proper drying time between coatings. Use specialised rollers or sprayers designed for waterproofing applications, maintaining consistent pressure and coverage.
Precision during application determines the effectiveness of your waterproofing investment – rushing this process can compromise entire protection strategy.
Pro advice: Consider hiring a professional for complex basement waterproofing to guarantee comprehensive coverage and manufacturer warranty compliance.
Step 4: Seal all joints and critical edges thoroughly
Successful basement waterproofing relies on meticulous sealing of every potential water entry point. Leaving even the smallest joint or edge unsealed can compromise your entire waterproofing strategy, potentially allowing moisture to penetrate and cause significant damage.
South African waterproofing standards emphasise comprehensive joint sealing using specialised materials and techniques. Focus on these critical areas:
- Construction joints between concrete pours
- Wall and floor intersection points
- Utility pipe and cable penetrations
- Window and door frame interfaces
- Expansion and contraction joints
Choose appropriate sealant types based on specific basement conditions:
- Polyurethane sealants for flexible joints
- Epoxy injection systems for structural cracks
- Hydrophilic waterstops for active water zones
- Silicone-based sealants for minor gaps
- Hydraulic cement for immediate leak prevention
Apply sealants methodically, ensuring complete coverage and smooth application. Use professional-grade tools and maintain consistent pressure to eliminate air pockets and potential weak points.
Precision in joint sealing is your primary defence against water intrusion – no detail is too small to ignore.
Pro advice: Test sealant compatibility with existing surfaces and wear protective equipment during application to ensure optimal results and personal safety.
Step 5: Verify effectiveness and perform quality checks
The final stage of waterproofing demands rigorous testing to guarantee your basement’s protection against moisture intrusion. Comprehensive verification ensures that all previous efforts translate into a robust, reliable defence system.
Professional waterproofing standards recommend systematic quality assessment techniques to validate your waterproofing application. Conduct these critical evaluation methods:
- Visual surface inspection for uniform coverage
- Adhesion strength testing
- Water tightness evaluations
- Moisture metre readings
- Crack and joint integrity checks
Perform detailed quality checks using these systematic approaches:
- Flood test basement floor and walls
- Use moisture detection equipment
- Check sealant bond strength
- Inspect for micro-cracks or imperfections
- Measure surface water repellence
Document your findings meticulously, photographing any areas of concern and recording measurement readings. Pay particular attention to previously identified vulnerable zones, ensuring complete coverage and effective treatment.
The table below summarises essential quality checks and what each verifies during the waterproofing process:
| Quality Check | What It Verifies | Ideal Outcome |
|---|---|---|
| Visual Inspection | Uniform coverage and finish | No visible flaws or gaps |
| Adhesion Test | Bond strength of treatments | Firm, consistent adhesion |
| Moisture Metre Reading | Remaining moisture in surfaces | Below critical moisture level |
| Surface Repellence Test | Water resistance effectiveness | Immediate water beading |
Thorough verification is your final defence against potential water damage – never compromise on this critical step.
Pro advice: Consider hiring a professional waterproofing inspector to conduct an independent, comprehensive assessment for absolute peace of mind.
Secure Your Basement with Expert Waterproofing Solutions Today
Water entering your basement can quickly lead to costly structural damage and persistent moisture problems if not addressed properly. This article highlights essential steps such as assessing water entry points, preparing surfaces, and applying professional waterproofing treatments. If you recognise any signs like damp walls or cracks in your foundation it is vital to act swiftly and effectively to protect your property.
Pro Waterproofing offers tailored, professional services backed by extensive experience in handling water infiltration challenges for residential, commercial, and industrial buildings across South Africa. Our approach ensures meticulous sealing of all joints and critical edges while employing advanced waterproofing systems that meet high quality standards.
Uncategorized – Pro Waterproofing is your go-to category for trusted insights and solutions on waterproofing.

Don’t wait until moisture issues escalate into expensive repairs. Visit Pro Waterproofing now to request a detailed quote and take the first step towards a dry, secure basement. Our team is ready to provide expert assessments and apply proven waterproofing techniques that deliver lasting peace of mind.
Frequently Asked Questions
What is the first step to properly waterproof a basement?
To properly waterproof a basement, the first step is to assess the area for water damage and potential entry points. Inspect walls, floors, and corners for damp patches, cracks, and musty odours, and take photographs of any damage for future reference.
How can I prepare my basement surfaces for waterproofing?
Preparing basement surfaces involves thorough cleaning to remove dirt, dust, and debris. Scrape away loose paint and efflorescence, and repair any visible cracks larger than 3 millimetres to ensure effective adhesion of waterproofing treatments.
What are the best waterproofing treatments for a basement?
The best waterproofing treatments include barrier systems, integral systems, and drainage systems. Choose a treatment based on your basement’s moisture challenges and apply it systematically, ensuring coverage in critical areas like corners and utility penetrations.
How do I seal joints and edges when waterproofing?
Sealing joints and edges is essential to prevent water intrusion. Use appropriate sealants for various joint types, such as polyurethane for flexible joints and epoxy for structural cracks, ensuring that all edges and connections are thoroughly sealed.
What quality checks should I perform after waterproofing my basement?
After waterproofing, conduct quality checks such as visual inspections for uniform coverage and adhesion strength tests. Document any areas of concern and verify that moisture levels are below critical thresholds to ensure your waterproofing efforts are effective.
How can I confirm the effectiveness of my basement waterproofing?
To confirm the effectiveness of your basement waterproofing, perform a flood test and use moisture detection equipment. Check for waterproofing integrity at previously identified vulnerable zones, ensuring no moisture penetrates within 30 days of treatment.