Water can cause up to 80 percent of building maintenance costs if waterproofing fails. Even a small leak can lead to major structural and financial headaches. Understanding how to protect your property starts with careful planning and careful execution. With the right approach, you can avoid mould, damage, and repairs that drain your resources. Learn practical steps that safeguard your investment and keep your building safe and dry for years to come.
Quick Summary
| Key Point | Explanation |
|---|---|
| 1. Conduct a thorough site assessment | Systematically inspect the site for moisture vulnerabilities and structural issues before waterproofing begins. |
| 2. Prepare surfaces meticulously | Clean and detail surfaces well to ensure proper adhesion of waterproofing materials and prevent future failures. |
| 3. Choose appropriate waterproofing materials | Select materials based on specific site conditions, surface types, and environmental challenges for optimal protection. |
| 4. Apply systems with precision | Follow manufacturer guidelines for application to achieve a reliable watertight seal that endures over time. |
| 5. Perform rigorous post-application testing | Inspect and test all waterproofed areas to ensure effectiveness and document findings for maintenance and warranty purposes. |
Table of Contents
- Step 1: Assess Site Conditions And Identify Issues
- Step 2: Prepare Surfaces And Protect Surroundings
- Step 3: Select Suitable Waterproofing Materials
- Step 4: Apply Waterproofing Systems Methodically
- Step 5: Inspect And Test All Waterproofed Areas
Step 1: Assess Site Conditions and Identify Issues
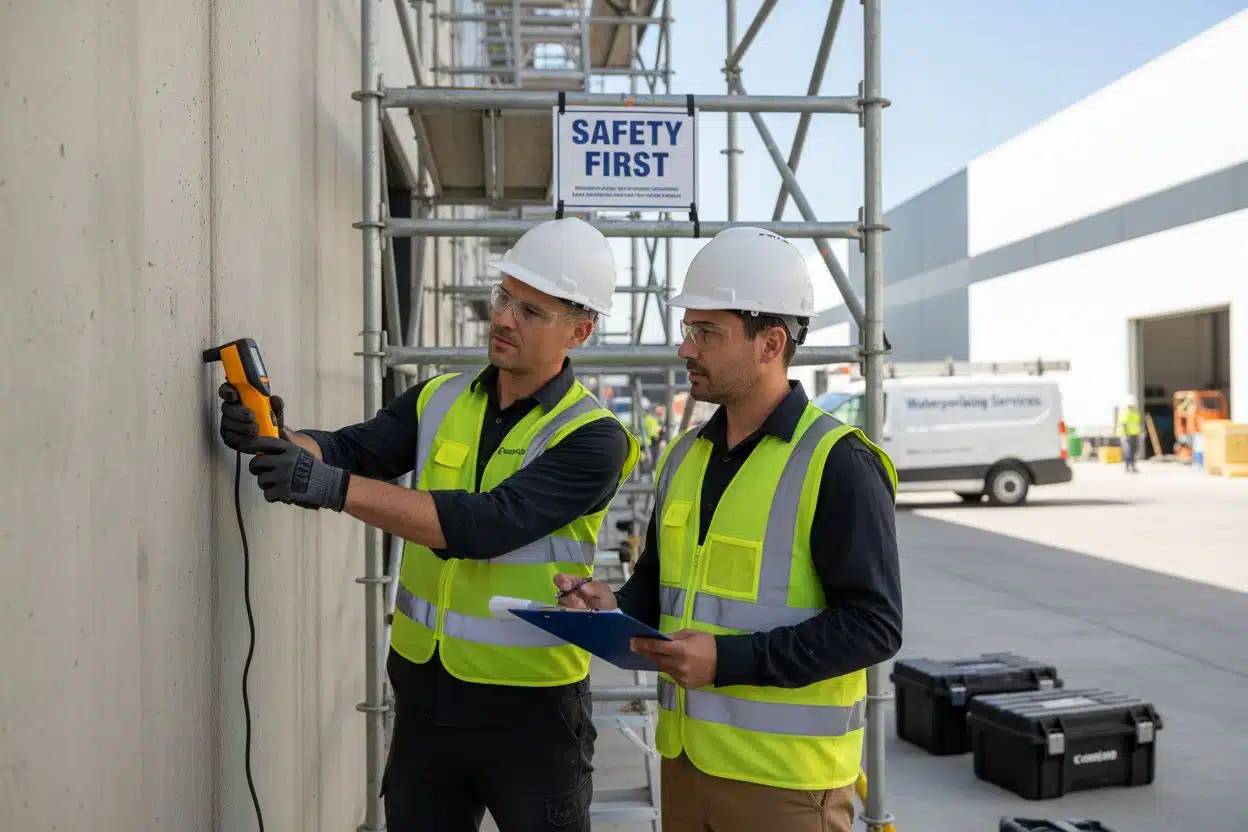
When starting a commercial waterproofing project, your first mission is to thoroughly evaluate the site and pinpoint potential moisture vulnerabilities. This crucial initial step sets the foundation for an effective waterproofing strategy that protects your property from water damage.
Begin by conducting a comprehensive visual inspection of the entire area. Walk through the site systematically examining walls, roofs, foundations, and potential water entry points. Look for telltale signs of moisture problems such as water stains, discolouration, mould growth, or efflorescence on surfaces. According to Sicon Group, identifying moisture prone zones requires a meticulous examination of joints, drainage systems, flashing, and sheeting.
Pay special attention to concrete and screed surfaces. As specified by SANS 10400‑L building regulations, these surfaces must be completely dry before any waterproofing application. Use moisture meters to accurately assess humidity levels and ensure your surfaces meet the required standards.
Pro Tip: Document everything with clear photographs and detailed notes. These records will help track changes and provide a baseline for future assessments.
Check for structural issues like cracks, gaps, or uneven surfaces that could compromise waterproofing effectiveness. Evaluate the current drainage systems and assess whether they effectively redirect water away from critical areas. Understanding these site conditions allows you to select the most appropriate waterproofing techniques and materials.
Once you have completed a thorough assessment, you will be ready to develop a targeted waterproofing strategy tailored specifically to your site’s unique challenges. Next, we will explore how to select the right waterproofing approach based on your findings.
Step 2: Prepare Surfaces and Protect Surroundings
With your site assessment complete, you are now ready to prepare surfaces and protect surrounding areas for a successful waterproofing project. This critical step ensures proper adhesion, minimises potential damage, and sets the stage for a robust waterproofing application.
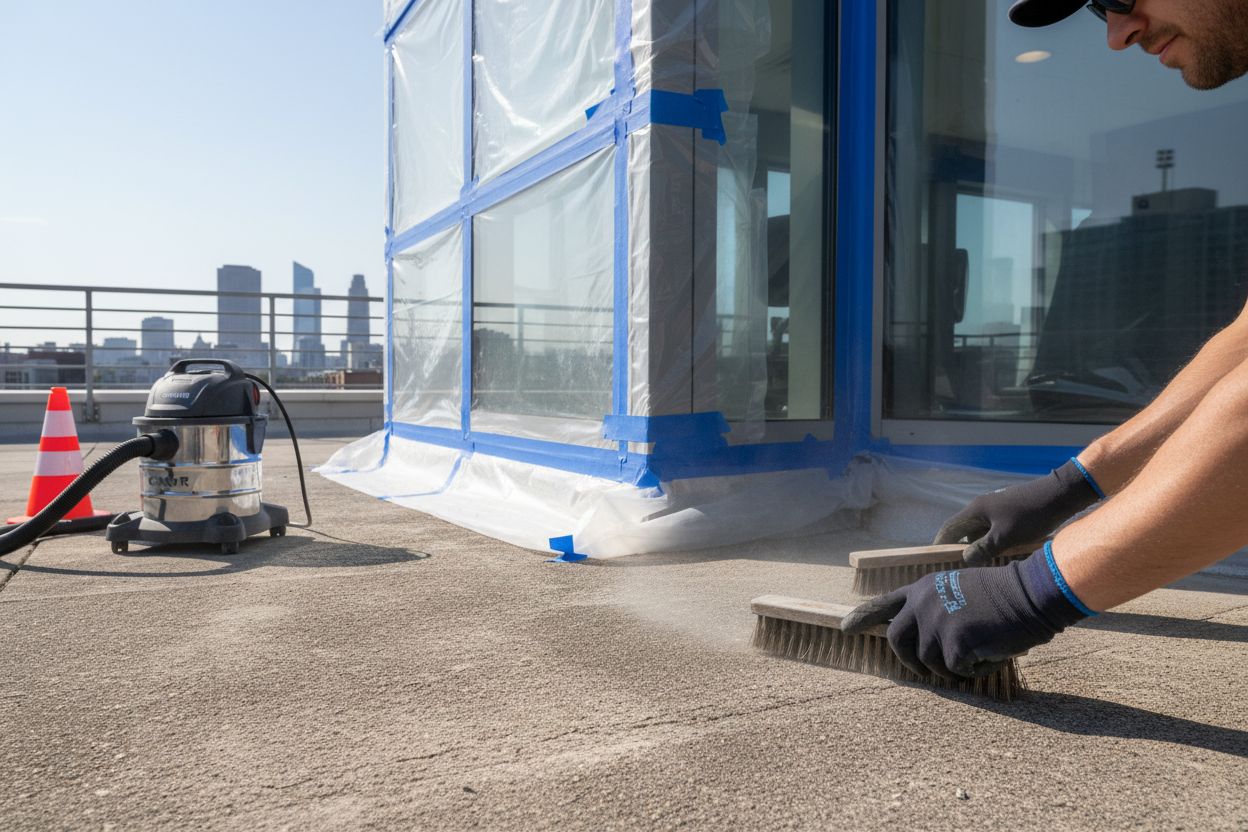
Start by thoroughly cleaning all surfaces targeted for waterproofing. Remove any loose debris, dust, grease, or existing failed waterproofing materials. Use wire brushes, scrapers, and industrial vacuums to create a clean base. SANS 10400‑L regulations emphasise the importance of proper surface preparation, including ensuring concrete and screed surfaces are completely dry before any application.
Pay particular attention to creating smooth surfaces with proper detailing. According to the Association of South African Quantity Surveyors, this means forming carefully detailed coves, rounded corners, and precise treatments around outlets and upstands. These details are crucial for ensuring long term waterproofing effectiveness.
Pro Tip: Use sand cement screed of at least 20 mm thickness over lightweight surfaces to provide a stable base for your waterproofing membrane.
Protect adjacent areas by covering floors, windows, electrical fixtures, and other surfaces with heavy duty plastic sheeting and painter’s tape. This prevents accidental contamination from primers, sealants, or waterproofing materials. Ensure proper ventilation and create a clear workspace that allows unobstructed movement during the waterproofing process.
Before applying any waterproofing system, confirm that your surface preparation meets all regulatory requirements and manufacturer specifications. Your meticulous preparation now will prevent potential failures and expensive repairs in the future. Next, we will explore the critical steps of selecting and applying the right waterproofing membrane.
Step 3: Select Suitable Waterproofing Materials
Now that your surfaces are prepared, choosing the right waterproofing materials becomes critical to protecting your property from moisture damage. Your selection will depend on specific site conditions, surface types, and environmental challenges you uncovered during your initial assessment.
Sephaku Cement highlights several waterproofing material options commonly used in South Africa. Cementitious coatings work well for concrete surfaces, providing a rigid protective layer. Liquid waterproofing membranes with high elongation properties offer excellent flexibility for areas prone to structural movement.
For flat roofs exposed to harsh weather conditions, polyurethane liquid membranes deliver outstanding performance. These materials create a seamless protective barrier that can withstand significant temperature variations and UV exposure. Bituminous membranes represent another robust option with durability that can match the entire building’s lifespan.
Pro Tip: Always match your waterproofing material to the specific substrate and expected environmental stress. One size does not fit all in waterproofing.
Consider factors like surface porosity, expected water pressure, temperature ranges, and potential structural movement when making your selection. Some materials work better for horizontal surfaces while others excel on vertical applications. Read more about waterproofing system selection to ensure you make the most informed decision.
Your material choice will directly impact the longevity and effectiveness of your waterproofing strategy. Take time to evaluate each option carefully. In the next step, we will explore the precise application techniques that will transform these materials into a robust moisture defence system.
Here’s a comparison of common waterproofing materials and their typical uses:
| Material Type | Typical Applications | Key Benefits |
|---|---|---|
| Cementitious Coatings | Concrete walls Basements |
Rigid barrier Easy application |
| Liquid Membranes | Roofs Balconies |
Flexible Seamless protection |
| Polyurethane Membrane | Flat roofs High UV areas |
UV resistant Temperature durable |
| Bituminous Membranes | Roofs Foundations |
Long lifespan Robust durability |
Step 4: Apply Waterproofing Systems Methodically
With your materials selected, it is time to apply your waterproofing system with precision and care. This stage requires methodical execution to ensure complete protection and long lasting results. Sicon Group emphasises that each application must be tailored to specific substrate conditions and building requirements.
Begin by carefully reading the manufacturer’s instructions for your chosen waterproofing system. SANS 10400‑L regulations mandate that installation must be performed by a competent professional who understands how to achieve a watertight seal that will endure for at least five years.
Apply the waterproofing membrane systematically using recommended tools and techniques. For liquid membranes, use rollers or sprayers to create an even consistent layer. When working with torch‑on membranes, ensure careful heat application to achieve proper adhesion without damaging the underlying surface. Pay special attention to critical areas like corners, joints, and potential water entry points.
Pro Tip: Work in controlled environmental conditions. Avoid applying waterproofing during extreme temperatures or high humidity which can compromise material performance.
Focus on creating seamless transitions and proper detailing around outlets, flashings, and structural interfaces. Read more about our comprehensive roof waterproofing process to understand the nuanced techniques professionals employ. Ensure each layer is applied with precision and allowed sufficient curing time before proceeding to subsequent layers.
Careful application now will prevent costly water damage in the future. Your methodical approach transforms selected materials into a robust protective barrier.
In the next step, we will explore essential testing and quality assurance procedures to validate your waterproofing installation.
Step 5: Inspect and Test All Waterproofed Areas
With your waterproofing system applied, the critical phase of comprehensive inspection and testing begins. This stage validates the effectiveness of your carefully executed waterproofing strategy and ensures long lasting protection for your property.
SANS standards require rigorous testing to verify that waterproofing systems can resist UV exposure, temperature variations, and maintain watertightness under challenging conditions. Start with a visual inspection, systematically examining every treated surface for potential irregularities such as bubbles, uneven application, or small imperfections that could compromise the membrane.
Conduct water testing by carefully flooding designated areas or using specialised water pressure testing equipment. Look for any signs of moisture penetration or leakage. Pay particular attention to critical junctures like corners, joints, and penetration points where water might find its way through.
Pro Tip: Document your inspection process with detailed photographs and notes. This creates a valuable record for future maintenance and potential warranty claims.
Sicon Group recommends obtaining a Certificate of Compliance that validates the quality and integrity of your waterproofing installation. These certificates often come with extended warranties that can stretch up to 20 years when proper installation and testing procedures are followed.
Learn more about professional waterproofing inspections to understand the nuanced techniques experts use to ensure comprehensive protection. A thorough inspection now can save you significant expenses and headaches in the future.
![]() Your next step involves understanding ongoing maintenance to preserve the longevity of your waterproofing system.
Your next step involves understanding ongoing maintenance to preserve the longevity of your waterproofing system.
Secure Your Commercial Property Against Future Water Problems
Struggling to address commercial waterproofing step by step can feel overwhelming. If you have faced moisture stains, failed membranes or the uncertainty of choosing the correct materials, you already know how costly and disruptive water intrusion can become. You have read about site assessments, applying membranes, and the vital role of compliance and inspections. Now, imagine the peace of mind that comes with experts guiding you every step of the way.
Discover other practical waterproofing tips and insights

Don’t leave your asset’s safety to chance. Partner with Pro Waterproofing for tailored solutions that match South African regulations and your site’s unique needs. Our team ensures every phase from initial assessment to quality assurance is managed by certified professionals. Ready to protect your commercial investment and avoid expensive repairs? Take the next step now by visiting Pro Waterproofing and request your expert quote today.
Frequently Asked Questions
What are the initial steps in a commercial waterproofing project?
Begin with a thorough assessment of the site to identify moisture vulnerabilities. Conduct a visual inspection and document potential entry points like cracks and drainage systems to set the foundation for your waterproofing strategy.
How do I prepare surfaces before applying waterproofing materials?
Thoroughly clean all surfaces by using wire brushes and scrapers to remove debris and old materials. Ensure that concrete surfaces are completely dry, creating a stable base for successful waterproofing applications.
What types of waterproofing materials should I consider for my project?
Select materials based on your specific site conditions, such as cementitious coatings for concrete surfaces or polyurethane membranes for harsh weather environments. Match the material to the substrate and potential environmental stresses to enhance longevity and effectiveness.
How can I ensure effective application of waterproofing systems?
Carefully follow manufacturer instructions and apply the membrane using the recommended tools, focusing on critical areas like joints and seams. Work methodically to create a seamless protective layer that prevents future water damage.
What inspections should be conducted after applying waterproofing systems?
Conduct a comprehensive visual inspection and perform water testing to check for potential leaks or irregularities. Ensure that all areas are documented for future reference and compliance with quality standards.
How can I maintain my waterproofing system over time?
Implement regular inspections and maintenance checks to assess the condition of the waterproofing layers. Address any signs of wear or damage promptly to preserve the integrity of your waterproofing system.