Most British homeowners underestimate how quickly water can compromise even the best waterproofing systems. Just one overlooked crack or seam can lead to costly repairs and hidden mould growth. Addressing these risks early is vital if you want your property to remain safe and sound. This guide unpacks proven steps for examining, maintaining, and extending the life of every waterproofed surface, giving you practical tips to keep British homes protected year-round.
Table of Contents
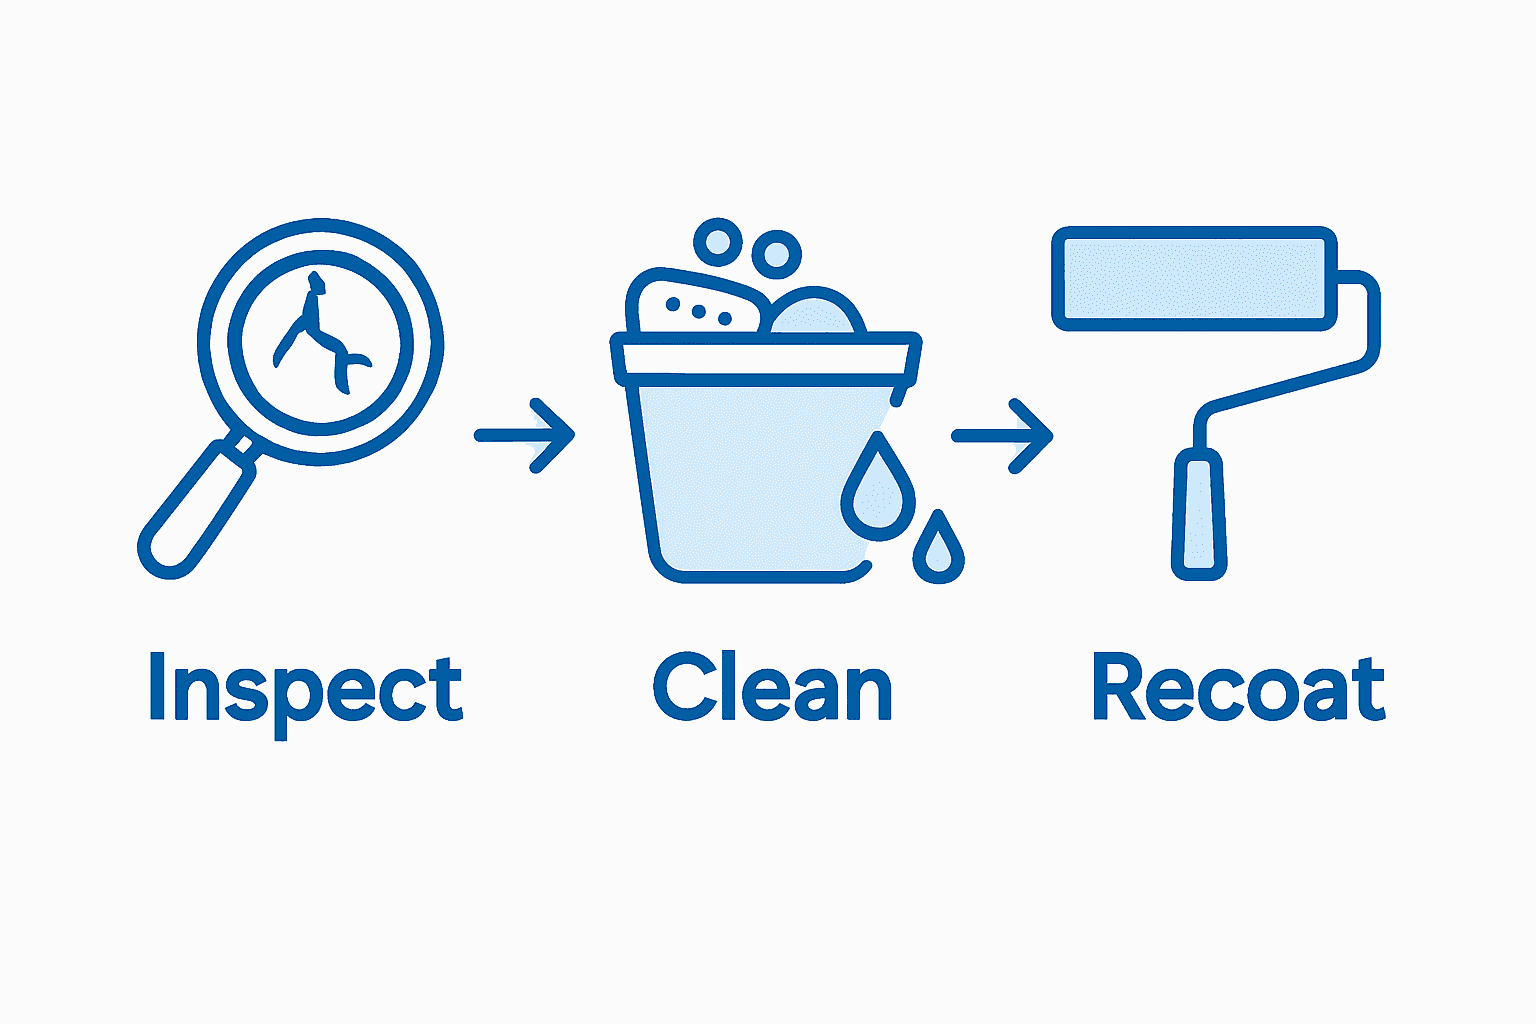
- Step 1: Assess Current Waterproofed Surfaces
- Step 2: Clean All Waterproofed Areas Thoroughly
- Step 3: Repair Minor Defects And Damages
- Step 4: Reapply Protective Coatings Where Necessary
- Step 5: Verify Effectiveness With Regular Inspections
Quick Summary
| Key Point | Explanation |
|---|---|
| 1. Assess waterproofed surfaces regularly | Conduct thorough visual inspections at least twice annually to identify issues before they escalate. |
| 2. Clean surfaces before repairs | Ensure all waterproofed areas are cleaned thoroughly using appropriate materials to maintain integrity. |
| 3. Repair minor defects promptly | Address small cracks or damages quickly using compatible repair materials to prevent extensive damage. |
| 4. Reapply protective coatings as needed | Regularly apply fresh coatings after cleaning to ensure long-lasting waterproofing effectiveness. |
| 5. Document inspections and findings | Keep a detailed log of inspections to track condition changes over time and inform maintenance strategies. |
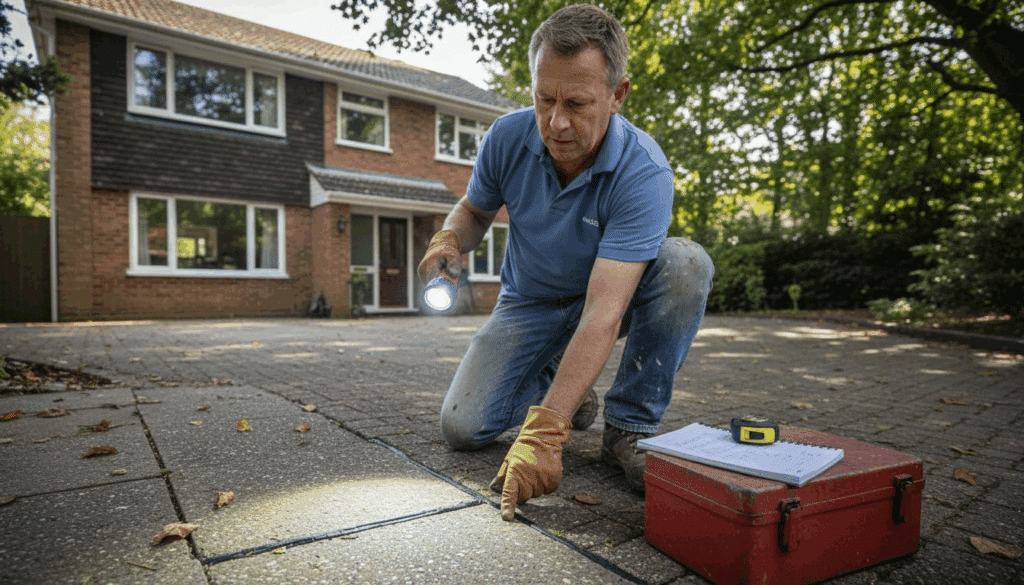
Step 1: Assess current waterproofed surfaces
Successful maintenance begins with a comprehensive evaluation of your existing waterproofing systems. This critical first step involves carefully examining surfaces to identify potential vulnerabilities and prevent future water damage.
Start by conducting a thorough visual inspection of all waterproofed areas. Walk around your property and look for telltale signs of potential issues such as discolouration, cracks, peeling, or bubbling in the waterproofing membrane. Areas like roof valleys require special attention, as understanding proper valley configuration is essential for preventing water infiltration. Pay close attention to seams, edges, and transition points where water might potentially penetrate.
While inspecting, document your findings systematically. Use a notebook or digital device to record the location, size, and nature of any observed defects. Take clear photographs that can help you track changes over time or share with professional waterproofing specialists if further assessment is needed. Detailed waterproofing inspection protocols recommend checking for moisture stains, mould growth, or unusual dampness that might indicate underlying issues.
Here is a summary of common waterproofing defects and their potential consequences:
| Observed Defect | Likely Cause | Potential Consequence |
|---|---|---|
| Discolouration | Moisture ingress | Hidden damp or mould growth |
| Cracks in membrane | Ageing or movement | Increased leak risk |
| Bubbling or blistering | Trapped moisture | Membrane deterioration |
| Peeling edges | Poor adhesion or weathering | Water ingress at transitions |
Professional tip: Always conduct your assessment during dry weather to get the most accurate view of potential surface damage, and consider using a moisture metre for more precise evaluation of hidden water penetration risks.
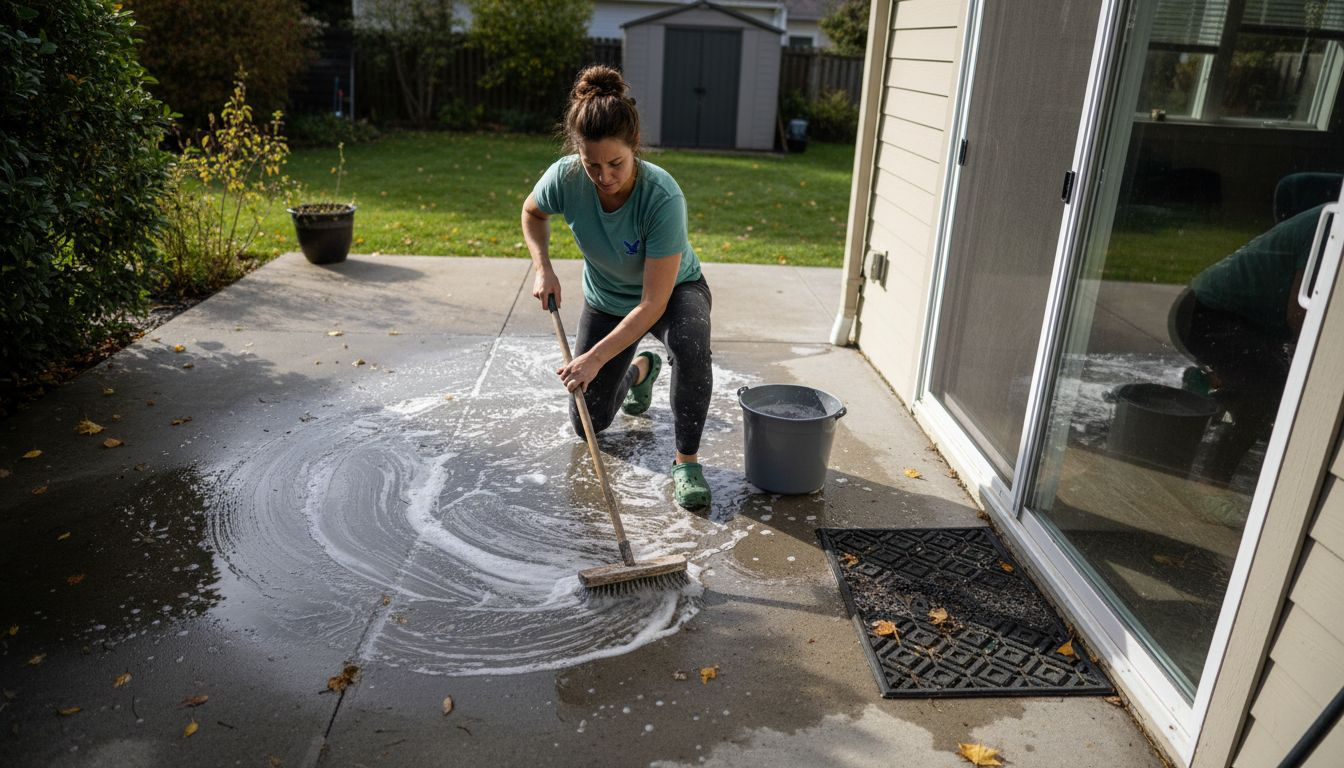
Step 2: Clean all waterproofed areas thoroughly
Thoroughly cleaning waterproofed surfaces is a critical maintenance step that prevents degradation and extends the lifespan of your protective membranes. This process removes potentially harmful contaminants that could compromise your waterproofing system’s integrity.
Begin by selecting appropriate cleaning materials specifically designed for your waterproofing surface type. For most surfaces, use soft bristled brushes or microfibre cloths to avoid scratching or damaging the membrane. Prepare a gentle cleaning solution using mild detergents recommended for waterproofed areas. Roof waterproofing maintenance techniques suggest working systematically from one section to another, ensuring complete coverage without missing critical zones.
Rinse surfaces thoroughly with clean water after cleaning, removing all soap residue that might attract dirt or potentially degrade the waterproofing membrane. Pay extra attention to corners, seams, and edges where dirt and moisture can accumulate. Allow surfaces to dry completely before conducting your next inspection, which will help you identify any potential issues that might have been obscured by dirt or grime.
Professional tip: Always clean waterproofed areas during mild weather conditions and avoid using high pressure washing equipment that could potentially damage delicate membrane surfaces.
Step 3: Repair minor defects and damages
Addressing minor defects promptly is crucial to preventing extensive water damage and maintaining the structural integrity of your waterproofing systems. Early intervention can save you significant repair costs and protect your property from potential moisture intrusion.
Waterproofing repair standards emphasise the importance of proper preparation before attempting any repairs. Begin by thoroughly cleaning the damaged area and ensuring it is completely dry. Select appropriate repair materials compatible with your existing waterproofing membrane such as specialised sealants or patch kits designed for your specific surface type. For small cracks or minor surface damage, use flexible waterproof sealants that can accommodate slight movement without compromising the membrane’s protective qualities.
When applying repair materials, work carefully and methodically. For roof surfaces, particularly around valleys and edges, professional repair techniques recommend creating a smooth transition between the existing membrane and new repair material. Apply the repair compound evenly, ensuring complete coverage and removing any air bubbles that might compromise the seal. Use a putty knife or recommended application tool to create a uniform surface that blends seamlessly with the surrounding waterproofing membrane.
Professional tip: Always purchase repair materials from reputable manufacturers and ensure they are specifically designed for your particular waterproofing surface type to guarantee optimal performance and longevity.
Step 4: Reapply protective coatings where necessary
Reapplying protective coatings is a critical maintenance strategy that helps preserve the integrity and effectiveness of your waterproofing systems. This process involves carefully assessing existing surfaces and applying fresh protective layers to prevent potential water damage and extend the lifespan of your waterproofed areas.
Surface preparation standards emphasise the importance of thorough surface preparation before applying new protective coatings. Begin by completely cleaning the surface, removing any old coating, dirt, or debris that might prevent proper adhesion. Ensure the area is completely dry and inspect for any underlying damage that might require repair before reapplication. Select a coating material specifically designed for your surface type, considering factors such as material compatibility, environmental exposure, and expected performance requirements.
When applying the new protective coating, work systematically and follow manufacturer instructions precisely. Roof valley maintenance techniques recommend paying special attention to critical areas like roof valleys and transition zones where water might accumulate. Apply the coating evenly using appropriate tools such as rollers, brushes, or sprayers, ensuring complete and uniform coverage. Allow sufficient drying time between coats and monitor the application to prevent pooling or uneven distribution that could compromise the protective barrier.
Professional tip: Always purchase high quality protective coatings from reputable manufacturers and consider professional application if you are uncertain about achieving optimal coverage and protection.
Step 5: Verify effectiveness with regular inspections
Regular inspections are the cornerstone of maintaining effective waterproofing protection, allowing you to identify potential issues before they escalate into costly repairs. This crucial step helps you proactively monitor the condition of your waterproofed surfaces and ensure long term performance.
Workplace hazard identification protocols recommend developing a systematic approach to inspection that goes beyond surface level examination. Schedule comprehensive inspections at least twice annually using a detailed checklist that covers all critical areas. Look for subtle signs of potential problems such as slight discolouration, minor cracks, areas of increased moisture, or changes in surface texture that might indicate underlying waterproofing degradation. Pay particular attention to areas prone to water accumulation and structural transitions where water infiltration risks are highest.
Roof valley maintenance standards emphasise the importance of thorough visual and tactile assessments. Use appropriate tools like moisture metres, infrared cameras, or professional inspection equipment to detect hidden issues not visible to the naked eye. Document your findings carefully, creating a comprehensive record that tracks the condition of your waterproofed surfaces over time. This historical documentation can help you identify emerging patterns and make informed decisions about maintenance and potential repairs.
The following table compares key tools and their benefits for regular waterproofing inspections:
| Tool | Inspection Benefit | Usage Recommendation |
|---|---|---|
| Moisture metre | Detects hidden damp | Use on walls and corners |
| Infrared camera | Reveals subsurface water issues | Scan large or flat areas |
| Digital camera | Records visible surface changes | Take reference photographs |
| Notebook or app | Tracks findings for future review | Log location and details |
Professional tip: Conduct inspections during different weather conditions to gain a comprehensive understanding of your waterproofing system’s performance under varying environmental stresses.
Protect Your Property with Expert Waterproofing Solutions
Maintaining waterproofed areas requires attention to detail and timely action to prevent costly water damage. If you have noticed issues like membrane cracks, peeling edges, or moisture ingress from your inspections, our professional team at Pro Waterproofing is here to help you restore lasting protection. By addressing defects early and applying the right protective coatings, you can safeguard your home or business against the risks of damp and structural deterioration.

Explore our Uncategorized – Pro Waterproofing articles for practical maintenance advice and expert insights. Ready to secure your investment with trusted waterproofing experts in South Africa? Visit https://prowaterproofing.co.za to get a personalised quote and take the first step towards resilient, long-lasting waterproofing today.
Frequently Asked Questions
How can I assess my current waterproofed surfaces?
To assess your waterproofed areas, conduct a thorough visual inspection. Look for signs of discolouration, cracks, or bubbling, and document any vulnerabilities you find.
What steps should I take to clean waterproofed areas?
Begin by selecting soft cleaning materials suitable for waterproofed surfaces. Use a gentle cleaning solution and rinse thoroughly to remove all soap residue, ensuring the surface is completely clean and free from contaminants.
How do I repair minor defects in waterproofing?
To repair minor defects, clean the damaged area thoroughly and ensure it is dry. Use appropriate sealants designed for your specific waterproofing system to mend small cracks or surface issues, applying evenly for a smooth finish.
When should I reapply protective coatings?
Reapply protective coatings when wear is visible or if your last application is more than a few years old. Clean the surface, remove old coatings, and apply a fresh layer to maintain effective waterproofing protection.
How often should I conduct inspections of my waterproofed areas?
Conduct inspections at least twice a year to monitor the condition of your waterproofed surfaces. Look for subtle signs of damage, like minor cracks or discolouration, to catch potential issues early and prevent costly repairs.
What tools can I use to verify the effectiveness of my waterproofing?
Use tools like moisture metres and digital cameras to assess your waterproofing’s effectiveness. These tools help you detect hidden moisture and visually document changes, supporting ongoing maintenance efforts.