
Waterproofing failures cost homeowners billions every year, yet many british properties remain at risk due to overlooked maintenance. Without regular inspection and targeted care, small cracks or blocked drainage quickly lead to major repairs. Knowing what steps to take helps you identify weaknesses early and extend the life of your building’s waterproofing. This practical guide breaks down each essential stage so you can keep your property protected and avoid expensive surprises.
Table of Contents
- Stage 1: Assess Existing Waterproofing Condition
- Stage 2: Clean and Clear All Waterproofed Surfaces
- Stage 3: Repair Visible Cracks and Damaged Areas
- Stage 4: Apply Protective Coatings and Sealants
- Stage 5: Test for Effective Waterproofing Coverage
Quick Summary
| Key Insight | Explanation |
|---|---|
| 1. Assess waterproofing regularly | Conduct thorough inspections to identify deterioration like water stains or cracks early on. Regular assessments prevent costly repairs later. |
| 2. Clean surfaces strategically | Use approved cleaning agents and methods to maintain waterproofed surfaces, protecting them from damage while ensuring their effectiveness. |
| 3. Repair cracks promptly | Address visible damages quickly using compatible waterproofing materials to maintain system effectiveness and prevent future issues. |
| 4. Apply protective coatings carefully | Choose suitable sealants and follow application guidelines to enhance waterproofing protection and ensure long-lasting performance. |
| 5. Test waterproofing effectiveness systematically | Conduct comprehensive tests under realistic conditions to confirm waterproofing success and identify any vulnerabilities needing attention. |
Stage 1: Assess Existing Waterproofing Condition
Understanding the current state of your property’s waterproofing is crucial for preventing potential water damage and maintaining structural integrity. According to ndlambe.gov.za, the South African National Standard emphasises comprehensive evaluation of existing waterproofing systems to prevent issues like moisture retention and delamination.
To effectively assess your waterproofing condition, start with a thorough visual inspection. Walk around your property methodically, examining walls, roofs, foundations, and any areas prone to water exposure. Look for telltale signs of deterioration such as water stains, discolouration, peeling paint, mould growth, or visible cracks. Pay special attention to areas where different building materials meet, as these are typically most vulnerable to water penetration.
Professional assessment becomes critical when you notice significant signs of wear. gov.za recommends regular servicing of waterproofing systems to maintain structural integrity. Consider hiring a qualified waterproofing specialist who can conduct a comprehensive assessment using advanced diagnostic tools, helping you identify potential issues before they escalate into costly repairs.
A helpful tip is to document your findings with clear photographs. These will serve as a baseline for tracking changes and can be invaluable if you need professional intervention later. Your next step will involve determining the appropriate remediation strategy based on the assessment results.
Stage 2: Clean and Clear All Waterproofed Surfaces
Maintaining clean waterproofed surfaces is fundamental to preserving their protective capabilities and extending their longevity. According to nlcsa.org.za, proper maintenance involves strategic cleaning techniques that protect surfaces from potential water damage while preserving their structural integrity.
Begin by selecting appropriate cleaning materials specifically designed for your waterproofed surfaces. kznworks.gov.za emphasises using SABS-approved cleaning agents that are environmentally friendly and safe. For general surfaces, use mild detergents with soft brushes or cloths to remove dirt, mildew, and accumulated grime without causing abrasion. Avoid harsh chemical cleaners or high-pressure washing techniques that might compromise the waterproofing membrane.
Special attention should be given to areas like weep holes, drainage points, and joints where debris can accumulate. Gently clear these spaces using soft tools to prevent blockages that could impede water drainage. After cleaning, thoroughly rinse surfaces with clean water and allow them to dry completely. This process helps maintain the protective layer and prevents potential water infiltration.
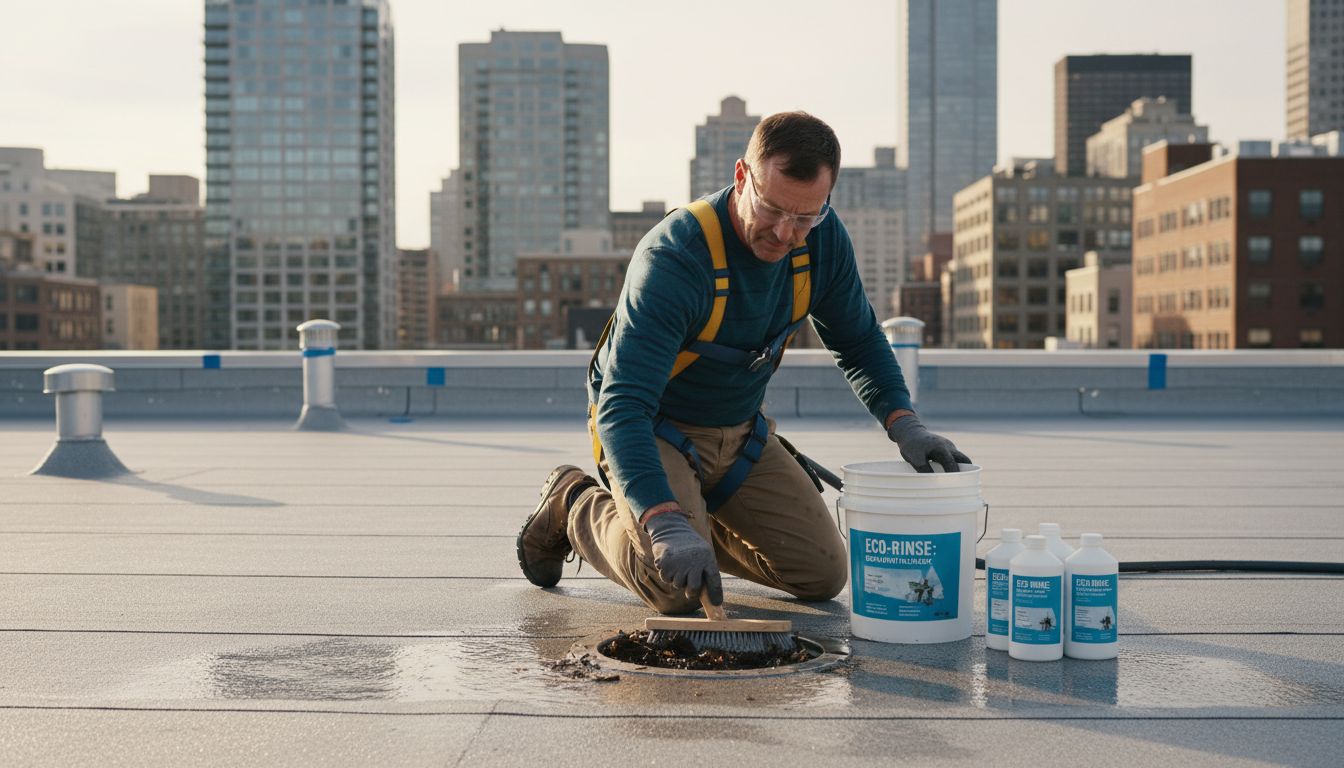
A crucial tip is to conduct cleaning during dry weather conditions, which allows surfaces to dry quickly and prevents moisture retention. Your next step will involve inspecting the cleaned surfaces for any signs of wear or potential vulnerabilities in the waterproofing system.
Stage 3: Repair Visible Cracks and Damaged Areas
Addressing visible cracks and damaged areas is critical to maintaining the long-term effectiveness of your waterproofing system. According to hwc.org.za, the repair process involves systematically removing old waterproofing and addressing structural vulnerabilities to restore surface integrity.
Begin by thoroughly cleaning the damaged areas, removing loose debris, and ensuring the surface is completely dry. gpl.gov.za emphasises the importance of proper preparation before applying any repair materials. Select appropriate waterproofing compounds compatible with your specific surface material such as rubberised sealants for concrete or specialised masonry repair compounds. Apply these materials carefully, ensuring complete coverage of cracks and using techniques that create a seamless protective barrier.
When working with larger or more complex damages, consider professional assessment to determine the underlying causes of cracking. Some damages might indicate more significant structural issues that require expert intervention. Ensure you use high-quality, flexible repair materials that can accommodate natural building movement and prevent future water penetration.
A crucial tip is to work during dry weather conditions and allow sufficient curing time for repair materials.
Your next step will involve conducting a comprehensive water resistance test to verify the effectiveness of your repairs.
Stage 4: Apply Protective Coatings and Sealants
Applying protective coatings and sealants is a critical step in maintaining robust waterproofing for your property. According to ndlambe.gov.za, the South African National Standard emphasises proper surface preparation and strategic material selection to ensure long-term waterproofing performance.
Begin by thoroughly cleaning and drying the surface to be treated, removing any dust, debris, or loose materials that could compromise adhesion. gov.za recommends selecting protective coatings that offer extended guarantee periods and minimal maintenance requirements. Choose sealants specifically designed for your surface type, considering factors like material compatibility, environmental exposure, and expected movement. Apply the coating evenly using appropriate tools such as rollers, brushes, or sprayers, ensuring complete and consistent coverage without pooling or uneven application.
Pay close attention to critical areas like joints, corners, and potential stress points where water infiltration is most likely. Multiple thin layers often provide better protection than a single thick application. Allow sufficient drying time between coats and follow manufacturer recommendations for optimal curing conditions. Some advanced concrete waterproofing admixtures can provide comprehensive protection with minimal ongoing maintenance.
A crucial tip is to work in moderate temperatures and avoid applying coatings during extreme weather conditions. Your next step will involve conducting a comprehensive water resistance test to verify the effectiveness of your protective treatment.
Stage 5: Test for Effective Waterproofing Coverage
Validating the effectiveness of your waterproofing system is crucial to ensuring long-term protection for your property. According to gpl.gov.za, thorough testing procedures are essential to confirm that applied waterproofing systems meet required protection standards.
Begin the testing process by simulating realistic water exposure conditions. ndlambe.gov.za recommends a comprehensive evaluation method that involves systematically checking different surface areas. For smaller surfaces, use a water ponding test by creating a temporary water reservoir on the treated area and monitoring for any signs of leakage or moisture penetration. For larger surfaces, consider using specialised moisture detection equipment that can identify potential weak points or hidden vulnerabilities in your waterproofing system.
Pay particular attention to complex areas such as joints, seams, and intersections where water infiltration is most likely to occur. Document your testing process meticulously, recording the duration of water exposure, specific areas tested, and any observable outcomes. Some advanced testing techniques include thermal imaging to detect moisture variations and electronic leak detection systems that can pinpoint precise locations of potential water ingress.
A critical tip is to conduct testing during different weather conditions and seasons to ensure comprehensive coverage. Your next step will involve developing a proactive maintenance strategy based on the insights gained from your waterproofing performance assessment.
Protect Your Property with Expert Waterproofing Solutions
Maintaining lasting waterproofing protection can seem complex when facing challenges like hidden cracks or ineffective coatings. This article outlines key steps such as careful assessment, surface cleaning, expert repairs, precise application of sealants, and thorough testing to safeguard your property from moisture damage. If you want to avoid costly repairs and ensure your home or business remains dry and structurally sound, professional guidance is essential.
Discover how Pro Waterproofing can help you address these crucial maintenance stages with trusted, quality services that prioritise durability and peace of mind. Visit our Uncategorized – Pro Waterproofing page for insights and actionable advice.

Don’t wait until water damage threatens your property integrity. Act now and connect with skilled specialists who understand every aspect of waterproofing maintenance. Reach out through Pro Waterproofing to get personalised solutions and secure your investment today. Take the first step towards lasting waterproofing protection by exploring our expert services and detailed guides.
Frequently Asked Questions
How can I assess the existing waterproofing condition of my property?
Start by conducting a thorough visual inspection of all areas prone to water exposure, such as walls and roofs. Look for signs of deterioration like water stains and cracks, and document your findings with photographs.
What steps should I take to maintain clean waterproofed surfaces?
Use mild detergents and soft brushes to gently clean the surfaces without causing abrasion. Clear debris from critical areas like drainage points during dry weather to ensure maximum water drainage and prevent moisture retention.
How do I repair visible cracks and damaged areas effectively?
Clean the damaged areas thoroughly and ensure they are dry before applying suitable waterproofing compounds. For larger damages, consider enlisting professional help to address potential underlying structural issues.
What is the best way to apply protective coatings and sealants?
Ensure the surface is completely clean and dry before applying protective coatings evenly with appropriate tools. Apply multiple thin layers rather than one thick coat to maximise coverage and durability, allowing sufficient drying time between applications.
How can I test for effective waterproofing coverage?
Simulate water exposure conditions by creating a temporary water reservoir on treated areas to check for leaks. Document your observations meticulously to identify any weak points that require further attention.
How often should I conduct maintenance on my waterproofing system?
Perform maintenance checks regularly, ideally every six to twelve months, to ensure the waterproofing remains effective. Conduct assessments after extreme weather events to address any immediate concerns promptly.
![]()