TL;DR:
- Proper site assessment and surface preparation are critical to waterproofing success in South Africa.
- Use SANS 10400 compliant materials and methods suited for local climate conditions.
- Choose experienced, licensed contractors with proper credentials and clear warranties to ensure durability.
Water damage is one of the most expensive and disruptive problems a South African property owner can face. A single season of heavy rainfall or coastal humidity can turn a small damp patch into structural decay, mould growth, and costly repairs. The frustrating part is that most failures trace back not to the waterproofing product itself, but to poor preparation and rushed contractor selection. Thorough site assessment, surface preparation, and material selection aligned with SANS 10400 standards are the foundation of any successful project. This guide walks you through every stage, from spotting vulnerabilities to verifying the finished work.
Table of Contents
- Assessing your property and waterproofing needs
- Gathering materials and preparing surfaces
- Selecting waterproofing methods and planning the project
- Choosing and working with a waterproofing contractor
- Final checks, post-application testing, and maintenance
- What most guides miss about waterproofing preparation in South Africa
- Secure your property with expert waterproofing help
- Frequently asked questions
Key Takeaways
| Point | Details |
|---|---|
| Thorough assessment first | Inspecting all at-risk areas is essential before starting any waterproofing project. |
| Right materials matter | Choosing proper materials for your climate and application secures long-term results. |
| Always check credentials | Only use contractors with valid CWP/CIDB certificates and insurance for peace of mind. |
| Final tests ensure success | Run post-application tests and keep records for warranties and future maintenance. |
Assessing your property and waterproofing needs
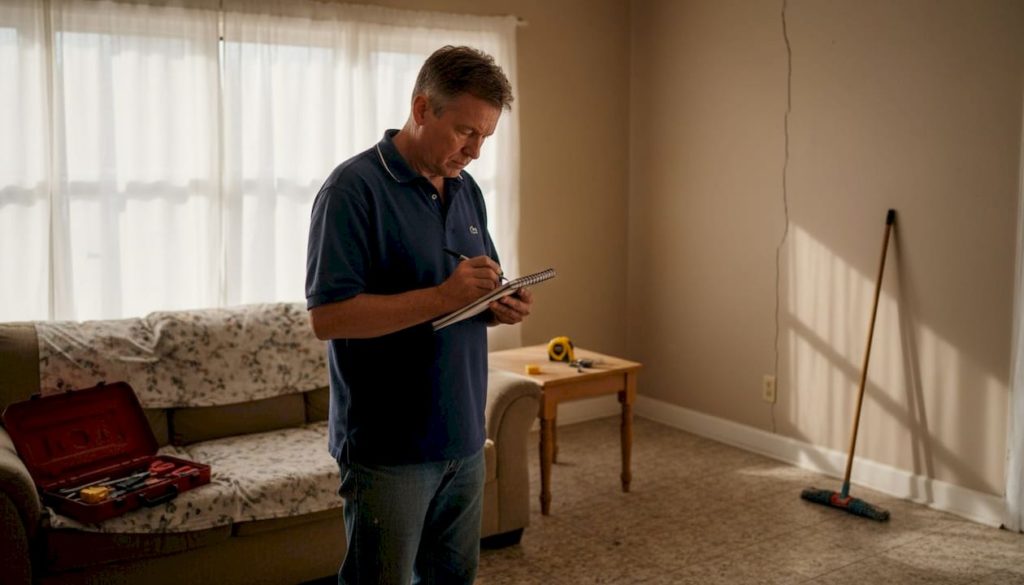
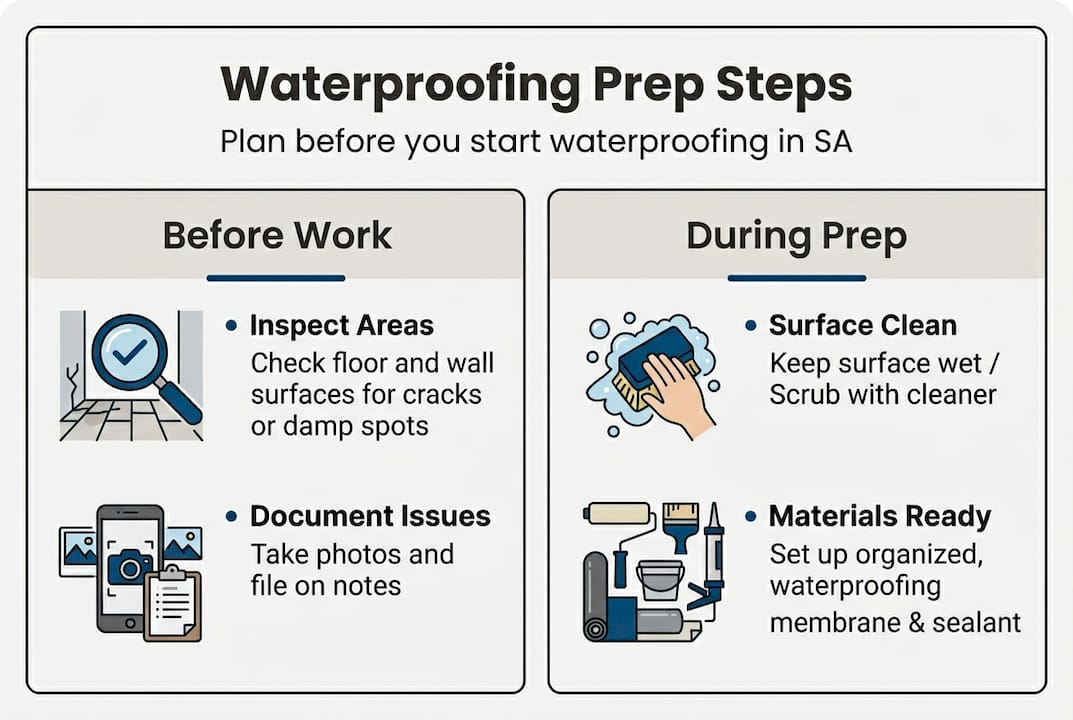
Before a single litre of membrane is applied, you need a clear picture of what you are dealing with. Site assessment is the first critical step for effective waterproofing, and skipping it is the single biggest cause of early failure. Understanding why waterproofing matters starts with knowing exactly where your property is vulnerable.
Here is a practical inspection checklist to work through:
- Roof and parapet walls: Look for cracked or lifting membranes, pooling water, and deteriorated flashings around penetrations such as pipes and skylights.
- Exterior walls: Check for efflorescence (white salt deposits), paint bubbling, and visible cracks, especially around window frames and expansion joints.
- Basements and ground-floor slabs: Look for damp patches, a musty smell, and any signs of rising damp moving up the walls.
- Drainage and gutters: Blocked or poorly graded drainage forces water back against the structure. Check downpipes, surface channels, and the slope of paved areas.
- Foundation zone: Older homes in South Africa often have shallow foundations. Check for soil erosion, cracking near the base of walls, and any signs of subsidence.
Your local climate shapes the inspection priorities. Coastal properties in areas like Durban or Cape Town face salt-laden air and high humidity that accelerate membrane degradation. Inland highveld properties deal with intense UV exposure and dramatic temperature swings. High-rainfall regions in KwaZulu-Natal or the Garden Route need particular attention to drainage and roof drainage capacity.
“Skipping the assessment phase is like painting over rust. The surface looks fine for a season, then the real damage emerges faster than before.”
For detailed inspection advice, take time to document every problem area thoroughly before calling a contractor.
Pro Tip: Take photographs of every crack, damp patch, and drainage concern. Note access difficulties such as high parapets or confined basements. This record saves time when briefing contractors and helps you compare quotes accurately.
Gathering materials and preparing surfaces
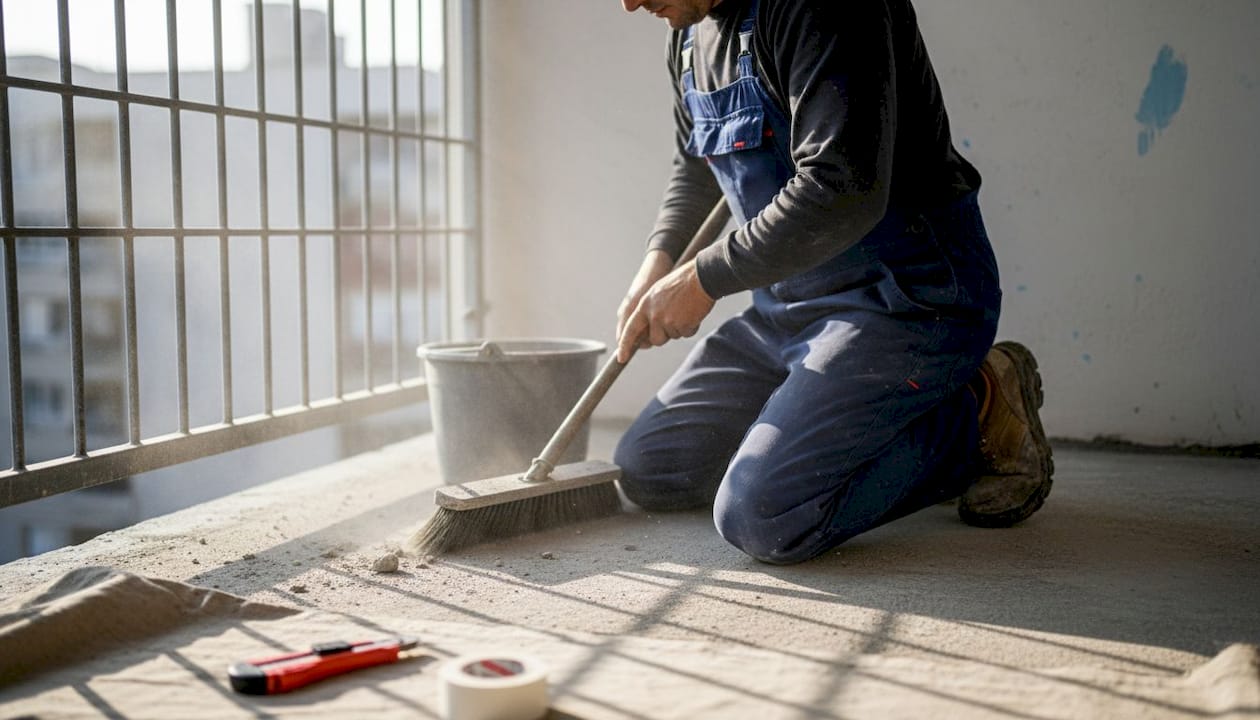
Once you know which areas to address, the next step is getting the right materials and preparing properly. Surface cleaning and preparation are essential for waterproofing project success, and no product will perform well on a contaminated or unstable substrate.
South African waterproofing work must comply with regulatory standards set out in SANS 10400 Part P, which governs damp-proofing and waterproofing in buildings. This standard specifies minimum requirements for materials, application methods, and performance. Using non-compliant products can void warranties and create liability issues if you ever sell the property.
Here is a comparison of common waterproofing materials and their best uses:
| Material | Best use | Lifespan | Notes |
|---|---|---|---|
| Torch-on bitumen membrane | Flat roofs, large slabs | 10-15 years | Cost-effective, needs skilled installer |
| Liquid-applied membrane | Complex shapes, balconies | 10-20 years | Seamless, good for penetrations |
| Cementitious coating | Basements, wet rooms | 10-15 years | Rigid, suits concrete substrates |
| Crystalline admixture | Concrete structures | 25+ years | Self-sealing, premium cost |
| Acrylic sealant | Joints, cracks, flashings | 5-10 years | Supplementary use only |
For a full essential materials list and a broader materials guide covering local product options, review these resources before purchasing.
Surface preparation steps to follow:
- Remove all loose paint, dirt, oil, and biological growth using a wire brush, grinder, or pressure washer.
- Repair cracks and joints with a compatible filler or polyurethane sealant before applying any membrane.
- Apply a primer suited to the substrate to improve adhesion and reveal any remaining damp.
- Allow the surface to dry completely. In humid coastal conditions, this can take longer than expected.
Common mistakes include filling only the visible crack without addressing the cause, applying membranes over damp surfaces, and skipping the primer coat to save time. These shortcuts almost always result in delamination within one or two seasons.
Pro Tip: After priming, run your hand across the surface. Any soft or powdery areas indicate hidden damp or weak substrate. Address these before proceeding, not after.
Selecting waterproofing methods and planning the project
With surfaces prepped, it is crucial to pick the right waterproofing method and map out the work. The method you choose affects cost, lifespan, maintenance requirements, and compliance with local standards.
| Method | Typical cost (per m²) | Lifespan | Pros | Cons |
|---|---|---|---|---|
| Torch-on membrane | R150-R250 | 10-15 yrs | Durable, proven | Requires gas torch, fire risk |
| Liquid membrane | R180-R350 | 10-20 yrs | Seamless, flexible | Application-sensitive |
| Cementitious | R120-R200 | 10-15 yrs | Easy to apply, bonds well | Cracks under movement |
| Crystalline | R300-R600 | 25+ yrs | Self-healing, long warranty | Higher upfront cost |
Modern crystalline admixtures offer 25-year warranties, significantly outlasting traditional bitumen options. For more detail, compare methods and review a lifespan guide to understand long-term value.
Project planning steps:
- Schedule around weather: Avoid application during rain or when temperatures drop below 5°C. Most membranes need 24 to 48 hours of dry conditions to cure properly.
- Plan drainage first: Ensure all surface drainage is functional before sealing any surface. Trapping water under a membrane accelerates failure.
- Sequence the work: Start from the lowest point and work upward. On roofs, begin at penetrations and edges before covering the field area.
- Allow for curing time: Do not expose new waterproofing to foot traffic or water until the manufacturer’s curing period has passed.
- Confirm compliance: Only SANS-approved methods and materials will satisfy insurance requirements and building regulations. Concrete waterproofing for structural elements has particularly strict requirements.
DIY application carries real risk. Poor adhesion, missed penetrations, and incorrect curing conditions are common errors that are expensive to fix after the fact.
Choosing and working with a waterproofing contractor
With your project plan in hand, how do you choose and work with the right contractor? This decision shapes the outcome more than any product you select.
Check CWP registration, CIDB grading, insurance, experience, and references before committing to anyone. Avoid contractors who pressure you to sign immediately, quote without a site visit, or cannot produce proof of insurance.
Credentials checklist:
- CWP registration: The Certified Waterproofing Practitioner designation signals formal training and industry recognition.
- CIDB grading: The Construction Industry Development Board grading confirms the contractor is registered for work at the relevant project value.
- Public liability insurance: Protects you if damage occurs during the project.
- References and portfolio: Ask for at least three recent references and follow up with a call.
- Written warranty: A reputable contractor will provide a warranty of at least five years, backed by the product manufacturer.
For context on industry standards and contractor regulations in South Africa, review these resources before your first meeting.
Check Google reviews and Hellopeter for patterns. A single bad review is not necessarily a red flag, but repeated complaints about incomplete work or disappearing after payment are serious warning signs.
“Unqualified installers often use the right product but apply it incorrectly. The failure looks identical to a product fault, and the homeowner carries the cost.”
Pro Tip: Get all warranties, insurance certificates, and compliance documentation in writing before work begins. A verbal promise is worthless if something goes wrong six months later.
Final checks, post-application testing, and maintenance
Once the main work is done, a few final checks and ongoing care steps make all the difference. Post-testing such as flood tests is essential to confirm effectiveness before you sign off on the project.
Post-application steps:
- Inspect all edges, penetrations, and joints visually for gaps, bubbles, or lifting.
- Conduct a flood test on flat surfaces by ponding water for 24 to 48 hours and checking for any seepage below.
- Check that drainage outlets are clear and functioning correctly.
For guidance on choosing the right system for your roof, review the available roof waterproofing types to understand what ongoing maintenance each requires.
Ongoing maintenance tips:
- Clear gutters and drainage channels at least twice a year.
- Inspect flashings and sealant joints annually for cracking or separation.
- Recoat or reseal surfaces as recommended by the manufacturer.
- Keep records of all work done, including dates, products used, and warranty documents.
Early signs of failure include new damp patches, paint peeling near joints, and efflorescence returning. Address these promptly. Small repairs cost a fraction of full re-application.
What most guides miss about waterproofing preparation in South Africa
Most mainstream advice stops at checklists. What it rarely addresses is why so many projects still fail despite following the steps.
The honest answer is that South African conditions are genuinely demanding. The combination of UV intensity, temperature extremes, and seasonal flooding in many regions degrades materials faster than European or North American benchmarks suggest. Products rated for 15 years in mild climates may need attention after 8 years here.
DIY risks failure due to poor prep and adhesion, and even experienced contractors sometimes underestimate the preparation time required. In our experience, the projects that fail within two years almost always share one characteristic: someone rushed the surface preparation to save time or money.
The other underestimated factor is contractor selection. Property owners often focus on price and availability, then regret not asking harder questions upfront. Rushing this decision is the top regret we hear from clients who come to us after a failed first attempt. For a broader view, explore essential methods suited to South African conditions.
Pro Tip: Invest in a professional assessment before budgeting. The assessment cost is negligible compared to the cost of redoing work. Insist on SANS-standard warranties in writing. If a contractor hesitates, that tells you everything you need to know.
Secure your property with expert waterproofing help
Planning a waterproofing project is straightforward when you have the right support from the start. Pro Waterproofing offers SANS-certified guidance, thorough site assessments, and end-to-end project execution for residential, commercial, and industrial properties across South Africa.

Our teams work to documented standards, provide robust warranties, and use only compliant materials suited to local climate conditions. Whether you are dealing with a leaking flat roof, a damp basement, or exterior wall ingress, we can help you plan and execute the work correctly the first time. Get a waterproofing quote today and take the first step towards a dry, protected property.
Frequently asked questions
What are the most common waterproofing mistakes in South African homes?
Poor preparation and wrong material choice are the primary causes of failure, alongside hiring contractors who lack the credentials to apply products correctly for local conditions.
How much does professional waterproofing cost in South Africa?
Costs range from R300 to R800 per square metre, depending on the method, surface area, and labour involved, with torch-on at the lower end and crystalline or liquid membranes at the higher end.
Which credentials should a waterproofing contractor have?
Insist on CWP registration, CIDB grading, valid public liability insurance, and verifiable references from recent projects before signing any agreement.
How can I check if waterproofing is successful after application?
Conduct a flood test on flat surfaces, inspect all penetrations and edges carefully, and request a written warranty from your contractor to confirm the work meets the required standard.