Water leaks are responsible for nearly 40 percent of structural damage in homes each year. A roof that lets in moisture can threaten your property’s safety and lead to expensive repairs. Knowing how to assess, prepare, and properly waterproof your roof gives you control over potential risks. This step-by-step guide breaks down proven methods to help you secure your home and avoid the hidden costs of water damage.
Table of Contents
- Step 1: Assess Roof Condition And Identify Risks
- Step 2: Select Suitable Waterproofing Materials And Tools
- Step 3: Prepare The Roof Surface For Application
- Step 4: Apply Modern Waterproofing Solutions Properly
- Step 5: Inspect, Test, And Maintain Your Waterproofed Roof
Quick Summary
| Key Point | Explanation |
|---|---|
| 1. Assess roof condition regularly | Conduct systematic inspections to detect water intrusion or structural weaknesses before they escalate into major issues. |
| 2. Choose appropriate waterproofing materials | Select products based on local weather conditions and their compatibility with your roofing type to ensure effective protection. |
| 3. Prepare the roof surface thoroughly | Clean and repair the roof to create a stable surface for waterproofing materials, ensuring optimal adhesion and effectiveness. |
| 4. Apply waterproofing solutions correctly | Follow precise application methods, layering products to create a seamless barrier that prevents water penetration. |
| 5. Conduct regular maintenance inspections | Perform biannual checks and simulate rainfall to identify and address potential issues, preserving the integrity of the waterproofing system. |
 |
|
Step 1: Assess Roof Condition and Identify Risks
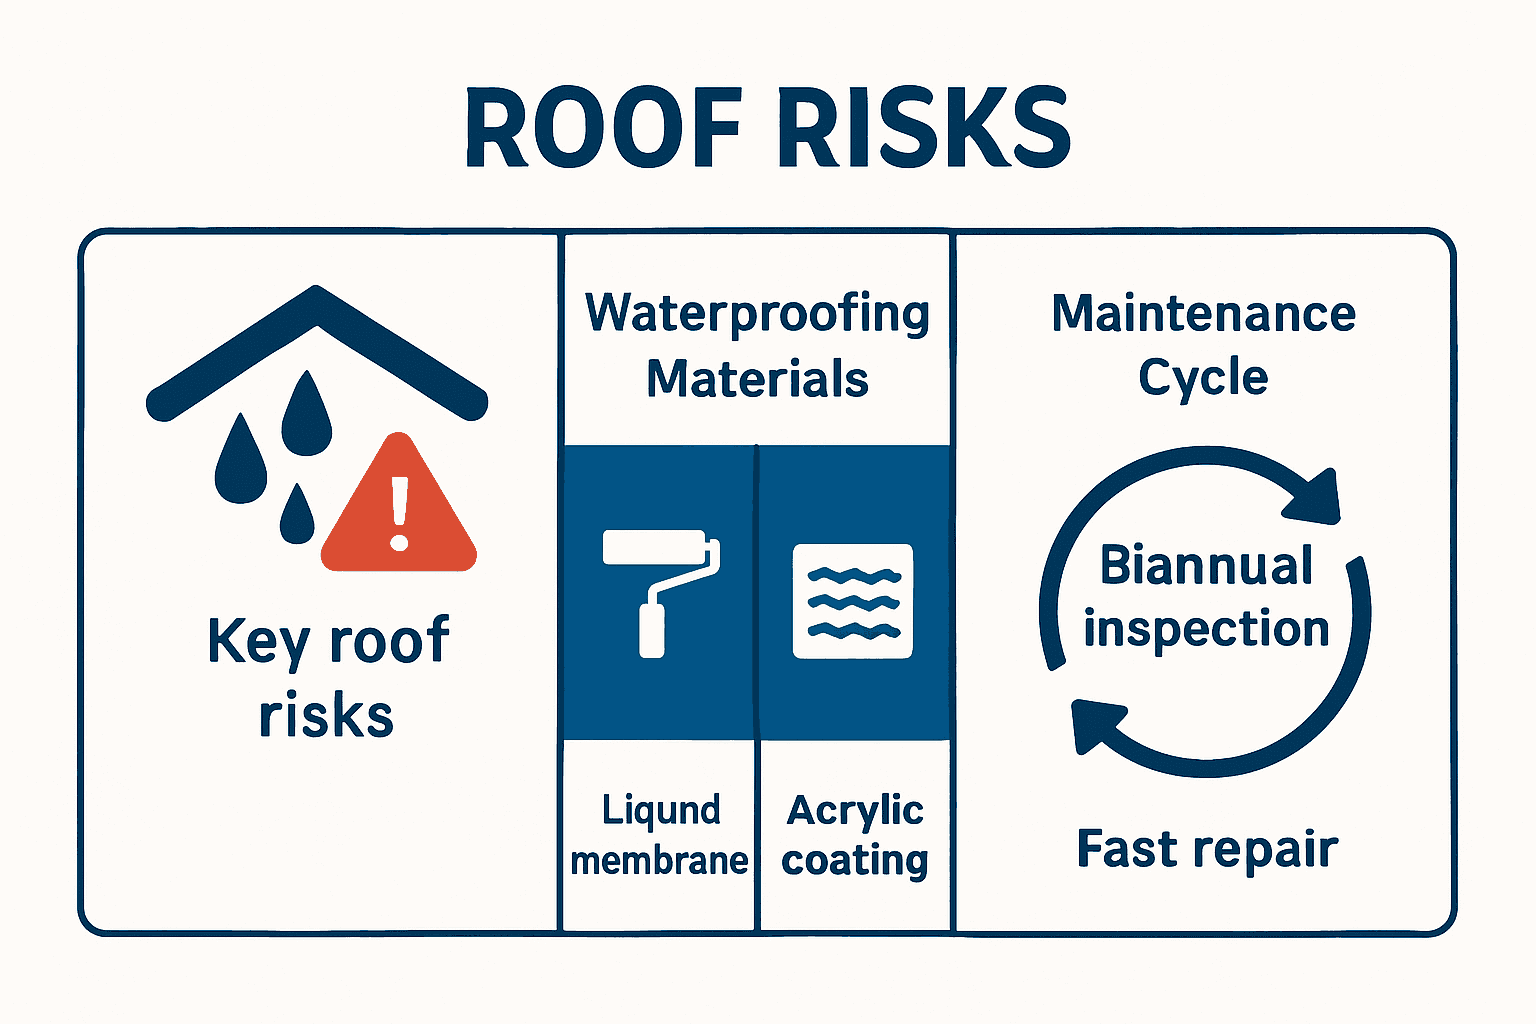
Understanding your roof’s current condition is the critical first step in protecting your property from water damage. This assessment helps you identify potential risks before they escalate into costly repairs. According to sans10400, roof coverings must effectively resist rain penetration and prevent water accumulation by meeting specific performance standards.
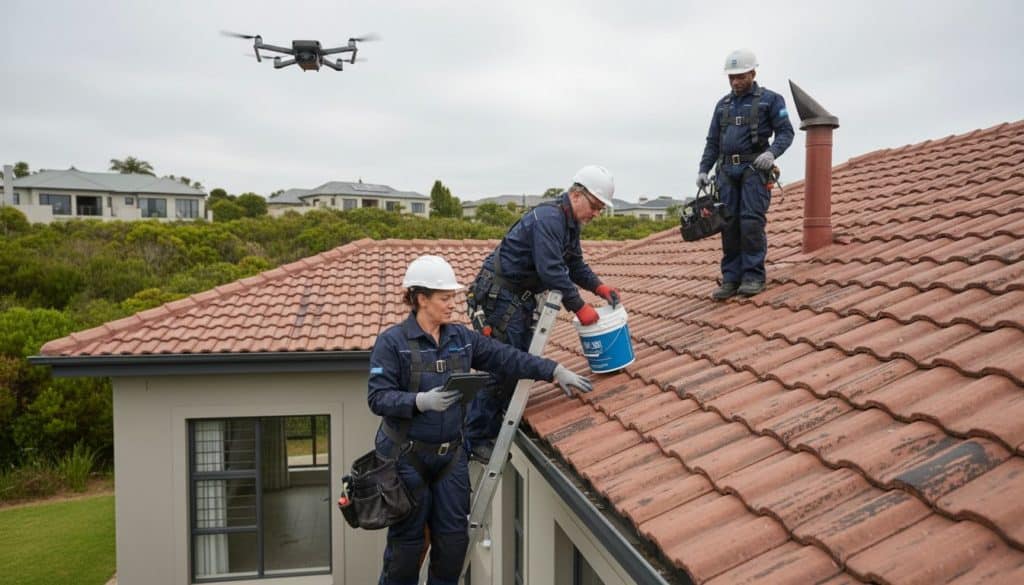
To conduct a comprehensive roof inspection, start by performing a systematic visual examination both inside and outside your property. Look for telltale signs of potential water intrusion or structural weakness such as discoloured ceiling patches, visible water stains, sagging roof sections, cracked tiles, missing shingles, or areas where roof materials appear worn or damaged. Common roof issues we come across often include structural deterioration that might not be immediately apparent to untrained eyes.
Pay special attention to roof junctions vulnerable to water penetration like chimneys, vents, and skylights. These areas frequently experience seal degradation and can become primary entry points for moisture. When examining your roof exterior, check for debris accumulation, moss growth, or any structural deformations that could compromise water resistance. If you notice multiple signs of potential damage or feel uncertain about your assessment, consider scheduling a professional inspection to get a detailed expert evaluation of your roof’s condition.
Your next step will involve documenting these findings and preparing for potential waterproofing interventions to protect your property effectively.
Step 2: Select Suitable Waterproofing Materials and Tools
Choosing the right waterproofing materials and tools is crucial for protecting your roof against potential water damage. According to prawa, selecting materials suited to South Africa’s unique weather conditions ensures durability and effectiveness. Your goal is to find solutions that provide long lasting protection tailored to your specific roofing requirements.
Common Waterproofing Materials Every Property Owner Should Know highlights the importance of understanding different product characteristics. When selecting materials, consider factors like flexibility, UV resistance, temperature tolerance, and compatibility with your existing roof structure. Look for products that offer comprehensive protection such as liquid membranes, acrylic coatings, bitumen based sealants, or polyurethane systems. Each material has unique strengths some work better on metal roofs while others are ideal for concrete or tiled surfaces.
Prioritize professional grade materials that provide comprehensive protection. Key tools you will need include a quality paintbrush or roller, protective gloves, safety goggles, a ladder for roof access, cleaning equipment to prepare surfaces, and potential supplementary items like sealant guns or scrapers. Always conduct a small test application in an inconspicuous area to verify material performance and compatibility before proceeding with full roof coverage.
Your next step will involve preparing the roof surface and applying the selected waterproofing materials with precision and care.
Step 3: Prepare the Roof Surface for Application
Preparing your roof surface is a critical step that determines the success of your waterproofing project. According to sans10400, thorough surface preparation is essential to ensure optimal waterproofing performance and achieve a structurally sound result. Your primary goal is to create a clean, stable, and damage free surface that will allow waterproofing materials to adhere effectively.
How to Waterproof Roof recommends a comprehensive cleaning process that involves multiple stages. Start by removing all loose debris including leaves, branches, and dirt using a stiff brush or industrial blower. Next, conduct a detailed inspection to identify and repair any existing damage such as cracked tiles, rusted metal surfaces, or areas with previous water penetration. Use appropriate repair materials to address these issues ensuring you create a smooth and even surface before applying waterproofing products.
For thorough surface preparation, you will need specific tools including a pressure washer, safety harness, sturdy ladder, protective gloves, wire brush, scrapers, and cleaning solutions suitable for your roof material. Pay special attention to sealing potential entry points around chimneys, vents, and roof edges. Be cautious of potential slip hazards and always prioritize safety by working with a partner and using proper fall protection equipment.
Your next step will involve carefully applying the selected waterproofing materials to your meticulously prepared roof surface.
Step 4: Apply Modern Waterproofing Solutions Properly
Applying waterproofing solutions requires precision and careful technique to ensure comprehensive protection for your roof. According to prawa, proper application methods are crucial for achieving effective and long lasting waterproofing across different roof types. Your goal is to create a seamless protective barrier that prevents water penetration and potential structural damage.

Effective Roof Waterproofing Workflow for Lasting Protection recommends starting with a systematic application approach. Begin by mixing your waterproofing product according to manufacturer specifications using clean tools and maintaining consistent environmental conditions. Apply the first layer using a roller or specialised brush working in smooth consistent strokes to ensure complete surface coverage. Pay special attention to corners, edges, and potential weak points where water might accumulate. Most waterproofing solutions require multiple thin layers rather than one thick application to achieve optimal adhesion and flexibility.
When applying waterproofing materials, work methodically from one section to another maintaining a wet edge to prevent uneven coverage or visible seams. Be mindful of temperature and humidity conditions as these can significantly impact product performance. Allow sufficient drying time between layers and avoid application during direct sunlight or imminent rainfall. Wear protective equipment including gloves, safety glasses, and respiratory protection to safeguard yourself during the application process.
Your next step will involve allowing the waterproofing solution to cure completely and conducting a thorough final inspection.
Step 5: Inspect, Test, and Maintain Your Waterproofed Roof
After successfully applying waterproofing solutions, regular inspection and maintenance become crucial to ensuring long-term roof protection. According to sans10400, comprehensive roof maintenance requires systematic checks to identify and address potential issues promptly. Your primary objective is to preserve the integrity of your waterproofing system and prevent potential water damage.
Inspecting a house: Check the roof’s condition recommends conducting thorough inspections at least twice annually during moderate weather conditions. Begin by visually examining the entire roof surface for signs of wear, such as cracks, bubbling, peeling, or areas with reduced coating thickness. Use binoculars or a drone for hard-to-reach sections, and document any changes or potential problem areas with photographs. Pay special attention to junctions around chimneys, vents, and roof edges where water might potentially penetrate.
When testing your waterproofing system, simulate rainfall conditions by carefully spraying water onto different roof sections and observing water runoff patterns. Look for any pooling or improper drainage that could indicate underlying issues. Perform minor repairs immediately using compatible sealants and materials matching your original waterproofing application. Consider professional assessment every few years to ensure comprehensive evaluation beyond what visual inspections can reveal. Always prioritize safety by using appropriate fall protection equipment and working with a partner during roof maintenance activities.
Your ongoing commitment to regular inspection and proactive maintenance will significantly extend your roof’s waterproofing effectiveness and protect your property from potential water damage.
Secure Your Roof with Expert Waterproofing Solutions Today
Mastering roof waterproofing is essential for South African property owners aiming to prevent water damage and costly repairs. This detailed guide highlights the challenges of assessing roof conditions, selecting the right materials, and applying modern waterproofing techniques properly. If you are facing worries about leaks, structural weaknesses, or unsure about waterproofing products, it is vital to act with confidence and care.
Discover proven methods and trusted advice on how to protect your home or business by exploring Uncategorized – Pro Waterproofing for expert insights and detailed articles.

Don’t wait until small roof issues become expensive problems. Visit Pro Waterproofing now to connect with reliable South African waterproofing specialists ready to guide you through every step. Take control of your roof’s health and ensure lasting protection with professional support focused on quality, experience, and peace of mind.
Frequently Asked Questions
How do I assess my roof’s condition before waterproofing?
Assess your roof by conducting a visual inspection both inside and outside your property. Look for signs of water intrusion, such as discolored ceiling patches and sagging roof sections, and document your findings for reference.
What types of waterproofing materials should I consider for my roof?
Consider materials like liquid membranes, acrylic coatings, and polyurethane systems, tailored to your roofing type. Choose solutions that offer flexibility and UV resistance to ensure long-lasting protection.
What steps do I need to take to prepare my roof surface for waterproofing?
Thoroughly clean your roof by removing debris and inspecting for existing damage before applying any waterproofing material. Use tools like pressure washers and scrapers to create a smooth, stable surface that enhances adhesion.
How should I apply waterproofing solutions to my roof?
Apply the first layer of your waterproofing product using a roller or brush, working in consistent strokes. Ensure to maintain a wet edge and allow sufficient drying time between layers, aiming for multiple thin coats rather than one thick application.
How often should I inspect my waterproofed roof for maintenance?
Inspect your roof at least twice a year during moderate weather conditions to check for signs of wear and proper drainage. Conduct minor repairs immediately and document any changes to maintain optimal roof protection.
What should I do if I find issues during my roof inspection?
Address any issues, such as cracks or bubbling, promptly using compatible sealants. Consider scheduling a professional evaluation every few years for a comprehensive assessment beyond visual checks.