
Water damage costs british property owners millions each year, making effective waterproofing more than just a maintenance concern. Protecting your investment starts long before you apply any products, with each step requiring careful preparation, precise material selection, and methodical application. Mastering these fundamentals not only prevents costly repairs but also gives you confidence that your space will withstand whatever the british climate throws your way.
Table of Contents
- Stage 1: Assess And Prepare All Surfaces
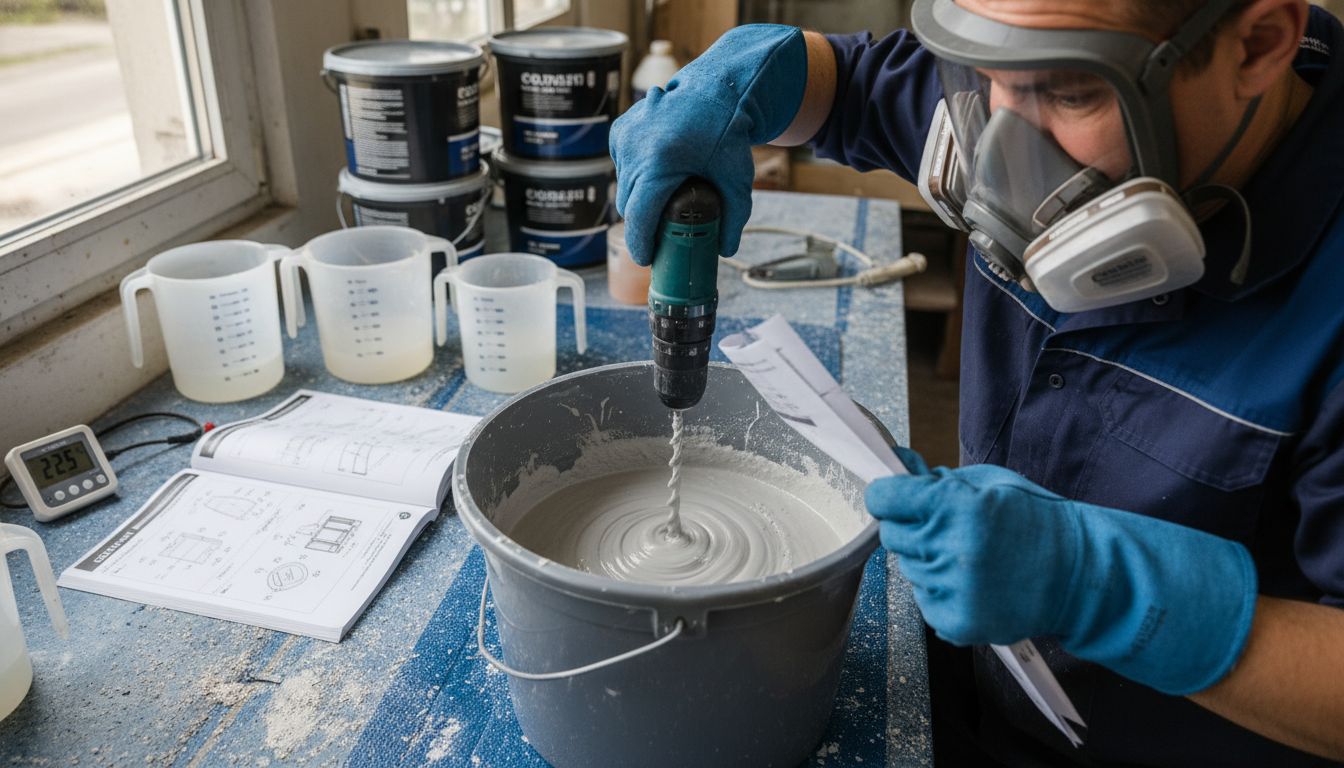
- Stage 2: Select And Mix Suitable Waterproofing Products
- Stage 3: Apply Primer To Enhance Adhesion
- Stage 4: Install Waterproofing Membrane Or Coating
- Stage 5: Inspect And Test For Complete Coverage
Quick Summary
| Key Point | Explanation |
|---|---|
| 1. Thoroughly inspect all surfaces | Check for cracks, unevenness, and damage for proper waterproofing adhesion. Assessments should be detailed and systematic. |
| 2. Choose approved waterproofing products | Select products that meet performance criteria and match the specific surface and conditions to ensure effectiveness. |
| 3. Apply primer correctly | Use epoxy or polyurethane primer at prescribed rates for optimal adhesion. Monitor for coverage and re-prime as needed. |
| 4. Install membrane with precision | Ensure proper technique during membrane application to create a watertight barrier. Check seams and junctions carefully. |
| 5. Conduct a thorough inspection | Examine the waterproofing installation for gaps and imperfections. Use visual and tactile methods to verify effectiveness. |
Stage 1: Assess and prepare all surfaces
Before diving into waterproofing, you need a rock-solid foundation that ensures optimal adhesion and protection. According to Unisa, professional surface preparation is critical, involving meticulous inspection and strategic cleaning to create the ideal substrate for waterproofing treatments.
Your first task involves thoroughly examining every surface for potential issues like cracks, uneven textures, or previous damage. As specified by Ndlambe, concrete surfaces must be “sound, smooth, and even” with a wood-floated finish that guarantees proper drainage. This means carefully checking for undulations, contaminants, or structural weaknesses that could compromise your waterproofing application.
To achieve professional-grade preparation, you will need to remove any existing surface treatments and clean the area completely. Vacuum blasting works exceptionally well for concrete surfaces, creating a slightly roughened texture that dramatically improves adhesive bonding. Pro tip: wear protective gear and work systematically, moving across the surface methodically to ensure no area is overlooked.
Once you have meticulously assessed and cleaned the surfaces, you are now ready to progress to the next crucial stage of waterproofing. Your careful groundwork will pay dividends in creating a robust, long-lasting protective barrier.
Stage 2: Select and mix suitable waterproofing products
Choosing the right waterproofing products is your gateway to creating a robust, long-lasting protective barrier for your property. As specified by Gov, approved waterproofing solutions like Prominent Paints Waterproofing Wall Coating meet specific performance criteria that ensure effective protection against moisture intrusion.
The selection process requires careful consideration of your specific surface type, environmental conditions, and potential moisture challenges. DBSA emphasises the critical importance of following manufacturer instructions precisely when mixing and preparing waterproofing materials. This means examining product compatibility, understanding application techniques, and ensuring you have the correct tools and protective equipment before beginning.
Pro tip: Always purchase slightly more product than you estimate needing. Waterproofing requires consistent coverage, and running short midway through application can compromise your entire protective layer. Carefully read the manufacturer’s mixing instructions, paying close attention to water ratios, mixing duration, and recommended application temperatures.
With your products selected and correctly prepared, you are now ready to move forward to the next crucial stage of the waterproofing process. Understanding Waterproofing System Selection Explained offers additional insights if you need more detailed guidance.
Stage 3: Apply primer to enhance adhesion
Primer application is your critical first defence in creating a rock-solid foundation for waterproofing. According to Unisa, professional waterproofing requires applying an epoxy-based or polyurethane-based primer at a precise rate of approximately 3 square metres per litre, following manufacturer instructions meticulously.
The priming process demands careful attention to detail and technique. You will need to ensure complete surface coverage while maintaining an even, consistent layer that promotes maximum adhesion. DBSA highlights an essential warning: any areas not covered with membrane within 24 hours must be re-primed, which means timing and precision are paramount in this stage of waterproofing.
When applying primer, work systematically and use tools that guarantee uniform distribution. Wear protective equipment like gloves and respirators, and ensure proper ventilation in your workspace. Pro tip: use a roller or specialised sprayer designed for primer application to achieve the most consistent coverage. Check the manufacturer’s specifications for recommended application temperatures and drying times.
With your primer expertly applied, you have created a critical protective layer that will significantly enhance the performance and longevity of your waterproofing system. 7 Common Waterproofing Materials Every Property Owner Should Know can provide additional insights into selecting the right materials for your specific project.
Stage 4: Install waterproofing membrane or coating
Installing a waterproofing membrane represents the critical moment where your protective barrier transforms from preparation to actual defence against moisture intrusion. According to DBSA, professional installation involves precise techniques like using gusset strips at junctions and employing heat fusion to create a seamless, durable protective layer.
As Ndlambe specifies, the installation must be performed by a competent professional who follows manufacturer instructions meticulously. This means carefully aligning membrane sections, ensuring complete surface contact, and eliminating potential gaps or air pockets that could compromise your waterproofing system.
Pro tip: Work systematically and methodically, starting from the lowest point and moving upwards to prevent potential water trap zones. Use specialised rollers to apply consistent pressure, and double-check every seam and junction. Wear appropriate protective equipment and maintain a clean work environment to prevent contamination during installation.
With your membrane expertly installed, you have created a robust defence against potential water damage. Membrane Waterproofing Explained: Complete South African Guide offers additional insights into advanced membrane installation techniques that can further enhance your waterproofing strategy.
Stage 5: Inspect and test for complete coverage
Inspecting your waterproofing installation represents the final quality control step that ensures your hard work translates into genuine protection. According to Unisa, adequate protection requires meticulous attention during and after application to prevent potential contamination and maintain the integrity of your waterproofing system.
Ndlambe mandates that your waterproofing system must remain watertight for at least five years, which means your inspection must be comprehensive and exacting. Start by conducting a visual examination of every square centimetre, looking for potential gaps, bubbles, or imperfections in the membrane. Pay special attention to junction points, edges, and areas around penetrations like pipes or electrical conduits where water might find an entry point.
Pro tip: Use both visual and tactile inspection techniques. Run your gloved hand gently across the surface to feel for any irregularities that might not be immediately visible. Consider using a moisture metre or conducting water ponding tests to verify complete seal performance. Document your findings with detailed photographs and notes for future reference.
![]()
With a thorough inspection complete, you have significantly increased the likelihood of a robust, long lasting waterproofing solution. 7 Essential Types of Waterproofing Membranes can provide additional context about different membrane characteristics and potential testing strategies.
Ensure Your Waterproofing Success with Expert Support
Waterproofing requires more than just applying products. From assessing surfaces, selecting the right materials, applying primers, to installing membranes and thorough inspection, each step is critical to creating a durable barrier against moisture. If you want to avoid costly damage caused by poor adhesion or incomplete coverage, reliable professional guidance is essential. This article helps you grasp the complexities involved and the importance of precision throughout the process.

Elevate your waterproofing project with tailored solutions from Pro Waterproofing, where we combine expert knowledge and practical experience to safeguard your property. Discover valuable insights and practical advice on our Uncategorized – Pro Waterproofing page. Take the first step to protect your investment confidently by visiting Pro Waterproofing and reach out today for expert consultation and a personalised quote. Act now to ensure your waterproofing system lasts for years with guaranteed quality and professional service.
Frequently Asked Questions
What surfaces should I assess before waterproofing?
To achieve effective waterproofing, thoroughly assess all surfaces for cracks, uneven textures, or previous damage. Inspect areas closely to ensure they are sound, smooth, and ready for waterproofing treatment.
How do I choose the right waterproofing products for my project?
Select waterproofing products based on your specific surface type and environmental conditions. Ensure you follow manufacturer instructions for mixing and preparation, as this can significantly affect the performance of your waterproofing layer.
What is the purpose of applying a primer when waterproofing?
Applying a primer enhances adhesion and ensures a strong foundation for your waterproofing system. Use an epoxy-based or polyurethane-based primer at the recommended rate for complete surface coverage, ensuring maximum effectiveness.
What techniques are essential for installing a waterproofing membrane?
When installing a waterproofing membrane, utilise techniques such as gusset strips at junctions and heat fusion to create a seamless layer. Work from the lowest point upwards to prevent water traps and use specialised rollers for consistent pressure.
How should I inspect my waterproofing installation for quality control?
Conduct a thorough inspection of your waterproofing installation by visually examining every area for gaps, bubbles, or imperfections. Use tactile methods and moisture metres to ensure complete coverage and document your findings for future reference.