
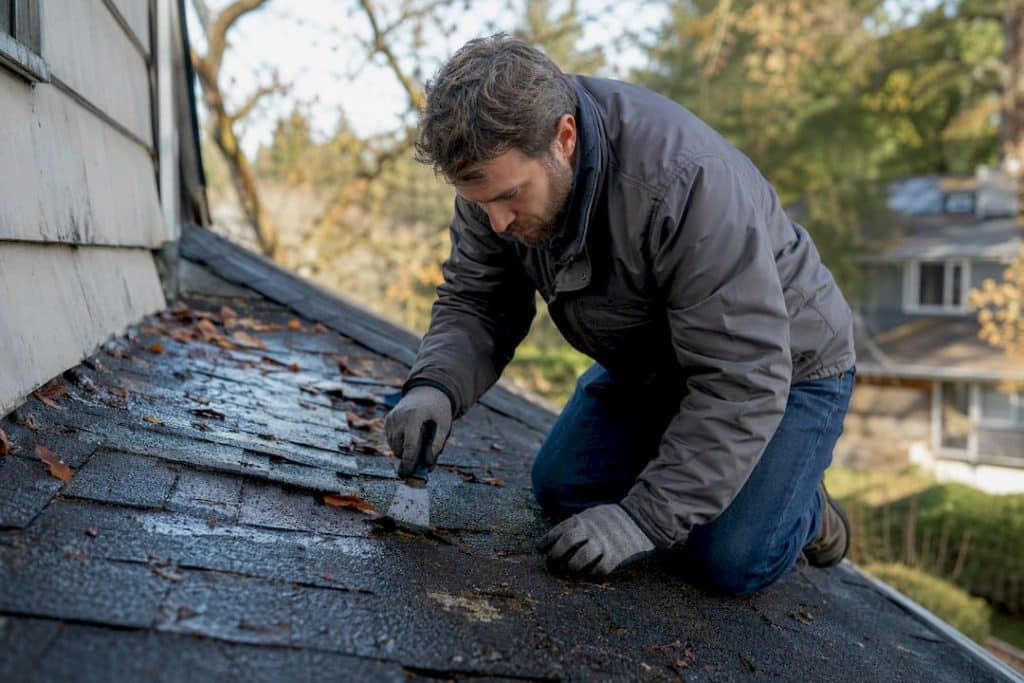
If water is coming through your ceiling, safety comes before everything else. Switch off the electricity at the distribution board if the leak is anywhere near light fittings, sockets or wiring, and keep everyone away from standing water until you’re sure it’s safe. Once that’s done, contain the water with buckets and towels, move valuables clear, and cover furniture with plastic sheeting for ceiling water leak repair.
- Power first: cut electricity at the board if water is near any electrical fitting.
- Contain second: buckets, towels, and a controlled drain point for a bulging ceiling.
- Document third: photograph everything before you touch anything, for your insurer.
- Call for help if there’s an electrical risk, structural movement, or a ceiling that’s about to give way.
Roofing repair specialists consistently flag the same priority order: disconnect power near wet electrics before doing anything else, including relieving a sagging ceiling.
Key Takeaways
A leaking roof is a safety issue before it’s a repair issue: cut the power near wet electrics, contain the water, then document everything for your insurer.
| Point | Details |
|---|---|
| Power off first | Isolate electricity at the distribution board before touching any water near fittings. |
| Contain, then relieve | Use buckets and towels, and only puncture a bulging ceiling once power is confirmed off. |
| Trace uphill, not downward | The entry point sits higher than the ceiling stain; follow the wet trail in the loft. |
| Tarps are temporary | Permanent waterproofing needs dry, clean surfaces, so patching must wait for a break in the weather. |
| Document as you go | Photograph damage and keep receipts immediately, not after the repair is booked. |
| Call in the professionals | Prowaterproofing connects homeowners with vetted contractors for a proper, warrantied roof repair. |
Where to read more and get help
External guidance: Property24 repair tips, ServiceLink SA emergency roofing. Internal: identify roof leaks, storm-season checklist.
Table of Contents
- What to do first: safety and containment inside the house
- How do you trace where a roof leak is coming from?
- Should you tarp a leaking roof yourself?
- When should you call an emergency roofer?
- Can I fix my roof myself, or is this a job for a professional?
- What usually causes a roof leak, and how do you prevent the next one?
- What should a professional roof leak repair actually include?
- What actually matters in the first hour of a roof leak
- Get a permanent fix once the emergency’s handled
- Sources
What to do first: safety and containment inside the house
The first five minutes matter more than the next five hours. Water and electricity together are the single biggest danger in a roof leak, and it’s the reason every credible source on this puts power isolation ahead of mopping up.
- Check where the water is landing. If it’s dripping anywhere near a light fitting, switch, socket, or the consumer unit itself, go straight to the distribution board.
- Isolate the circuit, or the whole supply if you’re unsure which circuit is affected. Don’t guess. If in doubt, switch off the mains. A wrong guess here isn’t a minor mistake, it’s the difference between a wet carpet and a serious shock.
- Never walk through standing water if there’s any chance the power is still live. Wait for confirmation the circuit is dead, even if that means standing in the doorway feeling useless for two minutes.
- Contain the water. Buckets under active drips, old towels around the edges to stop spread, and a simple diversion channel (a rolled towel or a length of guttering offcut) if water is running across a sloped ceiling toward a wall.
- Protect what’s underneath. Move electronics, furniture, and anything irreplaceable out of the drip zone, and throw plastic sheeting over what can’t be moved.
If the ceiling is bulging, you’re looking at trapped water with nowhere to go, and that weight will eventually find its own way through, usually in a large, sudden collapse rather than a tidy drip. Guidance on roof leak repair recommends a small, controlled puncture at the lowest point of the bulge, done only after the power is confirmed off, with a bucket positioned directly underneath to catch the release.
Pro Tip: Use a screwdriver or the corner of a paint scraper for the puncture, not a knife blade. A smaller, controlled hole drains slower and gives you more control over where the water lands.
How do you trace where a roof leak is coming from?
Once the immediate danger is handled, the next job is finding where the water is actually entering, and it’s rarely where the ceiling stain sits.
- Start at the stain and work backwards. Water travels along rafters and roof trusses before it drips, so the true entry point is often higher up and to one side of the visible mark.
- Get into the loft with a torch, if it’s safe to do so, and look for wet timber, dark trails along beams, or a pinprick of daylight where there shouldn’t be one.
- Follow the trail uphill rather than assuming the leak sits directly above the drip. This guide on how to identify roof leaks breaks down the inspection sequence in more detail.
- Mark the spot with chalk, tape, or a phone pin so it can be checked from outside once conditions allow.
- Skip the loft inspection entirely during an active storm, on a steep roof, or if you don’t have safe, stable access. That’s a job for someone with the right harness and ladder setup, not a torch and a stepladder in the rain.
Should you tarp a leaking roof yourself?
A tarp buys you time. It doesn’t fix anything, and treating it as a permanent solution is how a small leak turns into a rotten roof deck six months later.
- Use a heavy-duty tarp that overlaps the damaged area by at least a metre on every side, and run it over the ridge if the leak is near the top of the roof, so water sheds off rather than pooling under the edge.
- Weight the edges with sandbags or battens rather than nails punched straight through the tarp; every extra hole is a new potential leak point.
- Redirect water away from gutters that are already blocked or damaged, not into them.
- Treat this as a stopgap only. Permanent waterproofing needs a dry, clean surface, which means it has to wait until the rain actually stops.
Pro Tip: If the roof pitch is steep, wet, or you’re not confident on a ladder, this is exactly the kind of job worth paying a professional tarping crew for. A fall is a far worse outcome than a few extra hours of water damage.
When should you call an emergency roofer?
Some situations aren’t DIY territory, full stop. Call a professional immediately if you’re seeing water entering electrical fittings, a ceiling that’s visibly sagging or moving, structural damage anywhere near the leak, a large open hole in the roof, or flooding that’s outpacing your buckets. These are the standard triggers for an emergency call-out, and they’re worth memorising rather than debating in the moment.
A typical emergency visit follows a fairly predictable pattern:
- Assessment. The roofer checks the source, the extent of the damage, and any safety risks before touching anything.
- Temporary tarping or patching. This stops further ingress while the weather is still against you.
- Debris removal, if broken tiles, branches, or damaged flashing are part of the problem.
- Booking the permanent repair for once conditions are dry enough to do the job properly.
Ask about after-hours call-out fees upfront. Emergency response, understandably, costs more than a scheduled appointment.
While you wait, build your insurance file:
- Photograph and video the damage from multiple angles, with timestamps.
- Note the date, time, and weather conditions when the leak started.
- Keep every receipt for emergency work, buckets, tarps, and call-out fees.
- Contact your insurer promptly; most claims for storm or leak damage move faster when the paperwork is dated and complete.
Can I fix my roof myself, or is this a job for a professional?
There’s a genuine middle ground here, and knowing where it sits saves you both money and risk.
- Reasonably safe to attempt: clearing blocked gutters by hand, removing obvious debris from valleys, replacing a single slipped tile if you can do it from a stable ladder on a gentle pitch, and tightening an obviously loose fixing you can reach without leaning.
- Not worth the risk: anything on a steep or wet roof, resealing flashing that needs proper mechanical fastening, or attempting a “permanent” waterproofing fix while it’s still raining. Failed flashing and cracked tiles are common, repairable causes, but they need dry conditions and, often, specific tools to fix properly.
- If you’ve done any temporary patching yourself, tell the roofer exactly what and where. It saves them time and stops a professional repair being built on top of a rushed fix.
What usually causes a roof leak, and how do you prevent the next one?
Most leaks trace back to a short list of usual suspects: failed flashing around chimneys and vents, cracked or missing tiles, gutters blocked with leaves and silt, rusted or lifted fixings on metal sheeting, and perished membranes on flat roofs.
A short seasonal routine catches most of these before they become emergencies:
- Clear gutters and downpipes at least twice a year, more often near overhanging trees.
- Inspect flashing around chimneys, vents and skylights for lifting or cracking.
- Trim branches that overhang the roof, since falling debris damages tiles and blocks drainage.
- Book a professional inspection every year or two, especially once a roof passes the 15 to 20 year mark.
Catching a problem early, rather than after the first drip appears indoors, keeps repair costs down and strengthens any future insurance claim. This roof waterproofing checklist is worth working through once the immediate crisis has passed.
What should a professional roof leak repair actually include?
A proper assessment goes well beyond “find the hole and patch it.” It should cover a full inspection, moisture mapping to check how far water has spread beyond the visible damage, a clear diagnosis of the cause, and a written scope of work with warranty terms attached.

Before hiring anyone, ask: are you licensed and insured, how many similar repairs have you done, can I have a written quote, and what’s the warranty length and scope? Correct surface preparation matters as much as the materials themselves; acrylic coatings and reinforcement membranes fail early if applied to a damp or dirty surface, regardless of how good the product is.
Pro Tip: A contractor who’s happy to quote without ever inspecting the roof in person is a red flag, not a shortcut.
What actually matters in the first hour of a roof leak
The conventional advice on roof leaks spends most of its energy on finding the source, and that’s backwards. Source-hunting matters, but it’s not what causes people harm or expensive secondary damage. Electrical risk and structural failure do, and those two things need addressing in the first sixty seconds, not the first hour.
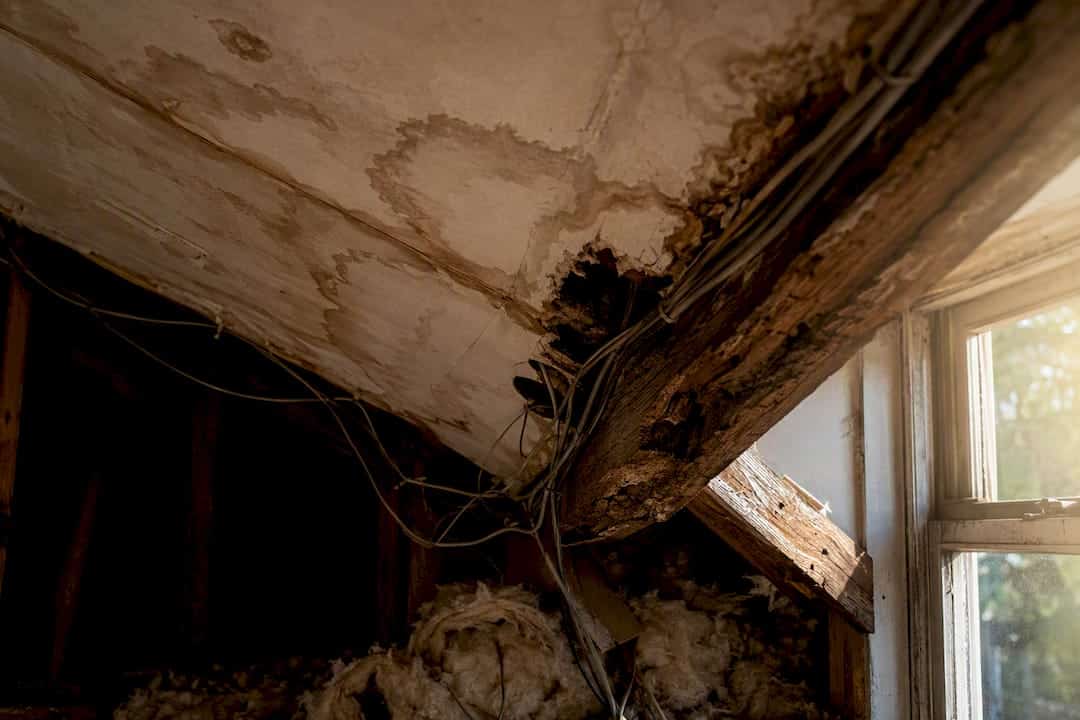
What gets underestimated is how often people delay switching off the power because the drip “looks minor.” It rarely stays minor. Water finds the path of least resistance along a joist or a cable run, and by the time it’s visibly dripping near a light fitting, it’s been travelling for a while already. The bulge in a ceiling is the same story: it looks dramatic, but it’s actually the safer moment to act, because you can see the risk and control the release. What’s dangerous is the leak nobody notices until the ceiling comes down on its own.
If there’s one thing worth doing differently from what most guides suggest, it’s this: treat the insurance documentation step as part of the emergency response, not an afterthought once the rain stops. Photograph the damage while the bucket is still catching drips. That timestamp matters more than people expect when a claim gets queried later.
— Eben
Get a permanent fix once the emergency’s handled
Buckets and tarps buy you time, not a solution. Once the immediate crisis is under control, the job that actually stops the leak for good is proper roof waterproofing, and that’s the work Prowaterproofing handles for homeowners, property managers, and commercial building owners across residential, commercial, and industrial properties.

What sets a proper repair apart from another temporary patch is preparation: a dry, clean surface, correctly diagnosed damage, and materials matched to the actual roof type rather than a generic fix. Prowaterproofing connects you with vetted contractors who assess the cause first, not just the symptom, and quote in writing with clear warranty terms before any work starts. That matters if you’ve just spent a weekend mopping floors and don’t want to have the same conversation again next winter.
If your roof has just leaked, or you’re dealing with the aftermath right now, get in touch with Prowaterproofing for a quote and a proper assessment before the next storm finds the same weak point.
Sources
- Repair tips | How to find and fix a roof leak – Home Owners, Advice
- Emergency Roof Leak Repair in Johannesburg and Pretoria | ServiceLink SA
- How to fix roof leaks before the rainy season – BUCO
- Roof leaking in the rain? How to find the source and stop it