
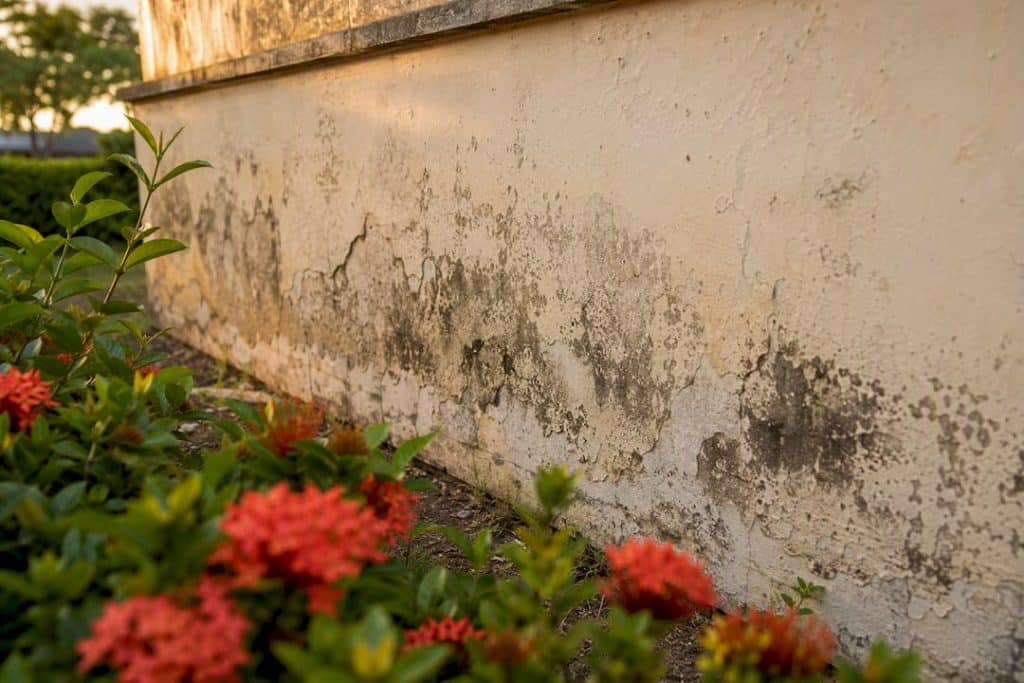
Controlling humidity, stopping water ingress, keeping your damp-proof course and membranes intact, and ventilating properly are the four measures that actually prevent moisture in walls. Skip any one of them and the others struggle to compensate. Most homeowners chase the wrong fix first, painting over a stain or buying a dehumidifier, when the real problem is a blocked gutter or a bridged damp-proof course sitting two bricks below the surface.
Start today with the cheap wins. Crack a window or run the extractor fan for 15 minutes after every shower. Dry laundry outside or in a ventilated room rather than on radiators. Wipe condensation off windowsills and cold walls before it soaks into plaster. If a room still feels clammy after a week of this, a dehumidifier can help buy you time while you sort the actual source.
Some signs mean you’re past the DIY stage:
- A tide mark of white salts creeping up an internal wall, roughly knee height or below
- Plaster that stays damp for weeks regardless of heating or ventilation
- Skirting boards that crumble, bubble, or smell musty even in dry weather
Roughly most household mould growth traces back to condensation rather than a leak or rising damp, which is good news. Condensation is the cheapest of the three problems to fix.
Key Takeaways
Preventing moisture in walls means matching the fix to the cause: ventilation and heating solve condensation, while damp-proof courses, membranes, and drainage stop rising and penetrating damp.
| Point | Details |
|---|---|
| Diagnose before treating | Match tide marks, patch location, and weather correlation to condensation, rising, or penetrating damp before choosing a fix. |
| Ventilate and heat daily | Run extractor fans for 10 to 15 minutes after showers and cooking, and hold background heating steady. |
| Check the DPC detail | Ensure plaster never crosses the damp-proof membrane; SANS 10021:2006 requires a V-joint at DPC level. |
| Maintain gutters and pointing | Clear gutters twice yearly and repair cracked render promptly to stop penetrating damp at its source. |
| Get a documented diagnosis | Prowaterproofing assesses the specific damp type with moisture readings before recommending DPC injection, tanking, or drainage repairs. |
Table of Contents
- How to prevent moisture in walls: identifying the cause first
- Everyday habits that keep walls dry
- What building-level fixes actually stop water at the source
- Maintenance jobs that prevent most damp problems
- How do you check if a wall actually has a moisture problem?
- When should you call a waterproofing professional?
- Editorial take: why most damp advice stops halfway
- Get a proper diagnosis instead of another guessing game
- Sources
How to prevent moisture in walls: identifying the cause first
Treating the wrong type of damp wastes money and time, so diagnosis comes before any fix. There are three distinct mechanisms, and each leaves different fingerprints on your wall.
-
Condensation happens when warm, moisture-laden air meets a cold surface, usually an external wall, a window reveal, or a corner with poor airflow. Cooking, showering, and even breathing pump litres of water vapour into a home daily, and without adequate ventilation, that vapour condenses wherever the surface temperature drops low enough. You’ll see it as beading on glass, black mould spots in corners, or a musty smell in wardrobes pushed against outside walls.
-
Penetrating damp comes from rainwater working its way through a defect: cracked render, failed pointing, a broken roof tile, or a gutter that overflows straight down the wall face. It shows up as a damp patch that tracks with weather, worse after heavy rain, and often confined to one area rather than spread across a whole wall.
-
Rising damp occurs when groundwater travels up through masonry because the damp-proof course is missing, bridged, or physically damaged. Signs include a tide mark of salts, typically no higher than a metre, and skirting that stays damp regardless of the season. It’s also the most commonly misdiagnosed of the three: builders often blame rising damp when the real culprit is condensation or a leaking pipe behind the wall.
A quick way to tell them apart: condensation appears on cold surfaces and worsens in winter; penetrating damp tracks with rainfall and appears near roof lines or window reveals; rising damp stays low, follows no weather pattern, and often carries a white, powdery salt residue.
Everyday habits that keep walls dry
Most condensation problems in occupied homes get solved by changing daily habits before a single brick is touched. Local authority damp guidance consistently points to ventilation and heating as the first line of defence, and it’s the cheapest one available to you.
- Open trickle vents permanently and run extractor fans for 10 to 15 minutes during and after showers or cooking.
- Keep background heating on low rather than letting rooms swing from cold to hot; steady heating reduces the temperature gap that causes condensation.
- Dry laundry outdoors when you can, and if you must dry indoors, shut the door and crack a window rather than letting moisture spread through the house.
- Put lids on pans while cooking, and use the extractor rather than just opening a window after the steam has already filled the kitchen.
- Pull furniture and wardrobes a few centimetres off external walls so air can circulate behind them, and wipe down any surface that regularly beads with moisture.
Dehumidifiers help manage humidity in a room that’s structurally sound but poorly ventilated, particularly in winter when opening windows feels counterproductive. They will not, however, fix a leaking roof or a failed damp-proof course; running one against an active water source just delays the visible damage while the wall keeps absorbing moisture underneath.
Pro Tip: If a wardrobe against an outside wall always smells musty, don’t just air it out. Fit a small gap of louvre panels or battens behind it. That airflow gap alone often ends the problem for good.
What building-level fixes actually stop water at the source
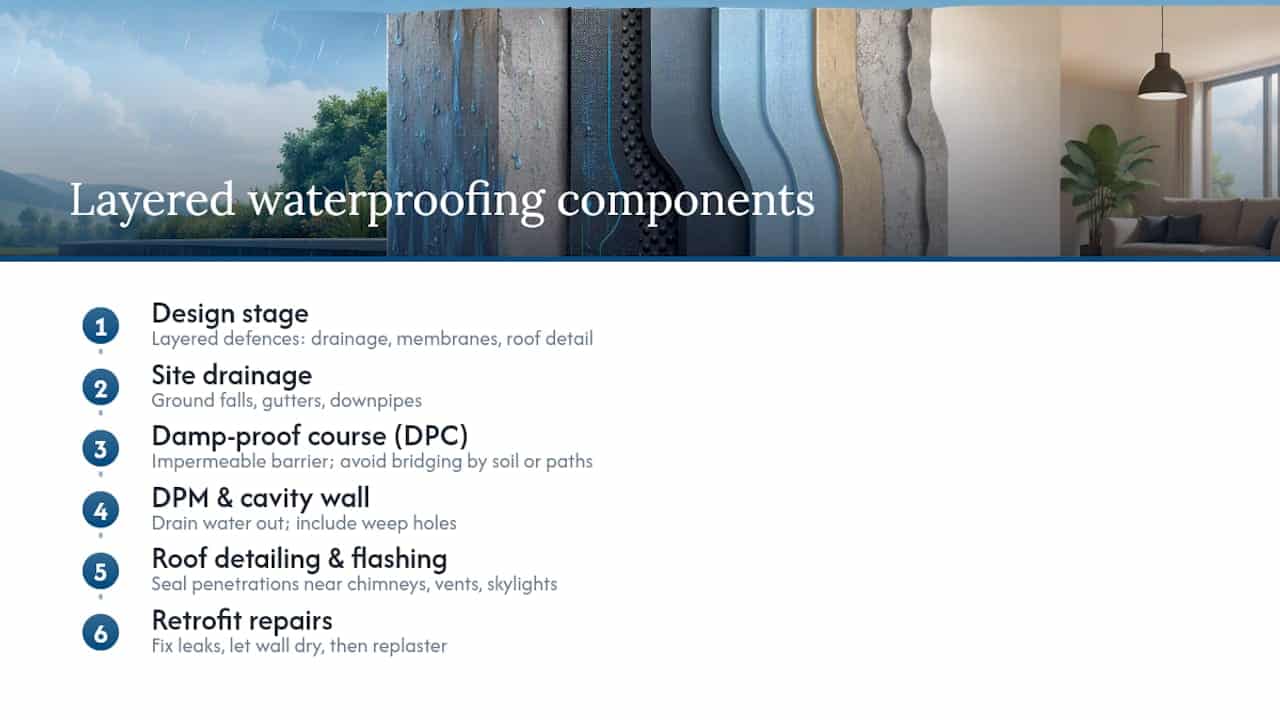
Behavioural fixes handle condensation, but penetrating and rising damp need the building envelope itself to work properly. Damp-proofing genuinely starts at the design stage, with drainage, membranes, and roof detailing working as layered defences rather than any single product doing the job alone.
The damp-proof course (DPC) is a physical barrier, usually a strip of impermeable material, built into a wall near ground level to stop groundwater rising through masonry by capillary action. It fails in three common ways: it’s bridged by soil or a flowerbed piled up against the wall, covered by a solid path or patio laid too high, or plastered straight across without a break. SANS 10021:2006 is explicit on this last point: plaster must never run continuously across a damp-proof membrane, and a V-joint needs to sit at DPC level to stop moisture bypassing the barrier through the plaster itself. It’s a detail plasterers get wrong constantly, and it’s why a technically sound DPC can still leak rising damp into a wall above it.
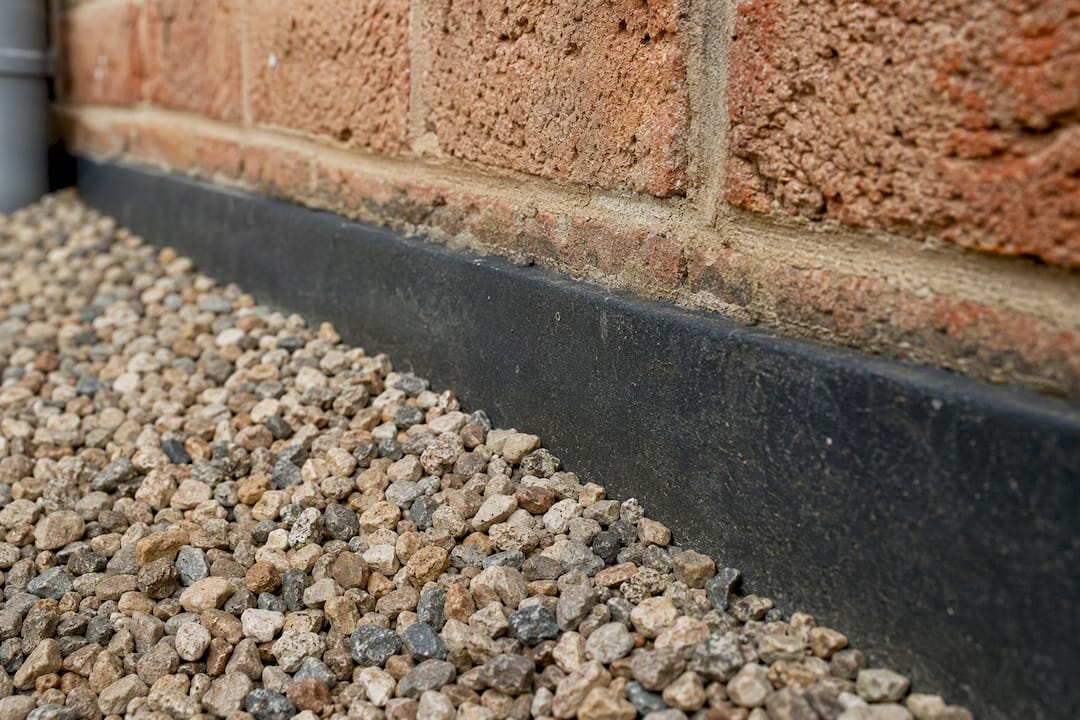
Damp-proof membranes (DPM), cavity wall construction, and weep holes work together against penetrating damp by giving water a path to drain away rather than soak inward. Outside the wall, the basics matter just as much: gutters that actually carry water away, downpipes discharging well clear of the foundation, correctly angled ground falls, and flashing and pointing kept in good repair around every roof junction. Guidance on roof penetration detailing is worth reading if your damp patches cluster near chimneys, vents, or skylights, since poorly sealed penetrations are a frequent, overlooked source of penetrating damp.
For existing rising damp, chemical DPC injection paired with external repairs and a salt-retardant replaster is the standard retrofit approach. Tanking or waterproof slurry systems can stop water penetrating a prepared internal substrate, but these coatings are not a treatment for rising damp and have real application limits worth discussing with whoever quotes the job. The correct sequence is always fix the leak, let the wall dry fully, then repair the finishes, not the reverse.
Maintenance jobs that prevent most damp problems
Damp rarely starts with a dramatic failure. It starts with a gutter nobody’s cleared in two years.
- Clear gutters at least twice a year and check downpipes discharge well away from the foundation rather than pooling against the wall base.
- Repair cracked pointing and render as soon as you spot it, and replace any flashing that’s lifted or corroded around roof penetrations.
- Never let soil, mulch, or a raised patio bury the external DPC line. If you find bridging, dig it back down below the DPC immediately.
- Don’t paint over a damp patch and hope it stays hidden. Painting over damp is a common DIY mistake that fails quickly, because the moisture is still there, working behind the new coat. Diagnose the source, dry the wall out, then replaster with a salt-retardant mix if salts are present before redecorating.
These four jobs, done annually, catch the majority of damp problems before they become structural.
How do you check if a wall actually has a moisture problem?
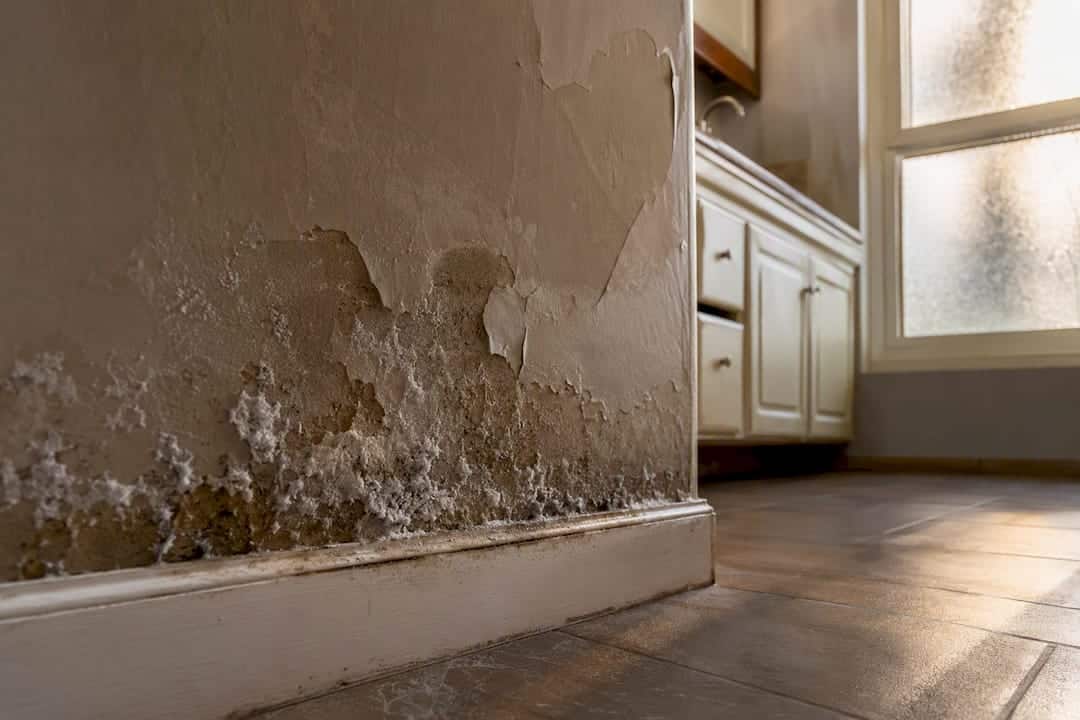
Inspect skirting boards, external-facing walls, and anywhere a roof meets a wall or a floor meets a foundation. Look for tide marks, powdery white salt deposits, flaking or bubbling paint, and plaster that feels cool and damp to the touch even in a heated room.
A hygrometer measures indoor relative humidity, and keeping a home between roughly 40% and 60% RH generally keeps condensation risk low, with anything sitting persistently above that range worth investigating further. A moisture meter gives you a reading in the wall material itself. Readings vary by material and depth, so treat the numbers as a comparison tool rather than a fixed threshold: a consistently high reading near the base of a wall that drops as you move upward points to rising damp, while damp confined to one patch near a window or roof line points to penetrating damp instead.
Two simple DIY checks help before you call anyone. Tape a small square of foil or clear plastic to the wall for 24 hours; condensation on the outer surface points to airborne moisture, while dampness trapped underneath against the wall points to moisture coming from within the wall itself. Photograph any damp patch weekly, dated, so you and any contractor can see whether it’s spreading, static, or improving after ventilation changes.
When should you call a waterproofing professional?
Bring in a professional once damp persists after weeks of proper drying and ventilation, or if you see rising damp symptoms, visible salt bloom, structural cracking, spreading mould, or water tracking in from a roof or wall junction you can’t access safely yourself. On-site diagnostics with moisture readings and photographic findings are standard practice for anything beyond a simple condensation fix, and they’re worth insisting on before any contractor recommends a treatment.
Before hiring anyone, ask these questions:
- What’s your diagnostic method, and will you give me moisture readings, not just a verbal opinion?
- Have you handled this specific type of damp before, and can you show photos of similar past jobs?
- Are you licensed and insured, and what does your written guarantee actually cover?
- What does the drying timeline look like before repairs and redecoration begin?
A proper quote should itemise the diagnosis, the recommended works, materials to be used, an estimated drying timeline, and warranty terms in writing. If a contractor skips straight to a price without any of that, treat it as a red flag rather than a bargain. Pro Tip: Ask to see the moisture meter readings from your own wall, not just a general explanation. A contractor confident in their diagnosis will show you the numbers without hesitation. For homeowners who want a straightforward next step, Pro Waterproofing offers exactly this kind of documented, diagnosis-first approach.
Who’s behind this guidance
This article is written by Eben for Prowaterproofing, drawing on the site’s published work covering waterproofing versus damp proofing and best-practice maintenance for South African properties.
- Recommendations reference SANS 10021:2006 and established damp-proofing practice rather than generic advice.
- Prowaterproofing works across residential, commercial, and industrial properties, covering roof, basement, bathroom, foundation, and concrete deck waterproofing.
- Guidance draws on practical, photographed case examples and a diagnosis-first approach to contractor recommendations.
Damp-proofing rarely fails because of one missing product. It fails because a bridged DPC, a blocked gutter, and a badly ventilated bathroom are treated as three separate problems instead of one connected system.
Editorial take: why most damp advice stops halfway
Most damp guidance treats condensation, penetrating damp, and rising damp as one problem with one solution: buy a dehumidifier, open a window, done. That’s how a bridged damp-proof course goes untreated for a decade while someone repaints the same patch every spring. The evidence here points somewhere more specific: condensation genuinely is the low-cost fix most households can solve themselves with ventilation and heating habits. Rising and penetrating damp are not, and treating them like a lifestyle problem wastes money on dehumidifiers running against a structural leak.
What gets underrated is the V-joint detail at DPC level. It’s a two-minute check for a plasterer and it’s routinely skipped, and that single oversight explains a startling share of “mystery” rising damp cases. If you take one thing from this guide, prioritise the diagnosis over the product. A moisture meter and an honest look at your gutters will tell you more than any waterproofing paint on a shelf.
— Eben
Get a proper diagnosis instead of another guessing game
Prowaterproofing gives you what most damp fixes skip: an actual diagnosis before any work starts, backed by moisture readings and photographic evidence rather than a guess based on a quick look at a stained wall. Where a generic contractor might quote you for a coat of waterproof paint, Prowaterproofing assesses whether you’re dealing with condensation, penetrating damp, or rising damp first, then recommends the fix that matches, whether that’s DPC injection, external repairs, or a tanking system suited to your specific wall.

That matters because the wrong fix costs you twice: once for the failed treatment, and again for the correct one afterwards. Prowaterproofing covers residential, commercial, and industrial properties, including roof, basement, bathroom, foundation, and concrete deck waterproofing. If a wall in your home has stayed damp longer than a few weeks despite proper ventilation, request a quote through Pro Waterproofing and get a written diagnosis before committing to any repair.
Sources
- How a residential building is made damp-proof — From roof to foundation (ArchitectureSA)
- Condensation, damp and mould (Centre for Sustainable Energy)
- How to damp proof a wall | Sika South Africa