
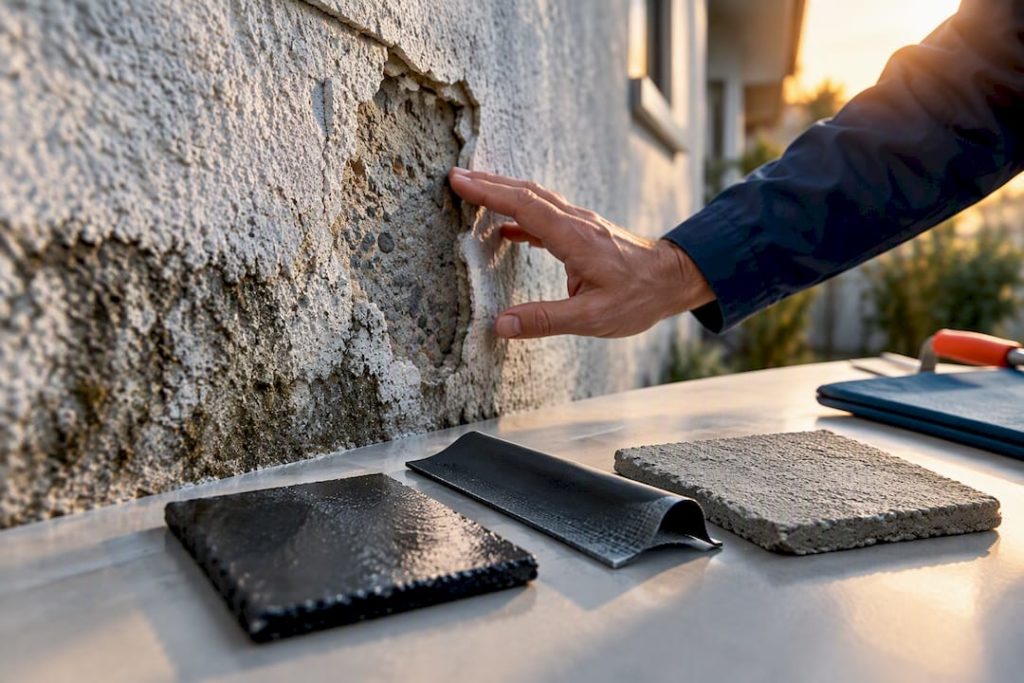
Diagnose where the moisture is coming from before you touch a tin of anything. Dry and repair the substrate, then apply a compatible waterproofing system, whether that’s a breathable masonry coating, a fluid-applied membrane, or a cementitious system, with proper detailing at joints and upturns, if you’re dealing with rising damp, a retaining wall, or anything below ground level, call a professional rather than reaching for a roller.
TL;DR:
- Proper diagnosis of the moisture source is crucial before applying waterproofing to avoid repeated failures and wasted resources.
- Surface preparation, including cleaning and repairing defects, is the most significant factor in ensuring long-lasting waterproofing results.
- Waterproofing systems should be matched to the specific problem, with breathable coatings for penetrating damp and flexible membranes for hydrostatic pressure or structural movement.
- Edges, joints, and penetrations are the most common failure points, requiring careful detailing and reinforcement during application.
- Optimal waterproofing conditions include a minimum temperature of 10°C and stable humidity, with early booking in late winter or early spring to avoid wet season complications.
Table of Contents
- What’s causing the damp: assessing your exterior walls
- Prepare the surface correctly before coating anything
- Coatings, membranes and cementitious systems: which one fits your wall
- How do you apply exterior waterproofing step by step?
- When’s the best time of year to waterproof your walls?
- What does it cost to waterproof outside walls?
- What experience tells us about lasting waterproofing repairs
- Get a professional assessment from Pro Waterproofing
- Sources
- FAQ
What’s causing the damp: assessing your exterior walls
Not all damp is the same, and treating the wrong type wastes money fast. Penetrating damp shows up as patchy discolouration that gets worse after rain, usually tied to a specific defect somewhere above or beside the patch. Rising damp climbs from ground level, rarely goes above a metre, and often leaves a tidemark with salt staining as it dries. Leaks from roofs or gutters tend to appear on ceilings and upper walls first, then track down.
Before choosing any waterproofing techniques for homes, work through this checklist:
- Gutters and downpipes: check for overflow marks, sagging, or blockages that push water back against the wall.
- Flashings around window heads, sills, and roof junctions: look for lifted edges or missing sealant.
- Pointing and mortar joints: crumbling or recessed mortar lets water track straight through.
- Damp-proof course (DPC): check its height above ground level and whether soil or paving has bridged it.
- Parapets and copings: these take a battering from all sides and fail more often than flat wall sections.
- Window and door perimeters: gaps here are a common, underrated entry point.
If the damp is confined to one obvious defect, a cracked flashing, a blocked gutter, you can likely diagnose and fix it yourself. If you see rising damp symptoms, structural cracking, or damp on a retaining wall, get a professional diagnosis before spending on materials.
Prepare the surface correctly before coating anything
Preparation decides whether your waterproofing lasts ten years or ten months. Skipping this stage is the single biggest reason DIY jobs fail early, and manufacturers won’t honour warranties on unprepared substrates. Rhinoluxe’s guidance on exterior wall prep sets out the sequence clearly: clean thoroughly, treat any biological growth, repair defects, then prime.
- Wash down the wall to remove dirt, loose paint, and general grime, using a stiff brush or low-pressure wash rather than a jet washer that can force water into the substrate.
- Treat algae, moss, or mould with a proper biocide, leave it to work per the product’s dwell time, then rinse.
- Fill cracks wider than roughly 2mm with a flexible exterior filler. Rigid fillers crack again as the wall moves with temperature.
- Where plaster shows salt staining or crumbles when scratched, strip it back and replaster rather than coating over it.
- Prime bare, porous, or chalky surfaces so the coating doesn’t get absorbed unevenly, following the primer manufacturer’s coverage rate.
Pro Tip: Press a strip of clear tape onto the wall and pull it off. If plaster dust comes with it, the surface is still chalky and needs another primer coat before you go any further.
Coatings, membranes and cementitious systems: which one fits your wall
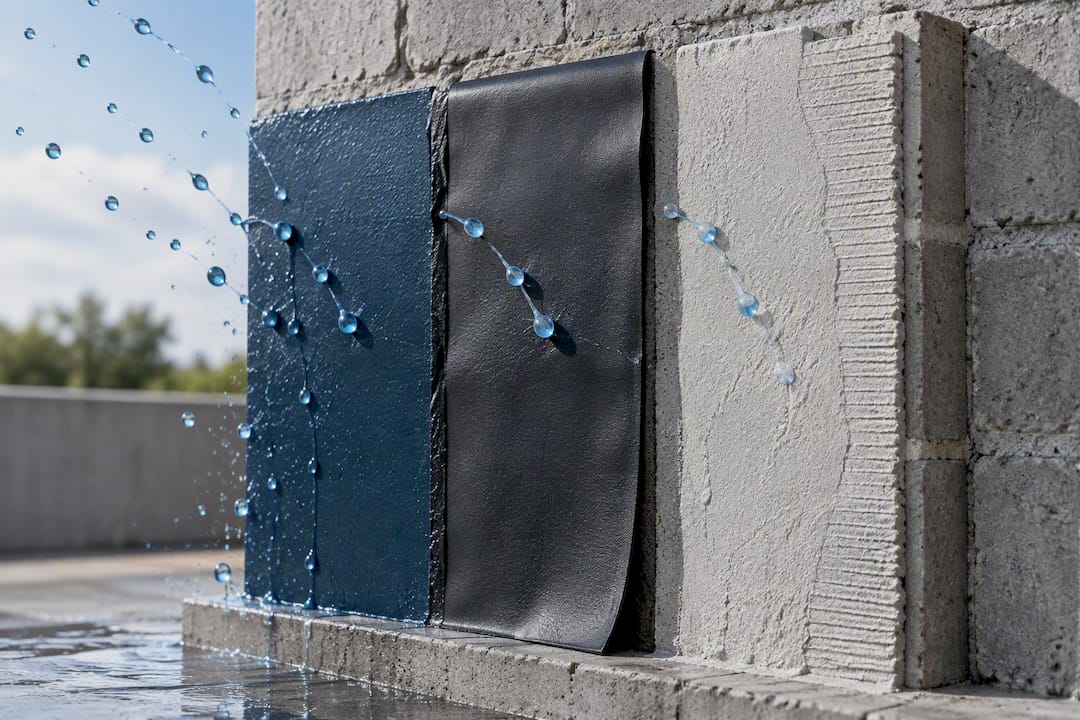
Exterior waterproofing solutions fall into three broad families, and picking the wrong one for the job is a common expensive mistake. A breathable masonry coating works well on standard rendered or painted walls with penetrating damp, letting trapped moisture vapour escape while blocking liquid water. It’s not suitable where there’s hydrostatic pressure pushing water from behind, such as retaining walls or basement walls below grade.
Fluid-applied polymer membranes and cementitious systems handle the tougher jobs:
- Retaining walls and basement tanking, where water pressure builds up behind the wall rather than just landing on the surface.
- Balconies and other trafficked or below-ground elements that need a fully bonded, seamless membrane.
- Areas with existing structural movement, where a flexible membrane copes better than a rigid coating.
Detailing matters more than the product choice itself. Upturns at wall-to-floor junctions, sealing around pipes and other penetrations, and treating parapet cappings properly are where most systems actually fail, not in the middle of a flat wall. A treated wall without drainage behind it still won’t stop hydrostatic pressure. If you’re planning a basement or below-ground project, our guide to waterproofing a basement from outside walks through the tanking sequence in more detail.
How do you apply exterior waterproofing step by step?
Once you know the cause and the wall is prepped, the actual application follows a fairly consistent sequence regardless of which product family you’ve chosen.
- Measure the area and mask off windows, doors, and anything you don’t want overspray or drips on.
- Confirm the wall is genuinely dry, not just dry to the touch, before priming. Coating a damp substrate causes blistering and early failure, and you’ll be repeating the whole job within a season.
- Apply the primer at the manufacturer’s stated coverage rate and let it cure fully.
- Apply the membrane or coating in the specified number of coats, checking wet-film thickness as you go rather than guessing.
- Reinforce corners, terminations, and any junctions with a compatible reinforcing tape or fillet before the final coat goes over them.
- Dress outlets, pipe penetrations, and overflow spouts carefully so water can’t track in around the edges.
- Once cured, run a hose test on suspect areas, or simply watch the wall through the next rain, to check for missed coverage.
Edges and details, not the flat wall face, are where most waterproofing failures actually occur, which is exactly why step five and six deserve more patience than the rest of the job combined. A membrane that’s flawless across ten square metres but skipped around a single pipe penetration will still let water in.
When’s the best time of year to waterproof your walls?
Manufacturers set real limits on when a coating will actually bond, not just guidelines you can ignore if you’re in a hurry. Most technical data sheets, including guidance drawn from Plascon and Dulux products, call for a minimum surface temperature of around 10°C, relative humidity roughly between 10% and 85%, and a margin of at least 2 to 3°C above the dew point.
- Book contractors early, around August or September in many climates, to get the work done before wet season arrives.
- Applying in marginal conditions risks blisters, poor adhesion, and a coating that fails within months rather than years.
- If you can’t wait for a suitable weather window, a temporary sealer buys you a season, but it’s not a substitute for proper application later.
What does it cost to waterproof outside walls?
Costs vary a lot depending on the system and how much repair work sits underneath it. As a guide, simple exterior wall sealer coats run around R80 to R150 per square metre, while fibre-reinforced acrylic systems sit closer to R150 to R300 per square metre. Full repair jobs, lifting tiles, correcting falls, installing a new membrane, and retiling a balcony can cost well over a thousand rand per square metre once everything’s accounted for.
- DIY-suitable: sealer coats on sound, accessible walls with straightforward penetrating damp.
- Hire a professional: anything involving excavation, chemical DPC injection, or work under tiles and membranes.
Pro Tip: Before signing anything, ask for a written method statement, proof of insurance, a warranty period, and at least two references from similar jobs. A contractor who won’t put the method in writing is a red flag on its own.
What experience tells us about lasting waterproofing repairs
Pro Waterproofing’s own guide to exterior waterproofing best practices keeps circling back to one point: the coating is never the fix, the diagnosis is. Every case study that ends in a repeat callout traces back to someone treating a symptom, damp on the surface, without finding what fed it. Get the moisture source right first, and the product choice becomes the easy part.
— Eben
Get a professional assessment from Pro Waterproofing
Prowaterproofing gives you a straight, system-first assessment instead of a quick coat of paint sold as a fix. If your wall keeps failing after a DIY patch, or you’re facing a retaining wall, basement, or rising damp situation that’s beyond a weekend job, request a quote through Prowaterproofing and describe the problem honestly.

To get a faster, more accurate estimate, have the following ready before you enquire: the approximate area affected, when the damp first appeared, any patterns (worse after rain, seasonal, constant), and photos of the affected walls from a few angles. Whichever contractor you end up using, Prowaterproofing included, always ask for a written method statement, proof of insurance, and a stated warranty period before work begins.
Sources
- Best Time to Paint a House in Gauteng | Highveld Guide
- How to prepare exterior walls for waterproofing (Rhinoluxe)
- Waterproofing cost calculator — flat roofs, balconies & damp (Fonster)
- Waterproofing costs South Africa 2026 | Completo
FAQ
Can I do waterproofing myself?
Yes, for straightforward jobs like sealer coats on sound, dry walls with penetrating damp from an identifiable defect. Anything involving rising damp, chemical DPC injection, excavation, or below-ground tanking needs a professional, since salt-contaminated plaster must be stripped and replastered rather than simply coated over.
What is the best time of year to waterproof?
Late winter to early spring, before the wet season starts, gives the wall the best chance to cure properly. Manufacturers generally need a minimum surface temperature of around 10°C and stable humidity, so book contractors early in the season rather than waiting until storms are already forecast.
What is the best waterproofing for outside walls?
It depends on the wall and the problem, not a single product. A breathable masonry coating suits standard rendered walls with penetrating damp, while fluid-applied membranes or cementitious systems are better for retaining walls, basements, and other areas facing hydrostatic pressure.
How much does it cost to waterproof the exterior of a house?
Simple sealer coats run around R80 to R150 per square metre, while full repairs involving membrane replacement and retiling can reach R1,200 to R2,000 per square metre. The final cost depends heavily on how much underlying repair work the wall needs before coating even starts.