Waterproofing failures in commercial buildings lead to structural damage, costly repairs, and operational downtime that can devastate your bottom line. Without a systematic approach to waterproofing installation and maintenance, even minor oversights at seams, joints, or penetrations can escalate into major problems requiring extensive remediation. This comprehensive checklist guides you through preparation, application, and verification steps specifically tailored for commercial properties in South Africa, ensuring your building remains protected against water ingress for years to come. By following these proven practices, you’ll safeguard your investment and maintain a dry, functional facility.
Table of Contents
- Understanding Common Waterproofing Problems And Preparation Essentials
- Step-By-Step Waterproofing Application Checklist For Commercial Buildings
- Common Waterproofing Challenges And Verification To Ensure Long-Lasting Protection
- Reliable Commercial Waterproofing Solutions From Pro Waterproofing
- Frequently Asked Questions
Key takeaways
| Point | Details |
|---|---|
| Systematic approach | A detailed checklist ensures thorough waterproofing coverage across all vulnerable building areas |
| Surface preparation | Proper cleaning, drying, and substrate assessment form the foundation for successful waterproofing |
| Seam integrity | Critical areas like seams and joints require flexible sealants and reinforcement to prevent failure |
| Quality control | Post-application verification through inspections and water testing confirms system effectiveness |
| Preventive maintenance | Regular scheduled inspections catch early issues and significantly extend waterproofing lifespan |
Understanding common waterproofing problems and preparation essentials
Commercial buildings face unique waterproofing challenges that residential properties rarely encounter. Large flat roofs accumulate ponding water after rainfall, creating persistent pressure on membrane systems. Structural movement from temperature fluctuations and settling stresses waterproofing materials, particularly at expansion joints. Coastal properties in South Africa contend with salt-laden air that accelerates corrosion of metal components and degrades certain sealant types. Penetrations for HVAC systems, plumbing vents, and electrical conduits create countless potential entry points for water.
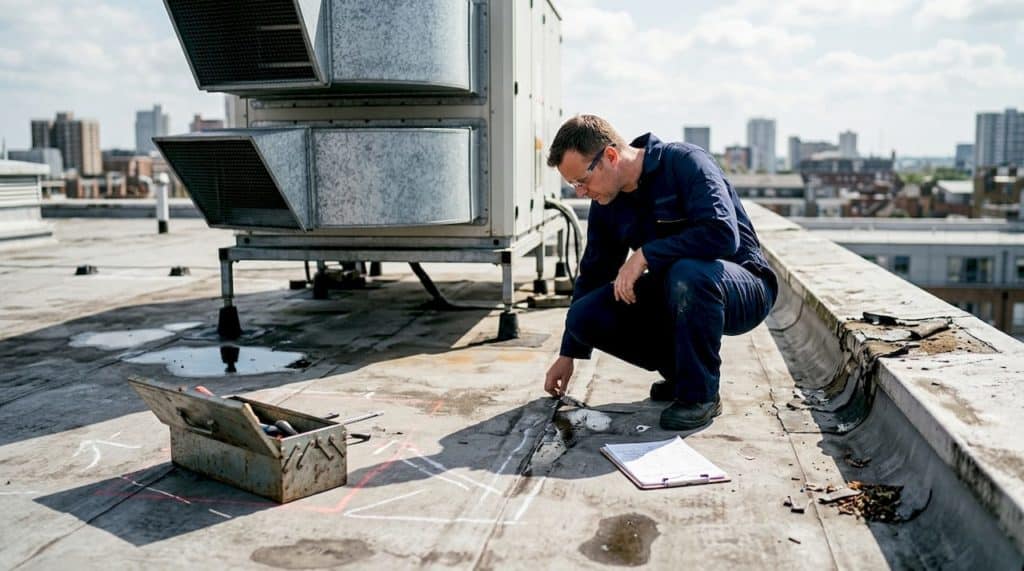
Seams in membranes are most vulnerable to failure when installers skip critical steps. These weak points demand experienced installers who understand proper overlap distances, adhesive selection, sealing techniques, reinforcement placement, and quality control verification. Without attention to each element, even premium materials fail prematurely.
Thorough surface preparation in waterproofing determines whether your system bonds properly or delaminates within months. Remove all loose debris, oil residues, previous coating remnants, and biological growth using appropriate cleaning methods. Power washing works for concrete substrates, whilst chemical cleaners may be necessary for stubborn contaminants. After cleaning, allow surfaces to dry completely because moisture trapped beneath membranes prevents proper adhesion and can cause blistering.
Substrate moisture content requires verification before any waterproofing application begins. Use a moisture meter to confirm readings fall within manufacturer specifications, typically below 4% for concrete surfaces. Rushing this step leads to adhesion failure that necessitates complete system removal and reinstallation. Select quality materials matched to your specific substrate type and environmental conditions. Bitumen-based systems excel in high-temperature environments, whilst polyurethane membranes offer superior flexibility for structures experiencing significant movement.
Pro Tip: Document substrate moisture readings with dated photographs and written logs to establish a clear record of proper preparation should any warranty claims arise later.
Primers and adhesion promoters create a chemical bridge between substrates and waterproofing membranes, dramatically improving bond strength. These preparatory coatings penetrate porous surfaces, sealing minor imperfections whilst providing an ideal surface for membrane adhesion. Skipping primer application to save time or money virtually guarantees premature system failure, particularly on aged concrete with compromised surface integrity.
Step-by-step waterproofing application checklist for commercial buildings
Systematic application following manufacturer guidelines and industry best practices ensures your waterproofing system performs as designed. Each step builds upon the previous one, creating a comprehensive barrier against water ingress.
-
Conduct a final pre-application inspection of all surfaces, verifying cleanliness, dryness, and structural soundness. Address any cracks, spalling, or substrate defects before proceeding. Check weather forecasts to ensure suitable conditions throughout the application and initial curing period.
-
Apply primer according to manufacturer specifications, maintaining proper coverage rates and allowing adequate drying time. Use brushes or rollers for even distribution, paying special attention to porous areas that may require additional primer coats. Verify complete coverage with no missed spots or puddles.
-
Lay waterproofing membranes starting from the lowest point and working upward to ensure proper water shedding. Maintain manufacturer-specified overlap distances, typically 100-150mm for sheet membranes. Align sheets carefully to avoid wrinkles or air pockets that compromise performance. Work methodically across the entire surface, keeping consistent overlap patterns.
-
Seal seams with high-quality adhesives and flexible sealants designed for your specific membrane type. Apply sealant in a continuous bead along the entire seam length, then use a roller to ensure complete contact and eliminate voids. Proper overlap, adhesive selection, sealing technique, and reinforcement placement all contribute to seam integrity.
-
Reinforce critical areas including inside and outside corners, penetrations, termination points, and expansion joints. Apply additional membrane strips or fabric reinforcement over these vulnerable locations before the primary membrane fully cures. Use compatible sealants that maintain flexibility through temperature extremes and structural movement.
-
Allow proper curing time as specified by the manufacturer before subjecting the system to foot traffic or additional construction activities. Curing times vary based on temperature, humidity, and material chemistry. Rushing this phase compromises bond strength and overall system performance.
The table below compares common membrane types and their application requirements for commercial waterproofing step-by-step guide implementation:
| Membrane Type | Primer Required | Overlap Distance | Curing Time | Best Application |
|---|---|---|---|---|
| Bitumen Sheet | Yes | 100mm | 24-48 hours | Flat roofs, below-grade |
| Liquid Polyurethane | Sometimes | N/A | 6-12 hours | Complex details, repairs |
| EPDM Rubber | No | 150mm | Immediate | Large flat areas |
| PVC Sheet | No | 50mm | Immediate | Exposed roofs |
| Cementitious | Yes | N/A | 7 days | Wet areas, basements |
Pro Tip: Mark completed sections with temporary chalk lines or tape to ensure no areas get missed during large-scale commercial applications where multiple crews work simultaneously.
Common waterproofing challenges and verification to ensure long-lasting protection
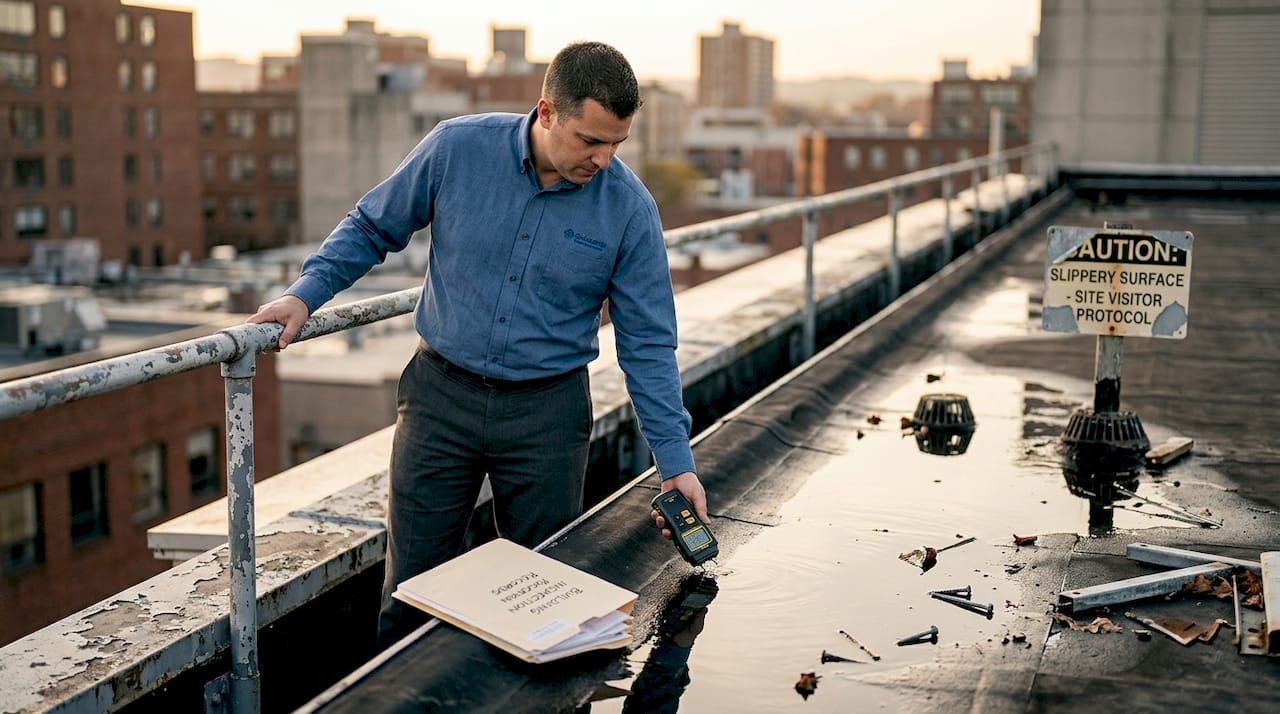
Even expertly installed waterproofing systems face ongoing challenges that require attention. Ponding water on flat roofs exceeds design specifications when drainage systems become blocked or roof deflection increases over time. This standing water accelerates membrane degradation and finds its way through the smallest imperfections. Install additional drains or tapered insulation systems to eliminate persistent ponding.
Structural movement from thermal expansion, settling, or seismic activity stresses waterproofing materials beyond their elastic limits. Rigid systems crack whilst flexible systems may pull away from termination points. Edge cases such as seams, joints, and penetrations require flexible sealants and reinforcement specifically designed to accommodate movement without losing their seal. Drainage solutions prevent water accumulation at these vulnerable points.
Coastal environments in South Africa present unique corrosion risks from salt spray and high humidity. Metal flashings, fasteners, and termination bars deteriorate rapidly without proper protective coatings. Select marine-grade stainless steel components or apply corrosion-resistant coatings to standard materials. Regular inspections identify early corrosion before it compromises waterproofing integrity.
Seam failure remains the most common waterproofing problem, typically resulting from inadequate overlap, insufficient adhesive, or contaminated bonding surfaces. Visual inspection reveals separation, lifting edges, or visible gaps. Address seam failures immediately by cleaning the area, applying fresh adhesive, and adding reinforcement strips to prevent recurrence.
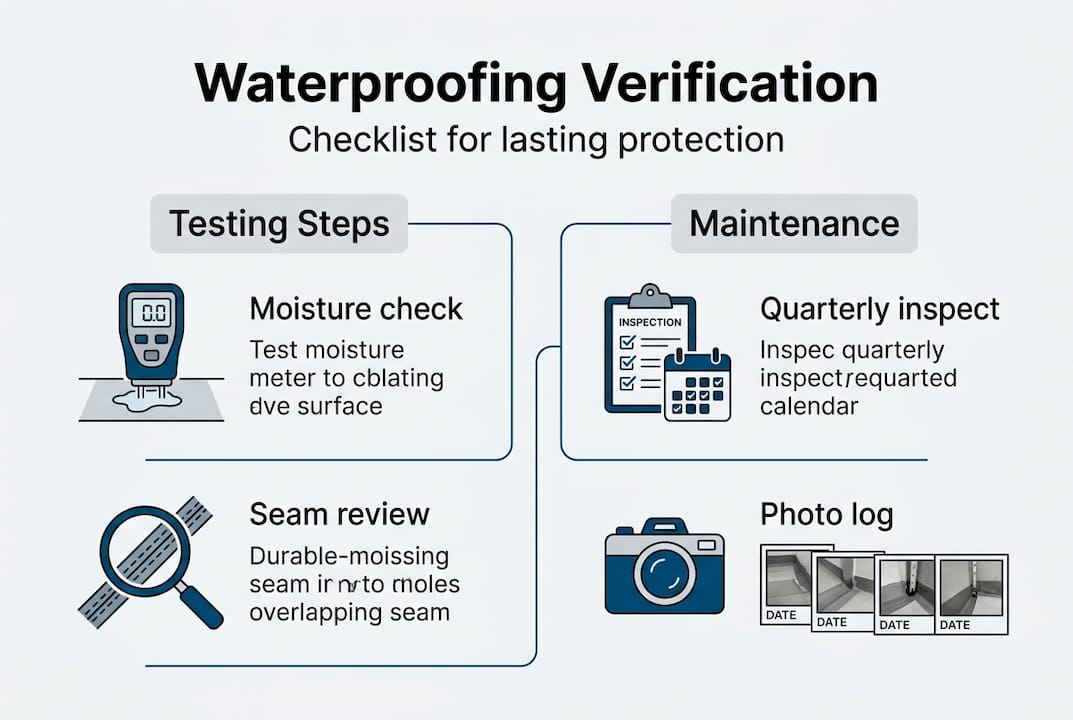
Post-application verification confirms your waterproofing system functions as intended before you close up walls or apply finishes. Conduct visual inspections of all seams, terminations, and penetrations, looking for gaps, wrinkles, or inadequate coverage. Use a blunt probe to gently test seam adhesion without damaging the membrane. Perform flood testing on flat roofs by temporarily blocking drains and filling sections with 50mm of water for 24-48 hours, then inspecting for leaks from below.
The following table compares sealant and reinforcement options for commercial waterproofing best practices:
| Material | Flexibility | UV Resistance | Movement Capacity | Ideal Use |
|---|---|---|---|---|
| Polyurethane Sealant | Excellent | Good | ±25% | Expansion joints, seams |
| Silicone Sealant | Excellent | Excellent | ±50% | Exposed joints, glazing |
| Butyl Tape | Good | Fair | ±10% | Temporary seals, laps |
| Fabric Reinforcement | Variable | Excellent | Depends on matrix | Corners, penetrations |
| Modified Bitumen Strip | Fair | Good | ±15% | Seam reinforcement |
Implement these troubleshooting strategies when waterproofing issues arise:
- Identify leak sources using systematic water testing rather than assuming obvious problem areas
- Clean and dry affected areas completely before attempting any repairs
- Use materials compatible with the existing waterproofing system to ensure proper bonding
- Extend repairs beyond the visible damage area to capture hidden deterioration
- Document all repairs with photographs and material specifications for future reference
Ongoing maintenance schedules prevent minor issues from becoming major failures. Inspect waterproofing systems quarterly, looking for debris accumulation, standing water, vegetation growth, or visible damage. Clear drains and gutters to maintain proper water flow. Check sealant joints for cracking or separation, reapplying as needed. After severe weather events, conduct immediate inspections to identify storm damage before water infiltrates the building envelope.
Pro Tip: Create a digital maintenance log with dated photographs of your waterproofing system’s condition, making it easy to track deterioration patterns and justify proactive repairs to stakeholders before emergency situations develop.
Water testing provides definitive proof of system integrity. For walls and vertical surfaces, use a hose to direct water at seams and penetrations for 15-20 minutes whilst observers inside watch for leaks. Electronic leak detection equipment pinpoints problems in large membrane systems without destructive investigation. Infrared thermography identifies trapped moisture within roof assemblies, revealing leaks that haven’t yet manifested as visible damage inside the building.
Reliable commercial waterproofing solutions from Pro Waterproofing
Implementing this comprehensive checklist protects your commercial property from water damage, but professional expertise ensures flawless execution. Pro Waterproofing services bring years of experience working with commercial buildings across South Africa, understanding the unique challenges posed by our climate and building styles. Our team follows rigorous commercial waterproofing best practices on every project, from initial assessment through final verification.

We provide detailed documentation throughout the waterproofing process, giving you confidence in the quality and longevity of your investment. Whether you need a complete roof waterproofing system or targeted repairs to existing installations, our specialists deliver solutions tailored to your specific requirements. Explore our commercial waterproofing step-by-step guide for additional insights, then contact us to discuss how we can safeguard your building’s integrity for decades to come.
Frequently asked questions
What is the most common cause of waterproofing failure in commercial buildings?
Improper seam sealing tops the list of waterproofing failures, followed closely by inadequate surface preparation and failure to accommodate structural movement. These issues often stem from rushing installation or using inexperienced contractors who skip critical steps. Quality materials paired with professional installation dramatically reduce failure rates, whilst regular inspections catch early problems before they escalate into costly repairs.
How often should commercial waterproofing be inspected and maintained?
Inspect waterproofing systems at least annually, preferably before and after the rainy season to identify any damage or deterioration. Conduct additional inspections immediately following severe storms, hail events, or any rooftop construction work that might have compromised the membrane. Regular maintenance including drain cleaning, debris removal, and minor sealant repairs extends system life by 50% or more compared to neglected installations.
What materials are best for sealing vulnerable seams and joints?
Flexible polyurethane and silicone sealants accommodate movement whilst maintaining their seal, making them ideal for expansion joints and areas subject to structural flexing. Silicone offers superior UV resistance for exposed applications, whilst polyurethane provides better adhesion to porous substrates. Reinforcing fabric or additional membrane strips over seams increase durability and distribute stress across a wider area, preventing concentrated failure points.
Can waterproofing be applied in cold or wet weather conditions?
Most waterproofing materials require minimum temperatures between 5-10°C and dry conditions for proper application and curing. Cold temperatures slow chemical reactions necessary for adhesive bonding and membrane curing, whilst moisture prevents proper adhesion to substrates. Some specialized cold-applied materials tolerate lower temperatures, but always verify manufacturer specifications. Planning waterproofing projects during favourable weather windows ensures optimal performance and avoids costly failures from improper installation conditions.