
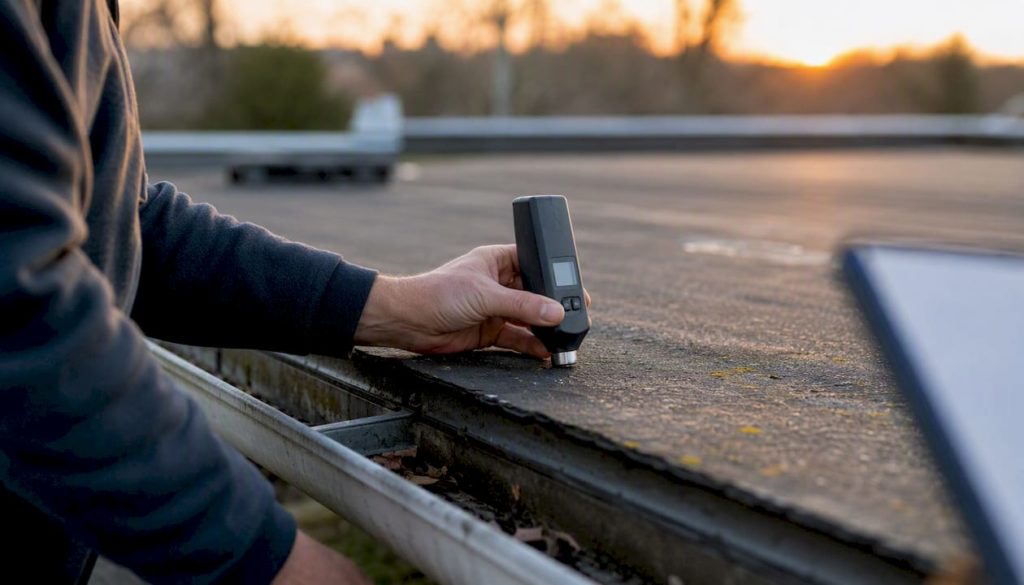
A printable waterproofing checklist PDF gives you everything needed to inspect a building today and decide what needs fixing first. Prowaterproofing has built this checklist against SANS 10400 Part K wall requirements and Agrément South Africa’s water penetration criteria, so it reflects what inspectors actually check, not a generic tick list.
Any owner, building manager, or contracted inspector can run it without prior training.
Print the checklist. Walk the property. Mark every item OK, Repair, or Immediately. That single habit turns a vague worry about damp into a documented, actionable plan.
Key Takeaways
A printable waterproofing checklist works only when paired with a fixed inspection routine, clear prioritisation, and photographed records that satisfy both contractors and insurers.
| Point | Details |
|---|---|
| Print and use the PDF now | Walk the property marking each item OK, Repair, or Immediately, with photos for every flagged issue. |
| Prioritise detailing, not just surfaces | Junctions, flashings, and vapour barriers fail before flat membrane surfaces usually do. |
| Match urgency to symptom | Active leaks need action within 24 hours; cosmetic staining can wait weeks with monitoring. |
| Keep an insurance-ready log | Dates, inspector name, photos, and receipts protect claims that hinge on proven maintenance. |
| Call Prowaterproofing for confirmed defects | Attach your completed checklist and photo log when requesting an inspection or quote. |
Table of Contents
- Waterproofing checklist PDF: what to inspect, room by room
- How do you run a waterproofing inspection properly?
- How do you prioritise repairs after an inspection?
- Which standards govern waterproofing, and why does documentation matter?
- What to do the moment you find a specific defect
- What actually matters most in a waterproofing checklist?
- When it’s time to bring in a professional inspection
- Where to find further technical detail
- Sources
Waterproofing checklist PDF: what to inspect, room by room
The checklist below groups items by building element so you inspect in a logical sequence rather than jumping between rooms. Each item carries a suggested frequency and a place to log the date, inspector, and photo reference, which matters later for insurance and warranty claims.
Roof: ridge and valley flashings, membrane blisters or cracking, exposed nail heads, ponding water. Frequency: annual, plus after major storms.
Gutters and drainage: blockages, sagging brackets, downpipe joints, ground‑level splash and soakaway condition. Frequency: quarterly.
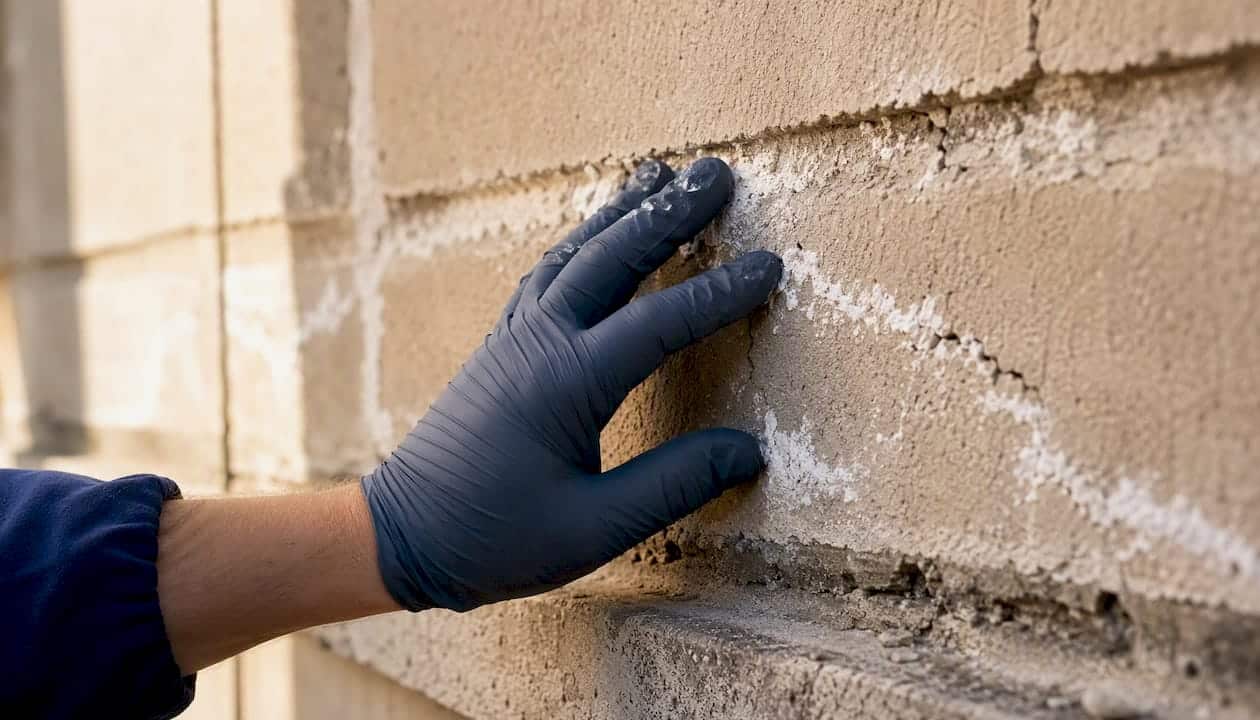
External walls: rendering cracks, efflorescence (white salt staining), rising damp at the base, pointing gaps. Frequency: annual.
Windows and doors: sealant failure, frame rot, weep hole blockages, condensation between panes. Frequency: annual.
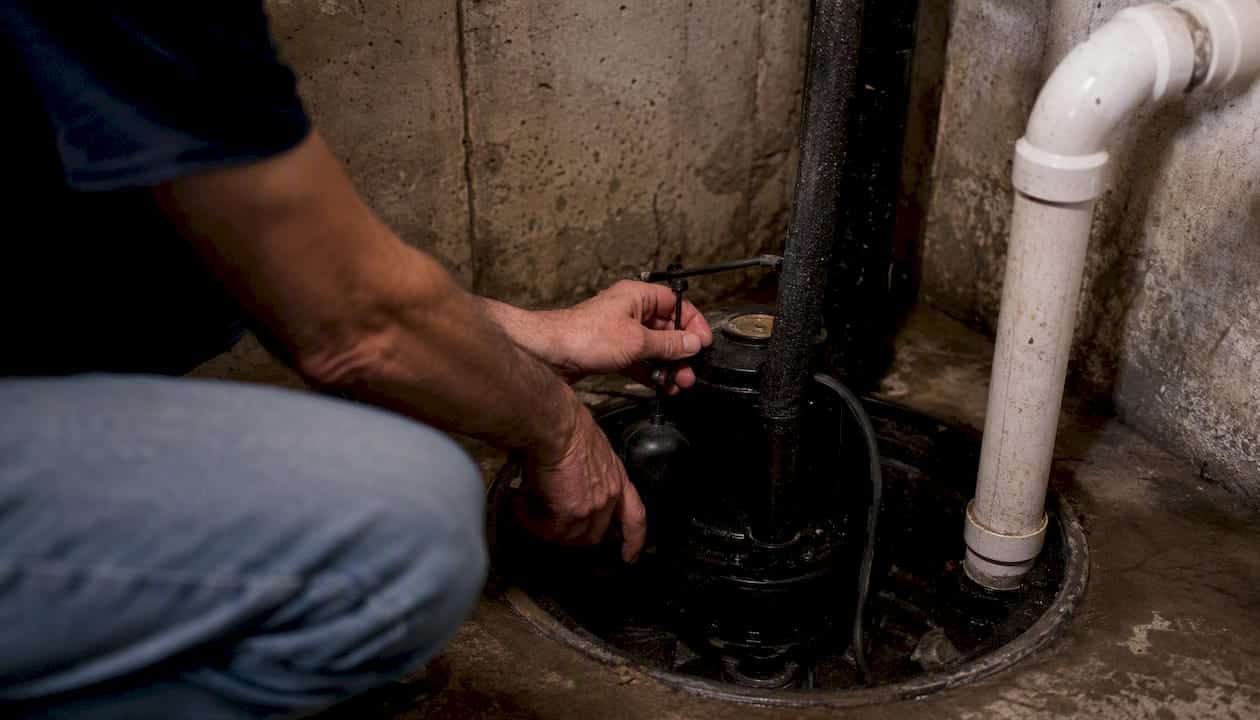
Basements and foundations: floor slab dampness, wall tide marks, sump pump function, French drain flow. Frequency: quarterly for older properties.
Floors and slabs: cracking, lifting tiles, cold spots suggesting a failed damp‑proof membrane. Frequency: annual.
Plumbing and drainage: visible pipe corrosion, slow drains, stopcock access, hidden leaks behind cladding. Frequency: quarterly.
HVAC and ventilation: condensate drain blockages, insulation on cold pipework, extractor fan function in bathrooms. Frequency: quarterly.
Internal signs of damp: musty odours, peeling paint, black mould spotting, warped skirting boards. Frequency: monthly visual check.
Each row on the printable version includes an OK / Repair / Immediately box, a notes field, and space for a photo reference number. Keep a short insurer‑friendly record line for every entry: date, inspector name, and photo count.
Pro Tip: Take a timestamped photo and a moisture‑meter reading for anything you mark as “Repair” or “Immediately”. A single number on a damp wall today is worth far more than a description written from memory in six months.
If you manage more than one property, the essential waterproofing inspection checklist for SA buildings offers a variant scoped for multi-unit inspections, and the commercial waterproofing checklist adjusts frequencies for larger commercial assets. Both work as digital fillable PDFs or as printed sheets clipped to a board for site walks.
How do you run a waterproofing inspection properly?
Safety comes before the checklist. Working at height on a pitched roof, entering a crawl space, or probing near an electrical distribution board each carry real risk. Never inspect a wet roof alone, and treat any exposed wiring near a damp area as a stop-work signal until an electrician has checked it.
Gather your tools before you start:
- A strong torch for roof voids and crawl spaces.
- A stable ladder rated for the height involved.
- A moisture meter (pin or pinless type).
- A digital camera or phone with timestamp enabled.
- A tape measure and a screwdriver or pry bar for probing suspect timber.
- Basic PPE: gloves, non-slip footwear, and a dust mask for confined spaces.
Work through the building in a fixed order so nothing gets missed:
- Exterior roof and gutters first, while daylight and weather allow.
- Building envelope next: walls, windows, doors.
- Ground level and foundations.
- Internal rooms, working room by room.
- Services last: plumbing runs, HVAC condensate lines.
- Finish with documentation: transfer notes and photos into the log the same day.
Pro Tip: Note the weather from the previous 48 hours before you inspect. A damp patch that appears after heavy rain means something different from one that persists in dry weather, and condensation-related issues often need a retest once conditions have dried out to confirm the cause.
For a fuller explanation of what a professional inspection deliverable looks like, see what a waterproofing inspection covers and why it matters.
How do you prioritise repairs after an inspection?
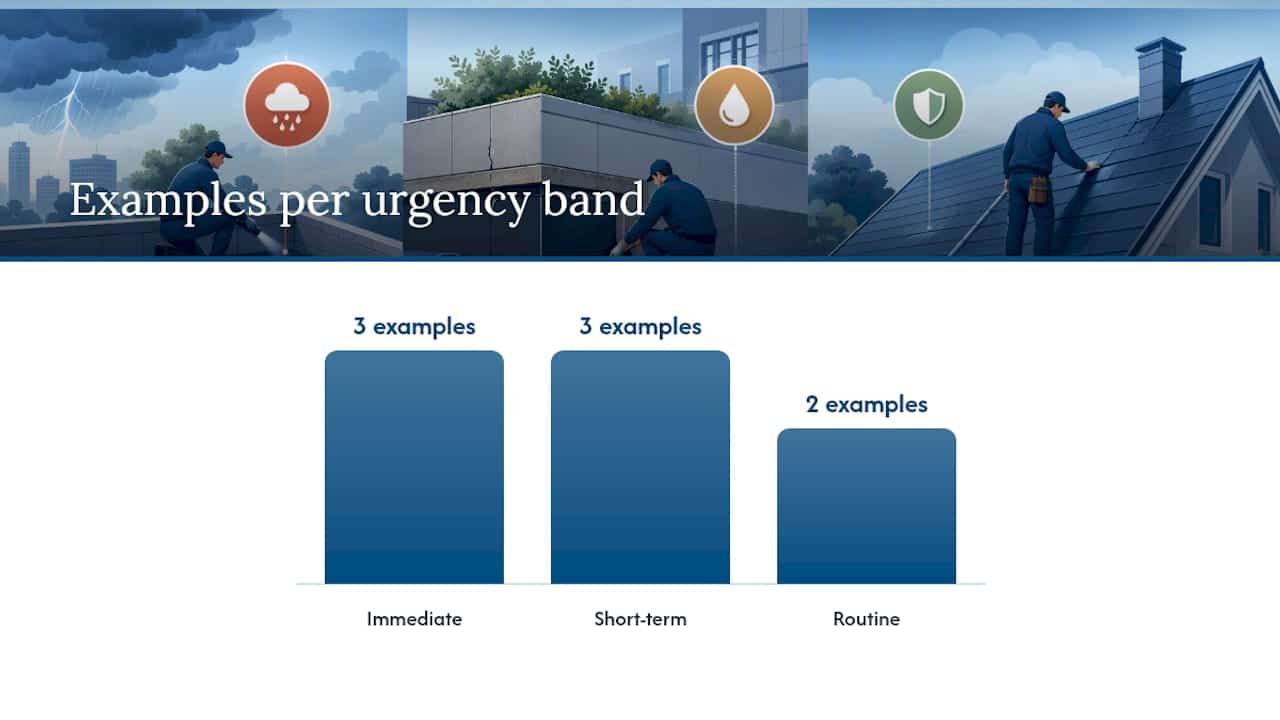
Not every “Repair” box demands the same urgency. Sort findings into three bands: Immediate (active leaks, structural water ingress, electrical proximity), Short-term (cracked pointing, minor sealant failure, slow gutter blockages), and Routine (cosmetic staining, minor efflorescence with no active moisture).
| Symptom | Likely cause | Immediate action | Escalation path |
|---|---|---|---|
| Active water dripping through ceiling | Failed roof membrane or flashing | Contain water, bucket and tarp | Call a waterproofing contractor within 24 hours |
| Tide marks on basement wall | Rising damp or failed damp-proof course | Ventilate, avoid storing items against wall | Book inspection within a week |
| Cracked external render | Movement or ageing sealant | Photograph and monitor | Schedule repair within 1–3 months |
| Musty smell, no visible damp | Poor ventilation or hidden leak | Increase airflow, run dehumidifier | Investigate with moisture meter within 2 weeks |
When you do call a contractor, ask direct questions before accepting a quote: what is the scope of work, does the price include removal of failed membrane or just patching over it, what warranty period applies, will they carry out a water-penetration test on completion, and what is the realistic timeline. Industry scope documents for large waterproofing projects typically specify full membrane removal once damage exceeds a defined threshold, rather than patching over delaminated sections, so a contractor recommending removal isn’t necessarily upselling you.
Pro Tip: Keep a dated repair log with before-and-after photos for every job, however small. Insurers and future buyers both respond better to a documented maintenance history than to a verbal assurance that “it was fixed a few years back”.
Which standards govern waterproofing, and why does documentation matter?
South Africa’s building framework sets clear expectations here. SANS 10400 Part K covers wall performance against condensation, rain penetration, and rising damp, while SANS 10021 specifically addresses waterproofing methods, including membranes, damp-proof courses, and vapour barrier installation for basements, floors, and walls. Agrément South Africa’s performance criteria go further: no dampness should be visible on the inside face of an external wall in a habitable building under normal weather. That’s the benchmark your checklist is really testing against.
Vapour barriers, damp-proof courses, membranes, and flashings each do a different job, and a failure in detailing rather than material is often the real cause of a leak. Certification commentary on cement-based systems notes that damp is frequently a symptom of missing vapour barriers or poor drainage detailing rather than a failed product itself. Check corners, junctions, and penetrations closely; that’s where detailing usually breaks down first.
Insurance is where documentation earns its keep. Property maintenance guidance from Outsurance warns that insurers may decline claims where routine maintenance has clearly been neglected, including basics like annual roof checks and gutter clearing. Keep a simple insurance file: inspection dates, inspector name, photos, contractor quotes, receipts, and warranty documents. That file is your evidence that a leak was an unforeseen event, not a maintenance failure.
What to do the moment you find a specific defect
Finding a problem is only useful if you know what to do in the next five minutes. Match the defect to a temporary fix, then decide how urgently a professional needs to follow up.
Active roof leak: place a bucket, move furniture, and if safe, cover the affected roof section with a tarpaulin weighted at the edges. Call a contractor within 24 hours; standing water indoors risks ceiling collapse.
Cracked wall render with no water behind it: photograph, measure the crack width, and monitor over four weeks. Book a repair if it widens.
Blocked gutter causing overflow onto a wall: clear the blockage immediately if accessible safely; this alone often resolves a “damp wall” complaint without any waterproofing work at all.
Rising damp tide mark in a basement: stop storing goods against that wall, increase ventilation, and arrange a moisture-meter reading within the week. Rising damp rarely needs same-day intervention, but it does need a professional diagnosis.
Condensation on windows with mould spotting: ventilate daily, run an extractor fan or dehumidifier, and retest after a week of drier conditions before assuming it’s a structural leak.
Delaminated or brittle membrane found during a basement check: don’t patch it. Membrane sections showing widespread delamination generally need full replacement in that area, not a spot repair, since patched sections tend to fail again at the boundary. Flag this for a professional quote rather than a DIY fix.
Escalate anything involving structural cracking, electrical proximity, or repeated failure of the same repair straight to a licensed contractor.
What actually matters most in a waterproofing checklist?
Most checklists treat every box as equally important, and that’s the biggest weakness in how property owners use them. An efflorescence stain and an active roof leak both get a “Repair” tick, and then owners triage by whichever feels more visible rather than whichever is structurally urgent.
The standards tell a different story. Agrément’s own testing regime allows unpressurised water tests to run for around 20 hours before a wall system is judged to pass or fail, which tells you something the checklist alone can’t: some failures only show up under sustained conditions, not a five-minute visual scan. That’s precisely why detailing checks around corners, penetrations, and junctions deserve more attention than most DIY inspections give them.
The conventional advice to “check for visible damp once a year” undersells how much detailing failures compound quietly. A missing vapour barrier or an under-specified drainage fall won’t show up as a stain for months, sometimes years, and by the time it does, remediation costs have usually multiplied.
If you take one thing from this checklist, prioritise the junctions and detailing over the flat surfaces. That’s where the failures start.
When it’s time to bring in a professional inspection
A printed checklist gets you a long way, but some findings need instrumentation and experience a torch and a moisture meter can’t fully replace. If your checklist has several “Repair” or “Immediately” boxes ticked, or you’ve found a delaminated membrane, active rising damp, or persistent leaks after a temporary fix, it’s worth requesting a professional inspection through Prowaterproofing.

A proper inspection from Prowaterproofing gives you a detailed written report, moisture readings at every suspect point, photographed evidence for your insurance file, a clearly scoped repair recommendation, and a written quote you can compare against other contractors. Prowaterproofing works to South African standards including SANS 10400 and Agrément performance criteria, and stands behind its work with warranties on completed jobs, which matters if a membrane fails within the guarantee period.
When you request a quote, attach your completed checklist PDF and photo log. It saves the inspector time on-site and gives Prowaterproofing a head start on diagnosing whether you’re looking at a detailing failure or a material one. Request a quote or book an inspection with Prowaterproofing and turn your checklist findings into an actual repair plan.
Where to find further technical detail
For deeper technical reading beyond the checklist itself, consult SANS 10021 on waterproofing of buildings and Agrément South Africa’s water penetration criteria for test methods and pass thresholds.
- Outsurance’s building maintenance guidance for insurer expectations.
- Prowaterproofing’s South African standards guide for localised checklist notes.
Sources
- PERFORMANCE CRITERIA Water penetration and damp-proofing
- SANS 10400 PART K: Walls
- Buildings maintenance