
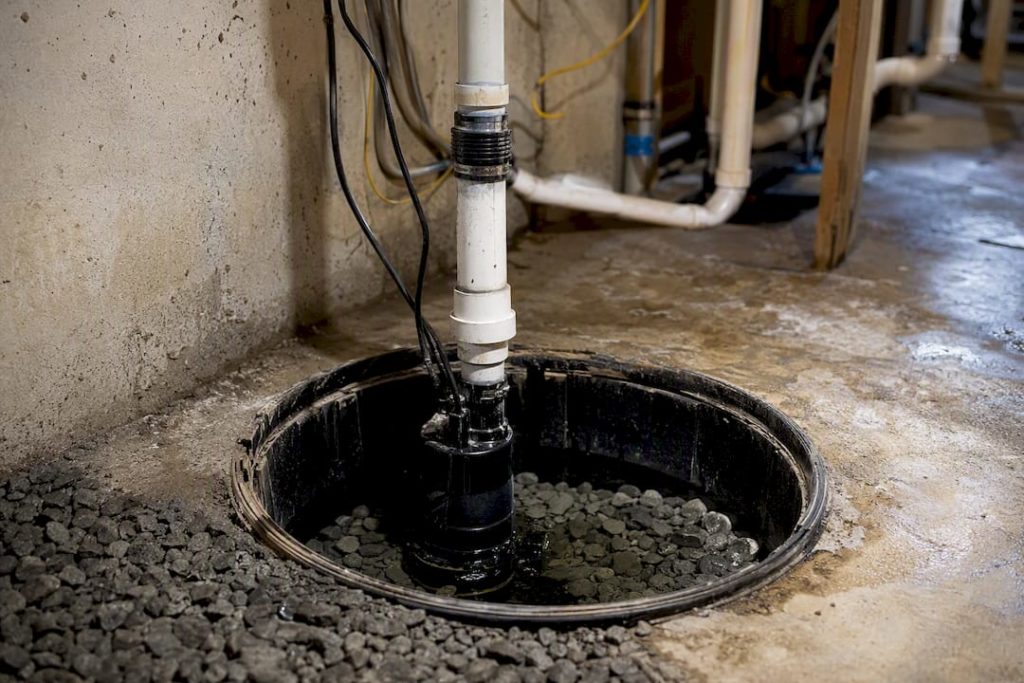
For new build basements, external tanking with perimeter drainage is the correct choice when excavation is possible. For existing basements, a cavity drain membrane routed to a sump with a reliable backup pump is the practical answer. Either way, the same non-negotiables apply.
- A correctly sized sump chamber, not an afterthought bucket in the corner
- A primary pump plus a secondary backup pump or battery unit
- A high-level alarm that alerts you before water reaches finished floor level
- A lawful, tested discharge point that won’t just flood the neighbour’s garden
Get these wrong and no amount of membrane or channel will save you. Get them right and the rest of the design falls into place.
Key Takeaways
The right basement drainage system depends on whether you’re building new or retrofitting, but every effective setup shares a sump, a backup pump, and a lawful discharge point.
| Point | Details |
|---|---|
| Match system to build stage | External tanking suits new builds with excavation access; cavity drain membranes suit retrofits. |
| Never skip the backup pump | A single pump with no battery or secondary unit is the most common point of failure. |
| Assess the site first | Record soil type, water table signs, and existing drainage before requesting quotes. |
| Budget for annual servicing | Monthly pump tests plus a yearly professional service keep the system reliable long term. |
| Prowaterproofing handles full specification | Site assessment, written specification, installation, and warranty are covered in one process. |
Table of Contents
- What are the main types of basement drainage systems?
- Which components actually make a basement drainage system work?
- How do you choose the right drainage system for your property?
- What happens during installation and what maintenance does it need?
- How much does a basement drainage system cost and how long does it take?
- What common mistakes undermine a basement drainage system?
- Why Pro Waterproofing’s approach to basement drainage holds up
- Where the conventional advice on basement drainage gets it wrong
- Get a proper basement drainage assessment, not a guess
- Sources
What are the main types of basement drainage systems?
Every basement drainage system on the market is a variation on four approaches, and which one suits your property depends almost entirely on whether you’re building new or retrofitting.
- External tanking. A waterproof membrane applied to the outside face of the basement wall stops water before it ever reaches the structure. It’s the gold standard for new construction, where excavation is straightforward, but retrofitting it into an existing building means digging around the entire perimeter, which is disruptive and costly.
- Cavity drain membranes (Type C systems). Rather than fighting every possible entry point, a studded membrane fixed to the internal wall face creates a drained cavity that catches water and channels it down to a perimeter drain and sump. For existing basements, cavity drain membranes are often the most reliable retrofit solution when external digging isn’t practical.
- Internal French or perimeter drains. A gravel-filled trench with a perforated pipe collects groundwater and redirects it away from the foundation, either around the outside of the building or under the internal floor slab where exterior access simply isn’t an option.
- Gravity versus pumped discharge. If your site slopes away from the basement, gravity can carry water to a soakaway or stormwater connection with no mechanical help. Most basements aren’t that lucky, though, which is why a pump becomes essential rather than optional.
Which components actually make a basement drainage system work?
A contractor’s quote will usually list the same handful of parts. Knowing what each one does helps you spot a corner-cutting proposal before you sign anything.
- Perimeter drainage channel: a continuous channel around the internal or external base of the wall, connected with sealed joints so water can’t escape between sections.
- Sump chamber: sized to hold enough incoming water during peak flow, sited at the lowest point of the basement, and fitted with an airtight lid.
- Pumps: submersible centrifugal pumps triggered by float switches, with a check valve to stop discharged water flowing back into the pit.
- Alarm and battery backup: a high-level float alarm plus a battery-powered backup pump that kicks in automatically if mains power fails during a storm.
- Discharge arrangement: pipework routed to an approved outfall, whether that’s a stormwater drain, soakaway, or another point permitted under local drainage rules.
Sump pump systems require a properly sized pit, float switches, and a reliable backup to function as intended, and skipping any one of those elements is where most systems fail during heavy rain rather than light drizzle.
Pro Tip: Ask your contractor to show you the sump pit’s litres-per-minute inflow capacity against your local rainfall intensity, not just the pump’s horsepower. A powerful pump in an undersized pit still overflows.
How do you choose the right drainage system for your property?
Before you call a single contractor, walk your basement and record what you find. Note where water enters, whether it’s a steady seep or a sudden gush after rain, and how the ground outside slopes relative to your foundation walls.
Site conditions largely decide the outcome for you:
- High water table or clay soil nearby: expect slower natural drainage and higher long-term pressure on walls, so specify larger sump pits and higher-capacity pumps
- No side access or a shared boundary wall: cavity drain membrane and internal perimeter drains become the only realistic route
- New build with open excavation: external tanking paired with perimeter drains offers the most durable, lowest-maintenance long-term result
- Existing finished basement you don’t want to gut: an internal system minimises disruption to floors already laid
When you’re comparing quotes, ask these questions of every contractor:
- What warranty backs the workmanship, and for how many years?
- Does the design comply with the relevant SANS 10021 waterproofing standard?
- Is there a genuine backup pump or battery system, or just one pump doing all the work?
- Where exactly does discharge water go, and has that route been checked against local drainage rules?
- What does the annual servicing plan cost, and what does it include?
What happens during installation and what maintenance does it need?
Installation follows a fairly predictable sequence, though the trades involved shift depending on whether you’re tanking externally or fitting an internal cavity system.
- Site excavation or internal strip-out, depending on the chosen system
- Application of the membrane or tanking coating, or fixing of the cavity drain studded sheet
- Installation of the perimeter drainage channel, connected with sealed joints
- Sump chamber excavation, fitting, and pump installation
- Commissioning: testing pump activation, float switch response, alarm function, and discharge flow
Once it’s in, the system needs routine attention or it quietly degrades. Test the pumps monthly by pouring water into the sump until the float switch triggers. Clean inlet screens every few months so debris doesn’t jam the impeller. Check the alarm and battery charge quarterly, and book a full professional service annually, ideally before the wettest season in your region.
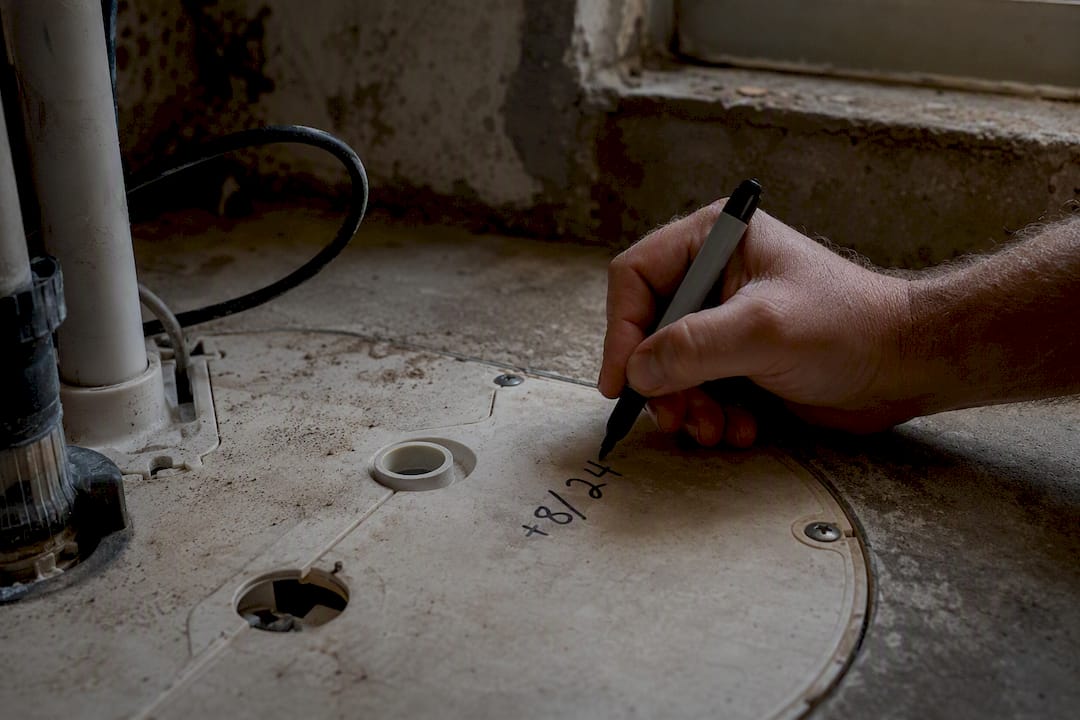
Pro Tip: Write the pump’s install date on the sump lid in permanent marker. Most submersible pumps last seven to ten years, and a failing pump often gives no warning beyond a sudden increase in run time.
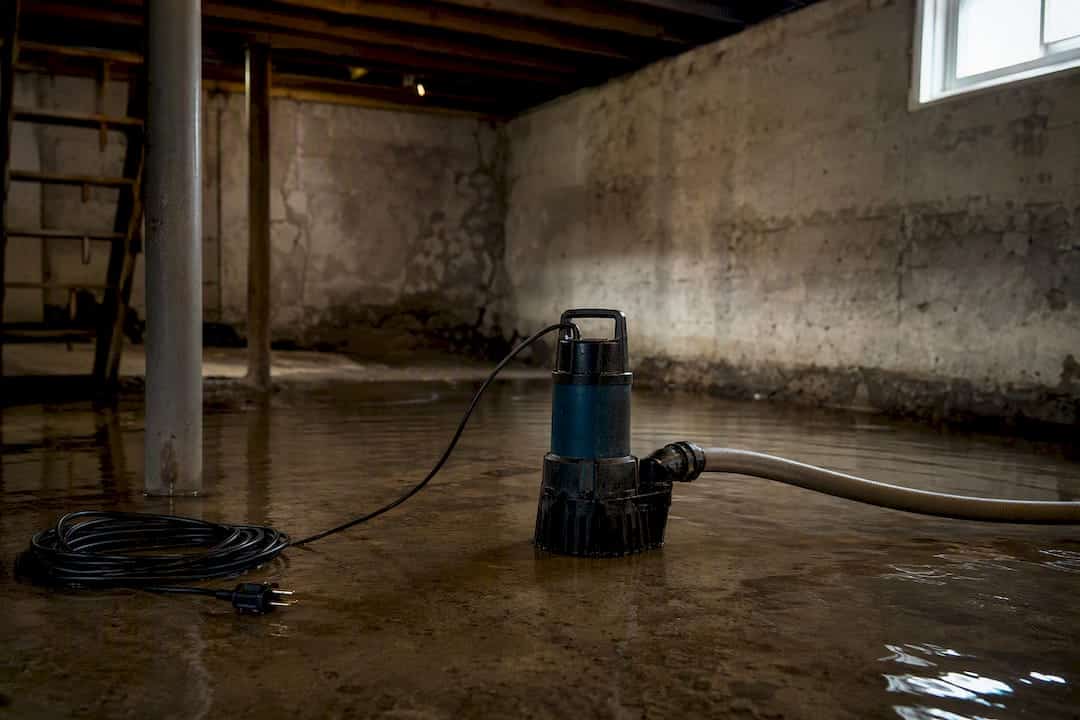
If a pump fails during active flooding, isolate the electrics if there’s any standing water near sockets, use a portable pump or wet vacuum as a stopgap, and call a professional immediately rather than waiting to see if it drains on its own.
How much does a basement drainage system cost and how long does it take?
Costs vary widely by region and site difficulty, so treat any figure as an order-of-magnitude guide rather than a quote. Excavation depth, soil conditions, access constraints, pump specification, and discharge routing all move the number.
- Perimeter French drains and basic sump pump assemblies sit at the lower end of the cost range
- Full cavity drain membrane installations cost more, reflecting membrane material, labour, and sump commissioning
- External tanking on a new build is typically the most expensive per linear metre, but it’s applied once during construction rather than retrofitted later
Timelines follow project size closely. A small internal sump and drain retrofit can be finished in a few days. A full perimeter cavity drain system for a larger basement typically takes one to two weeks. Anything involving external excavation extends further, particularly if access is tight or clay soil slows the digging.
What common mistakes undermine a basement drainage system?
Even a well-specified system fails if these get overlooked:
- Blocked or poorly sloped surface drainage forcing water back toward the foundation instead of away from it
- Discharge routed somewhere unlawful or simply onto a neighbour’s property
- A single pump with no backup, guaranteed to fail exactly when you need it most
- DIY retrofits attempted without a proper site assessment, which usually miss the actual water entry point
Why Pro Waterproofing’s approach to basement drainage holds up
Prowaterproofing’s technical content, including detailed breakdowns of Type C cavity systems and sump pump specification, is written by Eben, drawing on established South African waterproofing standards rather than generic guesswork.
A proper site visit and quotation from Prowaterproofing covers:
- Full assessment of soil type, water table indicators, and existing drainage before recommending a system
- A written specification naming the components, pump ratings, and discharge route
- Installation and commissioning, followed by a documented warranty
…
Where the conventional advice on basement drainage gets it wrong
Most articles on this topic treat basement drainage as a product decision: pick a membrane, pick a pump, done. That misses the point entirely. The system only works as well as the weakest link connecting it, and in my reading of how these projects actually fail, that weak link is almost always the backup power arrangement or the discharge route, not the drainage method itself.
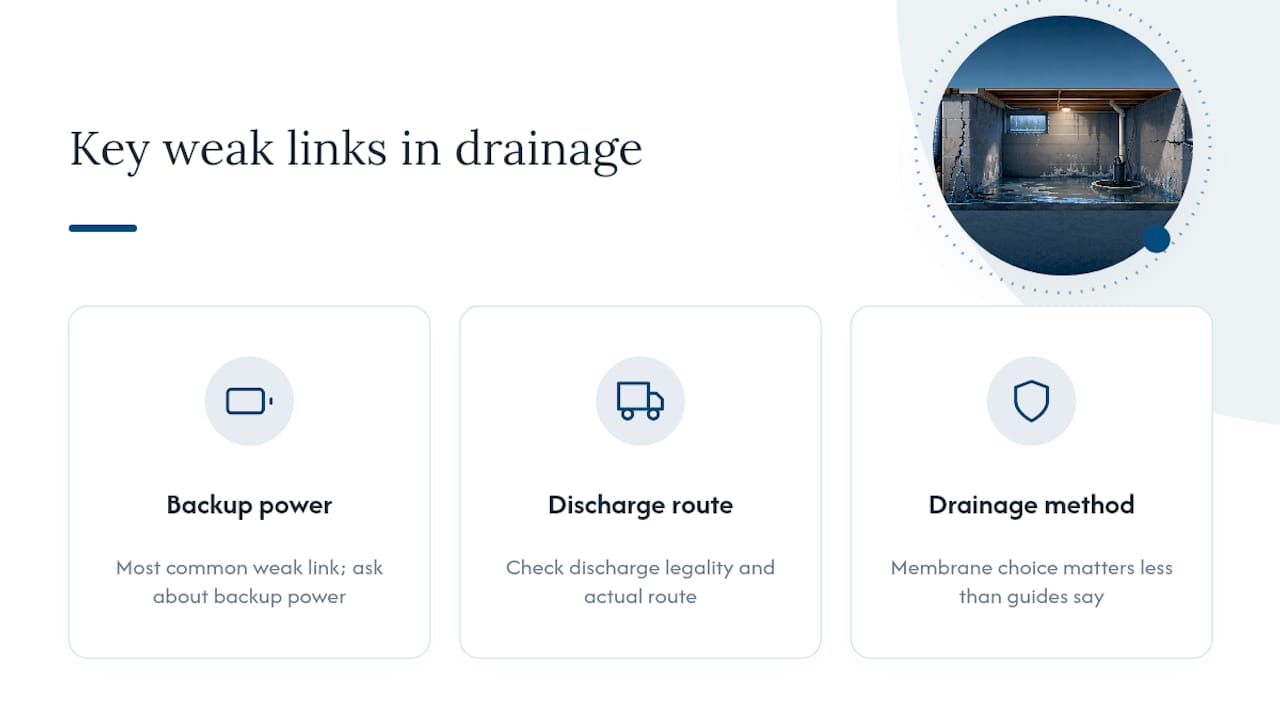
Property owners fixate on choosing between tanking and cavity membranes, when the harder, more consequential decision is what happens when the mains power cuts out during the exact storm that’s testing your system. A technical guide to below-grade foundation detailing makes a similar point about foundations generally: the design on paper matters less than whether the site-specific detailing accounts for real conditions.
If you take one thing from this, prioritise the contractor questions over the product brochure. Ask about backup power, ask about discharge legality, ask about servicing. The membrane choice matters less than most guides suggest.
— Eben
Get a proper basement drainage assessment, not a guess
Most guides leave you to choose a system type and then find someone to install it, hoping the contractor you pick actually specifies it correctly. Prowaterproofing does the assessment and the installation as one process, so the sump sizing, pump rating, and discharge route are decided by the same team that stands behind the warranty.

That matters because a basement drainage system is only as good as the site-specific detail behind it, clay soil, water table depth, access constraints, and Prowaterproofing’s site visits are built around capturing exactly that before any quote goes out. Whether you’re dealing with a persistent damp patch or planning drainage into a new build from the ground up, the next step is the same: request a site assessment through Prowaterproofing and get a written specification you can actually hold a contractor to.
Sources
For technical depth, consult SANS 10021:2012 on waterproofing, the BSI code of practice on below-ground structures, and Prowaterproofing’s guide to waterproofing a basement from outside.
- French drains: complete guide for SA homeowners (Drainblasters)