
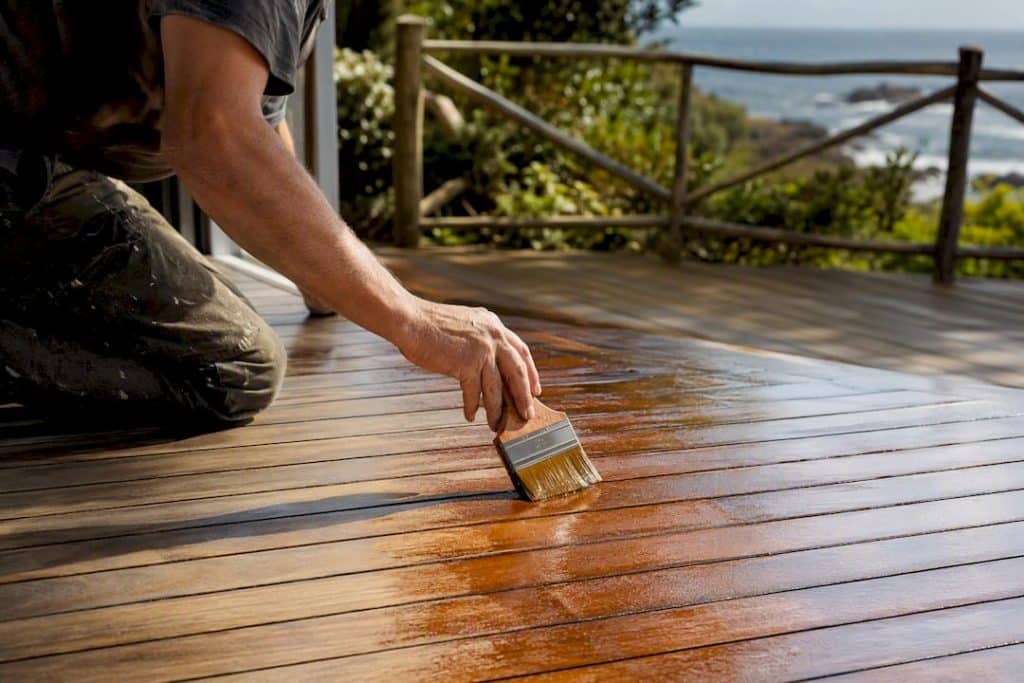
For most outdoor DIY projects, a pigmented, exterior-grade penetrating oil gives you the best mix of water repellency and easy upkeep, while a film-forming sealer or varnish suits jobs where a harder barrier matters more than a natural look. Epoxy has its place, but only in sheltered or specialist applications, and pressure-treated timber still needs a finish on top of it. Whichever you choose, preparation and maintenance decide whether it lasts two years or ten.
TL;DR:
- Proper surface preparation, including moisture content checks and thorough sanding, is crucial for extending waterproofing lifespan regardless of product type.
- Penetrating oils are best suited for wood that moves or expands, but they require regular reapplication, typically every 12 to 18 months in exposed environments.
- Film-forming finishes provide strong water resistance but are prone to cracking and peeling, needing more maintenance, especially in outdoor UV conditions.
- Modified woods like acetylated or thermally treated timber naturally absorb less moisture and demand less frequent finishing, making them ideal for long-term projects.
- For structural or ground-contact timber, professional waterproofing with proper specifications and warranty is advisable to prevent early failure and structural damage.
Table of Contents
- What to use to waterproof wood: the main product types
- Which finish suits your project: oil, sealer, or epoxy?
- How do you prepare and apply wood waterproofing correctly?
- How to spot and fix a failing wood finish
- When should you call a waterproofing specialist?
- Our take: stop chasing the perfect product
- Sources
What to use to waterproof wood: the main product types
Choosing what to use to waterproof wood starts with understanding that “waterproofing” isn’t one product category. It’s five distinct approaches, each working through a different mechanism, and each with a different failure point.
Penetrating oils (linseed, tung, and modern polymeric oil blends) soak into the wood fibre rather than sitting on top. They repel water without sealing the surface completely, so the timber can still breathe and release trapped moisture. That makes them the go-to for decking, garden furniture, and cladding that expands and contracts with the seasons. The trade-off is frequency: oils wear away faster than film finishes and need reapplying more often.
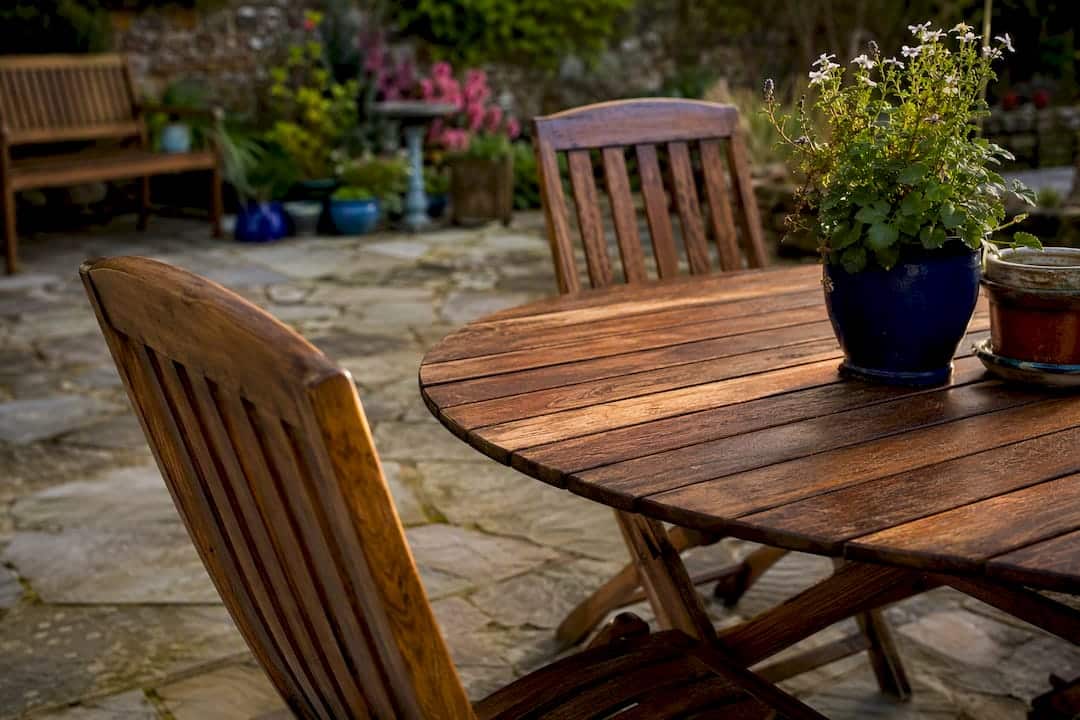
Water-repellent preservatives (WRPs) are a separate category from pressure treatment, and mixing the two up is one of the most common mistakes homeowners make. Pressure treatment pushes fungicides and insecticides deep into the timber to stop rot and insect attack. It does nothing to stop water absorption. Treated lumber absorbs water at close to the same rate as untreated wood, which is exactly why decking that’s “already treated” still cups, greys, and splits without a separate water-repellent finish on top.
Film-forming finishes, meaning varnish, polyurethane, and spar varnish, create a continuous plastic-like layer over the wood rather than soaking into it. This gives you the strongest barrier against standing water and the glossiest look, but it comes at a cost: once UV light and moisture cycling crack that film, water gets trapped underneath it and rot can set in faster than on bare wood. Film finishes also need full sanding back before recoating, unlike oils, which simply need a light clean and a fresh coat.
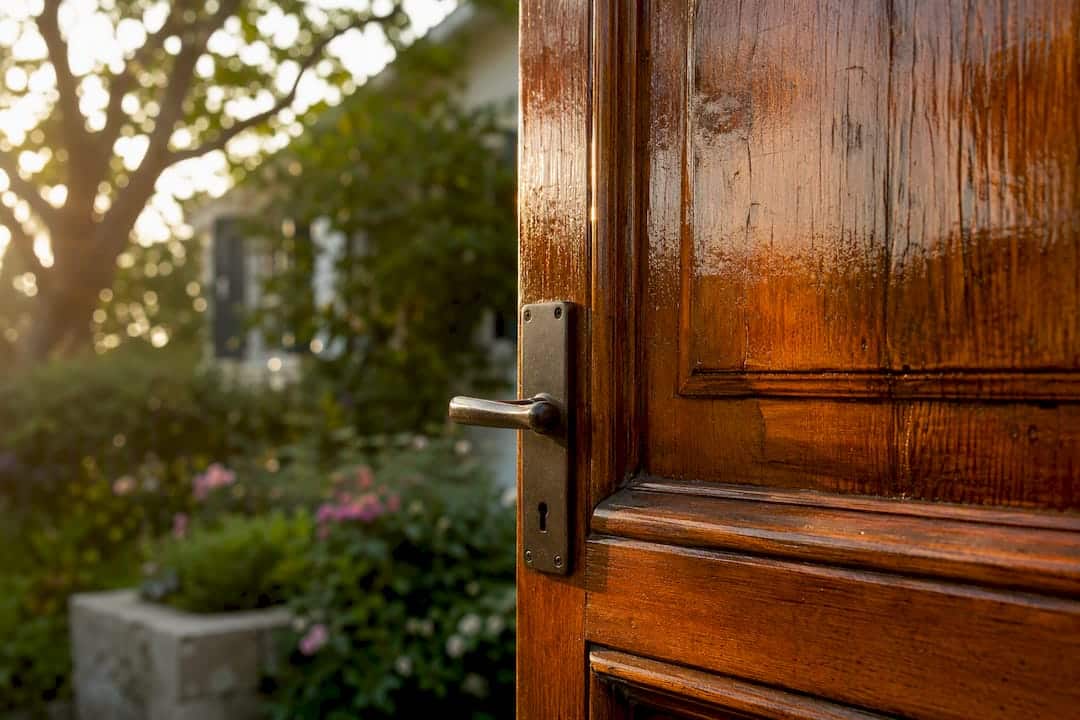
Epoxy and resin systems cure to an essentially impermeable layer, excellent for filling rot pockets, stabilising end grain, or sealing a boat hull section. Nearly all epoxies have poor UV resistance and will chalk or crack quickly outdoors unless you overcoat with a UV-stable varnish or spar polyurethane. Epoxy without a topcoat, left in direct sun, is a maintenance headache waiting to happen.
Modified woods, such as acetylated or thermally modified timber (sold under names like Kebony or Accoya), change the wood’s cell structure so it absorbs far less moisture in the first place. They cost more upfront but need less finishing maintenance over the timber’s life, which makes them worth considering for fixed structural elements you don’t want to recoat every year.
For a broader rundown of material options suited to South African conditions, this materials list for local properties is worth a look before you commit to a product.
Which finish suits your project: oil, sealer, or epoxy?
Matching the product to the job matters more than chasing the “best” finish in the abstract. A finish that’s perfect for a static deck board is the wrong choice for a door that swells and shrinks with the weather.
Oils accommodate wood movement in a way rigid films can’t. That’s why penetrating oils suit doors, gates, and jointed furniture far better than varnish does. A varnished door that swells in winter humidity will crack its film right along the joint lines. An oiled one just darkens slightly and keeps flexing.
Here’s how the main approaches stack up in practice:
- Penetrating oil: good to very good water shedding, decent UV resistance when pigmented, excellent movement tolerance, low maintenance effort but frequent recoats (annually to every 18 months in exposed spots).
- Film sealer/varnish: excellent water shedding while intact, moderate UV resistance (better with UV inhibitors added), poor movement tolerance, higher maintenance effort because failure means full strip and resand.
- Epoxy (with UV topcoat): outstanding water shedding, UV resistance entirely dependent on the topcoat, poor movement tolerance, moderate maintenance but a strict recoat schedule on the topcoat itself.
- Modified wood (acetylated/thermally modified): very good natural water resistance, strong UV stability, good movement tolerance, minimal finish maintenance but higher material cost.
Oil-based products in general tend to penetrate deeper and resist UV breakdown better than brittle film coatings, and they’re less likely to trap moisture against the timber, which matters in humid coastal climates where trapped moisture is what actually rots wood, not rain exposure itself.
Pro Tip: If you’re torn between oil and varnish for an exterior door, oil almost always wins. Doors move, and a cracked varnish film on a door is far more visible and annoying than a slightly duller oiled finish.
On lifespan, expect a lot of variation by climate. In a sheltered, temperate garden, a quality oil finish on decking might hold up for 18 months to two years before it needs a fresh coat. On an exposed coastal deck facing salt spray and intense UV, that same finish can need attention within six to nine months. Varnish holds longer when intact (two to three years isn’t unusual inland) but fails harder and requires more work to fix once it does. Epoxy topcoats generally need the most frequent recoat attention of all, often annually in full sun, because the UV-stable layer is sacrificial by design.
The decision rule is simple: pick oil for anything that moves or where you want the timber’s grain to stay visible, pick sealer or varnish for static elements where you’re prepared to maintain a film properly, and reserve epoxy for repair work, end-grain sealing, or indoor and covered applications where UV isn’t a daily assault.
How do you prepare and apply wood waterproofing correctly?
Product choice only gets you halfway. Application technique and preparation are what separate a finish that lasts from one that peels within a season, and most failures trace back to skipped prep steps rather than a bad product.
- Check moisture content first. Timber should read below 18% moisture on a pin-type moisture meter before any finish goes on; ideally closer to 12 to 15% for interior-adjacent joinery. Coating damp wood traps moisture underneath the finish and guarantees early failure.
- Clean and treat mildew. Wash down with a mild detergent or a dedicated deck cleaner, and treat any mould or algae with a fungicidal wash. Rinse thoroughly and let the timber dry fully, which can take 48 to 72 hours in humid conditions.
- Sand through a sensible progression. Start at 80 grit for weathered or rough timber, move to 120, and finish at 150 to 180 for a smooth surface that still has enough texture (or “tooth”) for the finish to key into. Always sand with the grain, and vacuum or blow off dust rather than wiping it with a damp cloth, which just reintroduces moisture.
- Treat cut ends on pressure-treated lumber. Every job-site cut exposes untreated core wood. Brush on a copper naphthenate end-cut preservative on every fresh cut, as recommended in AWPA M4 field practice guidance, and use hot-dip galvanised or stainless fasteners rated for treated timber to avoid corrosion.
- Apply thin, even coats. Use a natural-bristle brush for oils and a foam or synthetic brush for water-based sealers. Two coats is standard for most oil and sealer systems, with recoat windows of roughly two to four hours between coats depending on temperature and humidity. Apply in dry weather, above 10°C, and out of direct midday sun to avoid the finish skinning over before it penetrates.
- For epoxy, sand between coats and always finish with a UV-stable topcoat. Let epoxy cure fully (usually 24 hours minimum, longer in cold weather), scuff-sand to promote adhesion, then apply a marine-grade spar varnish or UV-stable polyurethane over the top before the piece ever sees direct sun.
Pro Tip: Test your moisture meter reading in more than one spot on large deck boards. Sun-facing edges dry faster than shaded centres, and coating one dry patch next to a damp one is a recipe for uneven absorption and blotching.
How to spot and fix a failing wood finish
A finish that’s doing its job doesn’t announce itself. One that’s failing does, and catching the early signs saves you from a full strip-and-refinish job later.
Walk your deck, fence, or exterior joinery once a season and look for water beading versus soaking in. If a splash of water sits on the surface in beads, the finish is still working. If it darkens the wood and soaks in within seconds, it’s time to recoat. Other warning signs include:
- Greying or silvering patches where UV has broken down the surface fibres.
- Flaking or peeling film, usually starting at joints, end grain, or fastener heads.
- Dark staining or black spotting, which usually signals mould growth under a finish that’s stopped breathing properly.
- Soft or spongy timber underfoot or to a screwdriver probe, a sign that rot has already started beneath the surface.
For localised peeling or greying, spot-sand back to sound wood, feather the edges so the repair blends, and recoat just that section, matching the existing product where possible. Widespread failure, cracking across most of the surface, or any soft rot means a full strip, sand, and refinish rather than a patch job.
On recoat intervals, manufacturer guidance for common exterior systems typically calls for two initial coats and a maintenance recoat every 12 to 18 months, though exposed coastal sites push that towards the shorter end. Keeping timber off the ground, improving drainage away from posts and joists, and giving end grain an extra coat or two will do more for longevity than any single product choice.
When should you call a waterproofing specialist?
DIY finishing covers most furniture, decking, and cladding jobs well. Some situations sit outside that scope. Structural timber, ground-contact posts bearing real load, decks with framing you can’t fully inspect, and anything tied into a foundation or damp-prone wall are worth handing to a professional, particularly where a failure risks the building itself rather than just the finish.
If you do bring in a contractor, ask direct questions before signing anything. Which AWPA Use Category or local equivalent are they specifying for the exposure level, ground contact versus above-ground? What preservative will they use on any timber going into the soil? Will they provide a written warranty on both materials and workmanship?
A proper quote should come with a method statement, product datasheets for anything they’re applying, and proof of insurance. Pro Waterproofing sets out the standards a legitimate contractor should be working to, which is worth reading before you get quotes from anyone.
Our take: stop chasing the perfect product
The research keeps pointing to the same conclusion, and it isn’t the one most product marketing wants you to reach: the finish matters less than the seven steps that happen before you open the tin. Homeowners fixate on which oil or sealer to buy, then rush the sanding, skip the moisture check, and coat timber that’s still damp from last week’s rain. That’s the failure point almost every time, not the product label.
The conventional advice oversells film finishes for general outdoor use. Varnish looks impressive on day one and becomes a maintenance liability by year two, especially on anything that moves. If you take one thing from this guide, prioritise moisture content and end-grain treatment over brand loyalty. Get those right, and even a modest oil finish will outperform a premium varnish applied badly. Where a job touches structural timber or ground contact, don’t gamble on a weekend fix. That’s exactly where Pro Waterproofing and a proper specification earn their keep.
— Eben
Sources
For product specifics and standards depth, see the AWPA U1 Use Category guidance, pressure-treated wood field practices, and background on how porosity affects finish penetration.
- Types of Wood Treatment: Chemicals, AWPA Codes & Lifespan
- Best product for waterproofing wood? : r/woodworking