
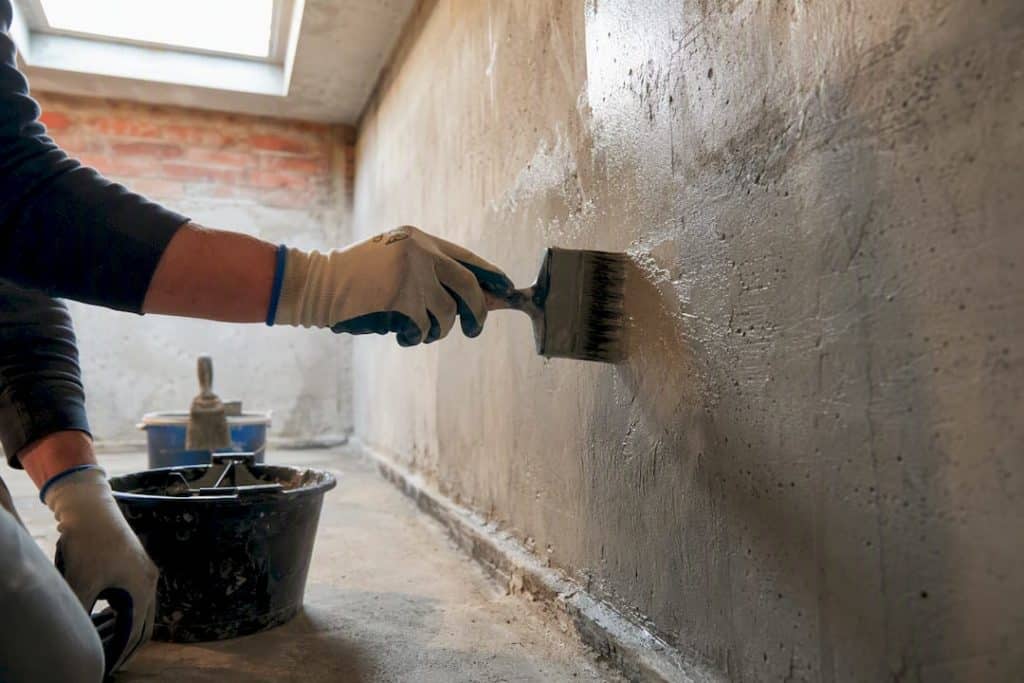
Four interior methods handle most damp problems: crystalline or cementitious coatings for general moisture and hairline cracks, liquid-applied membranes for minor pressure, injection grouting for active leaks, and interior drainage with a sump for groundwater. Before applying any coating, stop active leaks and confirm moisture levels using ASTM F2170 or ASTM F1869 testing.
- Efflorescence or damp patches: crystalline or cementitious coating
- Active water flow: injection grouting first, always
- Groundwater at slab edge: interior drainage plus sump
- Planning finished flooring: moisture testing is non-negotiable
If a moisture reading exceeds a coating’s rated threshold, or you can’t identify where water is entering, that’s your signal to call Prowaterproofing rather than reach for a tin of sealant.
Key Takeaways
Interior concrete waterproofing succeeds only when active leaks are stopped and moisture is tested before any coating goes on, with method choice driven by symptom, access, and drainage needs.
| Point | Details |
|---|---|
| Stop leaks before coating | Use injection grouting on active flowing water; coatings applied over live leaks will delaminate. |
| Test moisture first | Run ASTM F2170 or ASTM F1869 tests before choosing or applying any moisture mitigation coating. |
| Match method to symptom | Crystalline and cementitious coatings suit general dampness; drainage and sump suit persistent groundwater. |
| Detail the cove joint | Reinforce the wall-floor junction and pipe penetrations, the most common point of coating failure. |
| Call a professional for complex cases | Prowaterproofing surveys diagnose the source, specify the method, and issue test documentation with a warranty. |
Table of Contents
- What are the main interior concrete waterproofing methods?
- Which method suits your situation?
- How do you prepare and apply interior waterproofing correctly?
- Why do DIY waterproofing jobs fail?
- How does a professional scope an interior waterproofing job?
- Do basement walls, floors, and slabs need different treatment?
- Which waterproofing methods suit different concrete and finishes?
- How do you maintain and monitor waterproofing after installation?
- What safety gear do you need for waterproofing work?
- Sources
What are the main interior concrete waterproofing methods?
Crystalline waterproofing works by driving reactive chemicals into the concrete’s pore structure, where they form insoluble crystals that block water pathways from either side of the slab. That’s why it’s one of the few treatments that performs reliably on the negative side, meaning you can apply it from inside a basement even though the water pressure is pushing from outside. It typically bridges hairline cracks up to around 0.4mm, but wider or moving cracks need mechanical repair first.
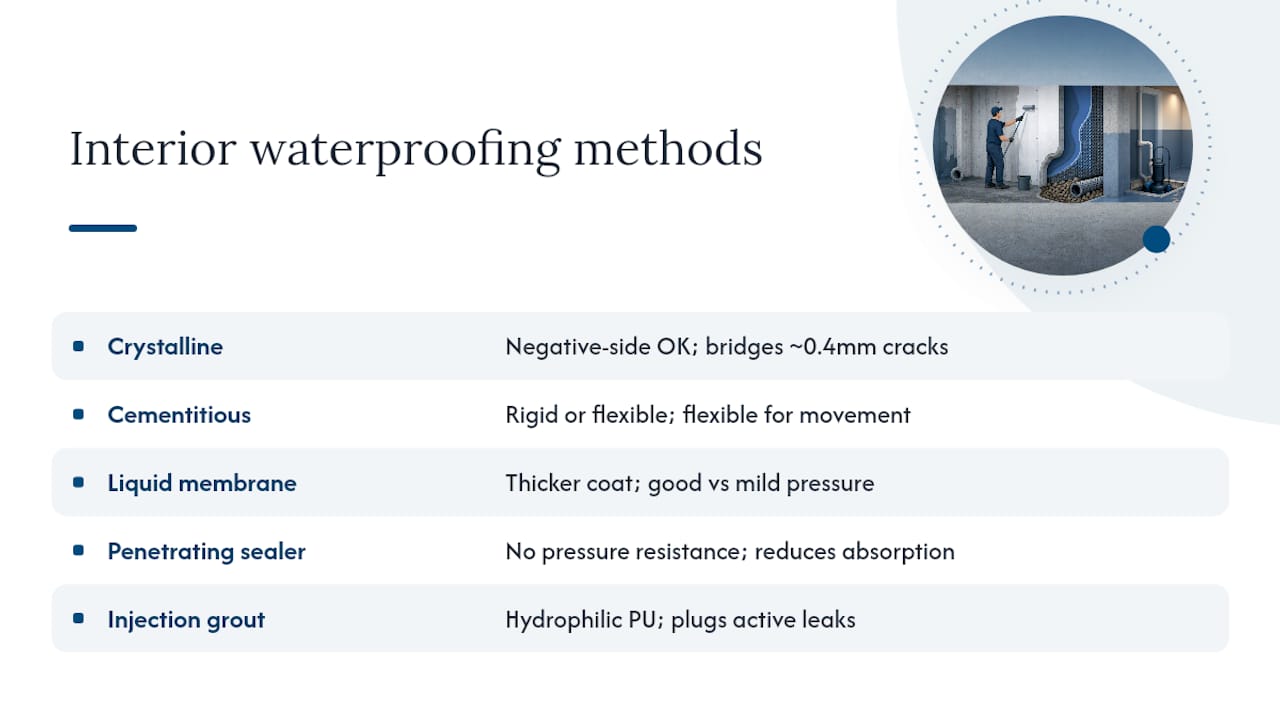
Cementitious coatings come in rigid and flexible formulations. Rigid versions suit static walls with no movement; flexible ones tolerate minor structural flexing and are the safer default for most residential basements. Liquid-applied membranes (usually polyurethane or acrylic based) go on thicker and offer better resistance where there’s mild hydrostatic pressure, though they demand cleaner substrate prep than cementitious systems.
Penetrating sealers, including silane-siloxane types, don’t waterproof against pressure at all. They reduce surface absorption on exposed concrete and work best on garage floors or low-risk walls rather than basements fighting groundwater.
Integral admixtures are a different category entirely. Mixed into concrete at the batching stage, they reduce permeability throughout the pour. Useful for new construction, they’re irrelevant to an existing slab you’re trying to fix.
Injection grouting deserves its own mention because it isn’t a coating at all. Hydrophilic polyurethane resin expands on contact with water, plugging active flows through cracks or joints, and contractors treat it as the standard first response before any surface treatment goes on. Method choice generally comes down to hydrostatic pressure, exposure, and whether you can access the positive (exterior) side at all.
Which method suits your situation?
Match your symptoms to a method before you buy anything:
- Condensation only, no standing water: a breathable crystalline or cementitious coating usually resolves it.
- Efflorescence (white powdery deposits): confirms moisture movement through the wall. Treat with crystalline waterproofing after cleaning the salts off.
- Seepage during heavy rain: liquid membrane or cementitious coating, provided moisture testing shows acceptable levels.
- Active, flowing leaks: stop with injection grouting before considering any coating.
- Persistent groundwater at the slab edge: interior drainage channel to a sump pump, because no coating outlasts sustained hydrostatic pressure.
Positive-side (exterior) treatment is always the stronger long-term fix where you can dig and access the foundation wall, since it stops water before it ever reaches the concrete. Negative-side products, crystalline systems especially, exist for the far more common scenario: finished basements, attached neighbours, or slabs where excavation simply isn’t practical.
Pro Tip: If your access, budget, and flooring plans all point towards a coating but the wall still weeps after rain, that’s usually a drainage problem masquerading as a coating problem. Don’t keep reapplying sealant.
How do you prepare and apply interior waterproofing correctly?
Start with diagnosis, not application. Walk the wall or slab for visible signs (staining, efflorescence, spalling), then run proper moisture tests: ASTM F2170 for in-situ relative humidity and ASTM F1869 for calcium chloride vapour emission rate. If you find active flowing water at this stage, stop and grout it, or call a contractor.
- Clean the substrate — remove laitance, oil, old paint, and any loose material.
- Mechanically profile the surface to the roughness a coating manufacturer specifies (contractors reference ICRI CSP profile guidance for this).
- Patch defects with hydraulic cement or a compatible repair mortar, matching porosity to the surrounding concrete.
- Pre-dampen the surface if the product data sheet calls for it, typically for cementitious slurries.
- Reinforce the wall-floor cove and pipe penetrations with a flexible strip or embedded membrane, since this junction is the most common failure point in remedial jobs.
- Apply the specified number of coats at the stated thickness, respecting cure time between layers.
- Ventilate properly during application and curing, and confirm the coating is compatible with any flooring finish planned afterwards.
- Never skip the cove detail, even when it looks structurally sound.
- Never coat over visible dampness without a moisture reading first.
Pro Tip: Keep the product data sheet on site during application. Recoat windows and cure times vary by manufacturer, and guessing costs you the whole job if the next coat blisters.
Why do DIY waterproofing jobs fail?
Coatings fail most often because someone applied them over an active leak or wet concrete. Pressure behind the wall pushes the film off the substrate within weeks, sometimes days, which is precisely why injection grouting exists as a first-response step rather than an optional extra.
Moisture thresholds matter more than most owners expect. Flooring manufacturers typically set maximum relative humidity or vapour emission limits, and exceeding them voids flooring warranties even if the concrete looks dry to the touch. Testing takes an afternoon; ripping out failed flooring takes weeks.
- Inadequate mechanical profiling (coating just skims a smooth, sealed surface)
- Layering incompatible products (acrylic over cementitious, for instance)
- Ignoring the wall-floor cove joint entirely
- Under-specifying drainage where groundwater is the real driver
How does a professional scope an interior waterproofing job?
A proper site inspection covers the moisture source, structural condition, whether positive-side access exists, drainage requirements, and what finish you intend to put down afterwards.
- Locate moisture source and confirm via testing
- Assess structural cracks and cove condition
- Check exterior access feasibility
- Specify drainage or sump needs
- Document test results and issue a warranty
Typical deliverables from a Prowaterproofing survey include crack injection, negative-side crystalline or cementitious treatment, interior drainage with sump installation, and written test documentation backing the warranty. This article draws on that field experience, compiled by Eben for Prowaterproofing.
Do basement walls, floors, and slabs need different treatment?
Basement walls, floors, and interior slabs each face a different physical challenge, so the same coating rarely suits all three without adjustment.
Walls deal primarily with lateral hydrostatic pressure pushing inward from saturated soil. That’s why crystalline treatments and flexible cementitious coatings dominate wall specifications: they need to tolerate slight movement and resist pressure from one direction while remaining breathable enough not to trap moisture inside the wall assembly.
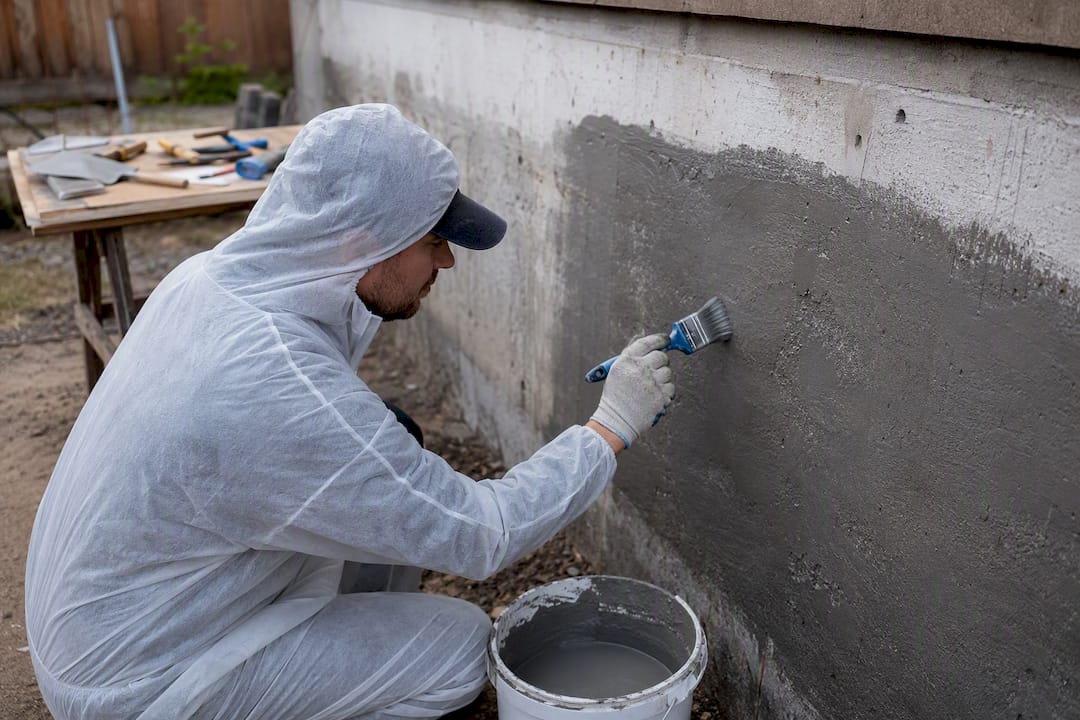
Floors face pressure from below, often combined with capillary rise through the slab itself. A basement floor sitting on compacted fill with a high water table needs a coating rated for hydrostatic exposure from underneath, not just surface dampness. This is also where moisture testing becomes critical, because floors are far more likely to receive flooring finishes that carry strict vapour emission limits.
Interior slabs in habitable rooms, kitchens, or utility areas above grade generally face a lower moisture burden but still need attention at penetrations (drains, pipe stacks) and construction joints. These slabs rarely need aggressive hydrostatic protection, but they do need careful joint sealing, since water tracks along joints even where the field of the slab stays dry.
The practical takeaway: don’t specify one product for the whole basement. A wall coating chosen for pressure resistance may be entirely wrong for the floor beneath it, and vice versa.
Which waterproofing methods suit different concrete and finishes?
Compatibility hinges on the concrete’s age, porosity, and what’s going on top of it. Older, more porous concrete generally accepts crystalline and cementitious treatments well, because both rely on penetrating into open pore structures to form their seal. Newer, denser concrete (particularly slabs poured with low water-cement ratios) can resist penetration, which sometimes calls for a surface-applied membrane instead.
Painted or previously sealed concrete is the trickiest substrate. Any existing coating has to be mechanically removed before a new waterproofing system goes on, because layering a fresh cementitious coat over old paint almost guarantees delamination within a season.
Finish plans matter just as much as the substrate. If you’re laying carpet, tile, or engineered timber over a treated slab, the coating must be rated for that specific covering and clear the moisture thresholds those flooring manufacturers set. Two-component epoxy moisture mitigation systems are the usual choice here, since they create a genuine vapour barrier rather than just reducing surface absorption.
Exposed concrete floors or garages, by contrast, can often get away with a penetrating silane-siloxane sealer, which won’t interfere with the concrete’s natural look and needs far less surface prep than a full coating system.
How do you maintain and monitor waterproofing after installation?
Waterproofing isn’t a one-and-done fix. Walk the treated area every few months, especially after heavy rain, looking for new staining, fresh efflorescence, or any dampness at the cove joint you reinforced during application.
Keep an eye on exterior drainage too, even though the work was done inside. Blocked gutters, poor grading, or a clogged sump pump discharge line will eventually overwhelm even a well-installed interior system, because interior treatments manage symptoms rather than eliminating the water source outside.
If you installed a sump pump as part of interior drainage, test it quarterly by pouring water into the pit and confirming it activates and discharges properly. Battery backups need checking too, since power cuts during storms are exactly when you need the pump most.
Small cracks that appear after the first year aren’t automatically a failure. Concrete continues to shrink and settle, and a hairline crack in a crystalline-treated wall often self-seals as the treatment reacts with fresh moisture. A crack that widens, weeps, or reappears after patching is a different matter and warrants a follow-up inspection.
Recoat schedules vary by product, but most cementitious and liquid membrane systems specify a service life rather than a permanent guarantee. Check the original data sheet or warranty documentation for recoat intervals rather than guessing.
What safety gear do you need for waterproofing work?
Cementitious products and crystalline slurries are highly alkaline, so skin and eye contact causes real chemical burns, not just irritation. Wear chemical-resistant gloves, safety goggles (not just glasses), and long sleeves whenever mixing or applying these products.
Mechanical surface profiling, whether by grinder or scarifier, throws up significant airborne silica dust. A properly rated respirator, not a basic dust mask, is essential, along with hearing protection if you’re using powered equipment for any length of time.
Ventilation matters most with liquid-applied membranes and solvent-based sealers, since basements and enclosed slabs trap fumes with little natural airflow. Run fans, open what windows you have, and never work alone in a sealed basement while applying solvent-based products.
Injection grouting equipment operates under real pressure, and hydrophilic resins can cause skin reactions on contact. This is genuinely a task where hiring a contractor pays for itself in avoided injury, not just better results.
Balancing disruption, cost, and long-term performance
Interior fixes make sense when access, budget, or finished space rule out digging. Push for exterior remediation when the long-term drainage picture demands it, and always insist on documented testing and a written warranty.
Getting a professional survey from Prowaterproofing
Prowaterproofing gives you a documented alternative to guesswork: a site survey that pins down the moisture source and specifies the right method before anyone touches a wall. That matters because the biggest cost in this category isn’t the coating, it’s redoing a job that failed because nobody tested for active leaks or checked relative humidity first.

A typical survey covers inspection and diagnosis, injection grouting for active leaks, crystalline or cementitious coating specification for walls and floors, and interior drainage with sump installation where groundwater is the driver. You get test documentation and a warranty attached to the finished work, not just a verbal assurance. If you’re weighing up what interior waterproofing actually costs against the risk of a failed DIY coating, request a site visit through Prowaterproofing and get a scoped quote before you buy a single tin of sealant.