TL;DR:
- Waterproofing prevents liquid water from passing through structures under hydrostatic pressure, unlike damp-proofing which only reduces moisture absorption. Proper surface preparation and drainage systems are crucial for the longevity of waterproofing methods, especially on below-grade walls. Combining systems like crystalline admixtures with exterior membranes offers the best protection against water ingress.
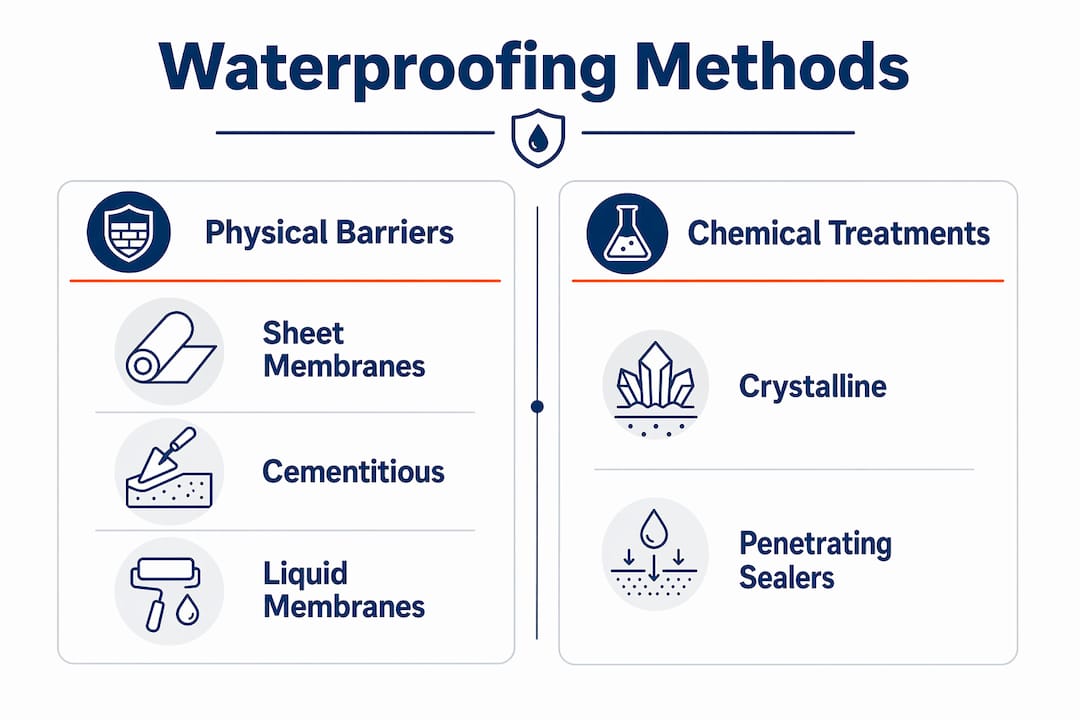
Waterproofing is defined as the treatment of a structure to prevent liquid water from passing through under hydrostatic pressure. This is distinct from damp-proofing, which only reduces moisture absorption and fails in high water table conditions. The four main categories of waterproofing methods are crystalline, cementitious, sheet membranes, and liquid-applied membranes. Each suits different structures, pressure directions, and budgets. Whether you are a property owner, builder, or DIY enthusiast searching for a reliable waterproofing methods pdf or reference guide, this article gives you the full picture, from method selection to application pitfalls.
What are the main waterproofing methods and their applications?
Waterproofing methods are not interchangeable. Each works through a different mechanism, suits different surfaces, and carries a different cost and lifespan profile.
Crystalline waterproofing
Crystalline waterproofing works by penetrating concrete and forming insoluble crystals that block water pathways inside the concrete mass. This reaction is permanent and self-healing, meaning new crystals form if micro-cracks develop later. Integral crystalline admixtures are added directly to concrete during batching, making them ideal for new construction foundations and basements. DIY application costs approximately £0.32–£0.72 per square foot, and the lifespan is permanent with no reapplication needed.
Cementitious coatings
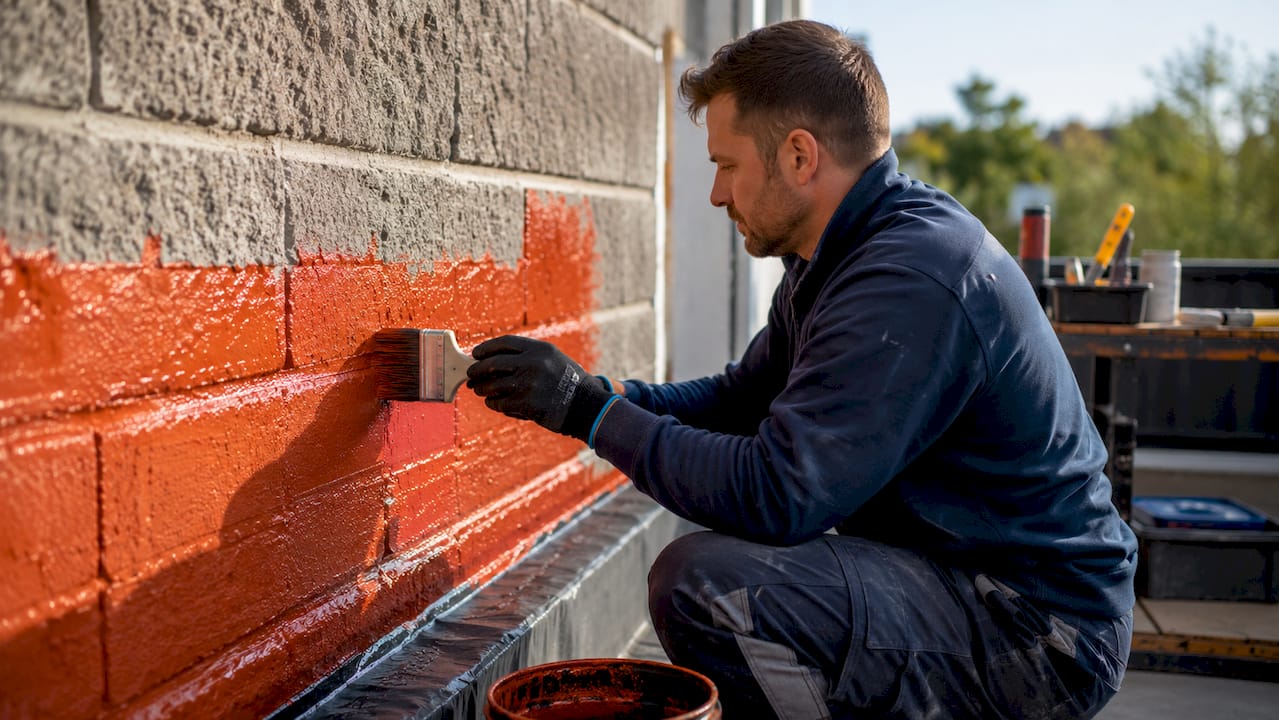
Cementitious coatings are rigid, cement-based products brushed or sprayed onto surfaces. They bond well to concrete and masonry, making them a standard choice for basement waterproofing and wet areas such as shower enclosures. Their lifespan runs 10–20 years, and costs sit at roughly £0.24–£0.56 per square foot. The limitation is rigidity. They crack under structural movement, so they are unsuitable for surfaces that flex.
Sheet membranes
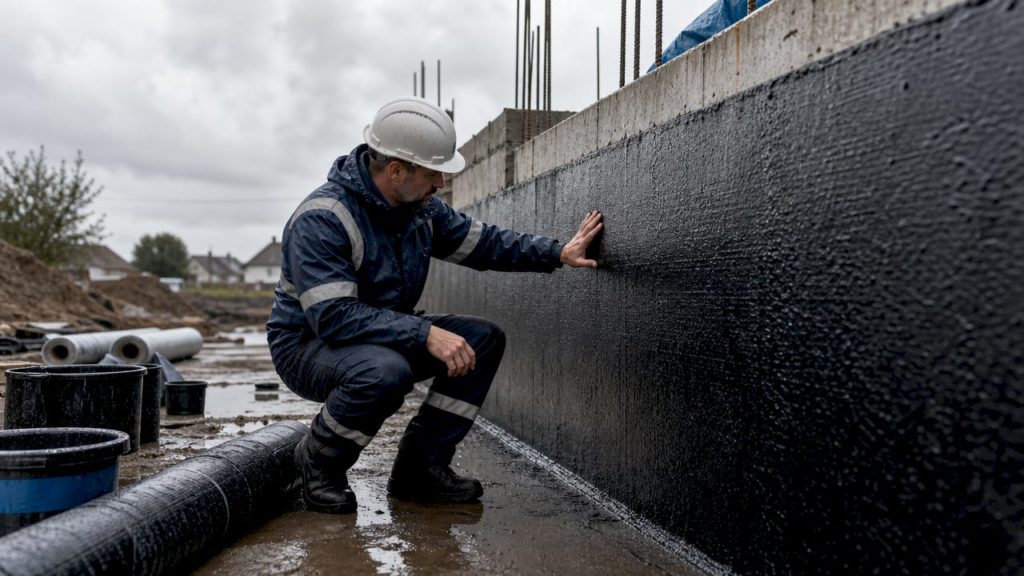
Sheet membranes are pre-formed physical barriers, typically bituminous or HDPE, applied to exterior foundation walls. They offer a lifespan of 20–30 years and cost approximately £0.40–£0.96 per square foot. Their durability is excellent when installed correctly. However, seam integrity is the critical vulnerability. Seams account for 80–90% of all sheet membrane leaks, which means installation quality matters more than membrane thickness.
Liquid-applied membranes
Liquid-applied membranes are coatings that cure to form a flexible, seam-free layer. They suit complex shapes, pipe penetrations, and irregular surfaces where sheet membranes would require excessive detailing. The trade-off is pressure resistance. Flexible liquid membranes cannot resist negative-side hydrostatic pressure and may peel away from the substrate over time.
Penetrating sealers
Penetrating silane and siloxane sealers react with cement paste to form hydrophobic compounds. They are best suited to above-grade horizontal surfaces such as driveways and exposed slabs. Penetrating sealers cost roughly £0.12–£0.28 per square foot but require reapplication every 5–10 years.
| Method | Typical lifespan | Relative cost | Best use |
|---|---|---|---|
| Crystalline | Permanent | Low to moderate | New foundations, below-grade concrete |
| Cementitious | 10–20 years | Low | Basements, wet rooms |
| Sheet membrane | 20–30 years | Moderate to high | Exterior foundation walls |
| Liquid-applied | 10–15 years | Moderate | Complex shapes, above-grade |
| Penetrating sealer | 5–10 years | Low | Driveways, exposed slabs |
Pro Tip: For new concrete construction, combining an integral crystalline admixture with an exterior sheet membrane gives you two independent lines of defence. If one layer is compromised during backfilling, the other holds.
How do you choose the right waterproofing method?
Method selection depends primarily on the direction of hydrostatic pressure, the age of the structure, and whether access to the exterior is possible.
Positive-side waterproofing means applying the membrane on the face that water contacts first. This is the most effective approach because the water pressure pushes the membrane against the substrate rather than away from it. Sheet membranes and integral crystalline admixtures are the industry-standard choices for positive-side applications on new construction.
Negative-side waterproofing applies treatment to the interior face, opposite the water source. This is typically a retrofit solution when excavating the exterior is not practical. Rigid cementitious or crystalline coatings are required here. Flexible membranes fail on the negative side because water pressure forces them away from the wall.
Follow these steps when selecting a method:
- Identify pressure direction. Determine whether water is pushing from outside (positive side) or inside (negative side).
- Assess structure age. New construction allows integral admixtures. Existing structures usually require surface-applied coatings or membranes.
- Check exterior access. If excavation is possible, use positive-side sheet membranes. If not, use rigid negative-side coatings.
- Evaluate surface movement. Flexible liquid membranes suit surfaces that move slightly. Rigid cementitious coatings do not.
- Match method to area. Use penetrating sealers for above-grade horizontal surfaces. Use crystalline or cementitious for below-grade walls.
Pro Tip: Never apply a flexible liquid membrane to an interior basement wall where groundwater pressure is present. The membrane will lift. Use a rigid crystalline or cementitious coating instead, and pair it with a drainage channel at the floor-wall junction.
Why does surface preparation determine waterproofing success?
Poor surface preparation causes over 50% of all waterproofing failures. This single statistic should change how you approach any waterproofing project. No membrane or coating performs as specified on a contaminated, cracked, or uncured substrate.
The surface must be clean, structurally sound, and free of oil, dust, and loose material before any product is applied. Hairline cracks up to 0.4 mm can be bridged by most coatings. Cracks wider than 0.4 mm require injection grouting or crack fillers before waterproofing begins. Skipping this step guarantees early failure regardless of product quality.
Follow these preparation steps before applying any waterproofing system:
- Clean the substrate. Remove all dirt, oil, paint, and efflorescence using mechanical grinding or pressure washing.
- Repair cracks. Fill hairline cracks with a compatible crack filler. Inject larger cracks with epoxy or polyurethane grout.
- Allow adequate curing. New concrete must cure for at least 28 days before most membrane systems are applied.
- Achieve a damp but clean surface. Many cementitious products require a saturated surface dry (SSD) condition to bond correctly.
- Check for active leaks. Stop active water ingress with hydraulic cement before applying the primary waterproofing layer.
A thorough surface preparation guide will walk you through each step in detail. Getting this right is not optional. It is the single biggest factor in whether your waterproofing lasts five years or twenty-five.
Pro Tip: Run a simple water absorption test before applying any coating. Pour a small amount of water onto the prepared surface. If it absorbs within 30 seconds, the surface is ready. If it beads, residual contamination remains.
What role does drainage play in waterproofing systems?
Waterproofing membranes cannot function effectively without drainage systems to relieve hydrostatic pressure. A membrane installed without drainage will eventually fail, regardless of its quality or thickness. This is one of the most common and costly oversights in both DIY and professional waterproofing projects.
Hydrostatic pressure builds when water accumulates against a foundation wall with nowhere to go. Over time, this pressure exceeds the bond strength of any membrane. The solution is to remove the water before it builds pressure, not simply to resist it.
| Drainage component | Function |
|---|---|
| Weeping tiles (perimeter drain) | Collect and redirect groundwater away from the foundation |
| Drainage boards | Create an air gap between membrane and backfill, channelling water downward |
| Positive exterior grading | Direct surface water away from the building perimeter |
| Interior drainage channel | Collect water that penetrates and direct it to a sump pump |
“Many property owners invest in quality membranes and then neglect drainage entirely. The membrane fails within a few years and they blame the product. The product was never the problem.”
Prowaterproofing recommends treating waterproofing and drainage as a single integrated system, not two separate decisions. Learn more about how drainage protects your home and extends the life of any waterproofing installation.
How do you apply waterproofing methods without common pitfalls?
Application quality determines whether a technically correct method choice actually performs. The most common failures are avoidable with careful preparation and attention to detail.
Sheet membrane seams are responsible for 80–90% of membrane leaks. Seam detailing using heat-welding or specialist adhesives is more critical than membrane thickness. DIY builders often underestimate this. If you cannot heat-weld seams correctly, a liquid-applied membrane on complex areas is a safer choice.
Key pitfalls to avoid:
- Ignoring manufacturer curing times. Applying backfill or foot traffic before a membrane has cured causes immediate damage.
- Incomplete coverage. Thin spots and missed areas around pipe penetrations are the first places leaks develop.
- Skipping primer coats. Many membranes require a primer to achieve specified adhesion. Omitting it voids performance guarantees.
- Using the wrong product for the pressure direction. Flexible membranes on negative-side applications will peel. Rigid coatings on moving joints will crack.
- Not integrating systems. A single-layer approach is always more vulnerable than a defence-in-depth system combining internal and external layers.
The waterproofing application process requires patience and sequence. Rushing any stage, whether preparation, priming, application, or curing, creates a weak point that water will find.
Pro Tip: After application, flood-test flat areas with 25–50 mm of standing water for 24 hours before covering with screed or backfill. This simple test catches failures before they are buried.
Key takeaways
Effective waterproofing requires matching the method to the pressure direction, preparing the surface correctly, and integrating drainage into the system design.
| Point | Details |
|---|---|
| Match method to pressure direction | Positive-side needs sheet membranes or crystalline; negative-side needs rigid cementitious coatings. |
| Surface preparation is non-negotiable | Over 50% of failures stem from poor prep; repair all cracks before applying any membrane. |
| Drainage relieves hydrostatic pressure | Membranes without drainage systems will fail under sustained groundwater pressure. |
| Seam detailing is the critical vulnerability | Sheet membrane seams cause 80–90% of leaks; heat-weld or use specialist adhesives. |
| Defence-in-depth outperforms single layers | Combining internal crystalline admixtures with exterior membranes provides redundancy and longevity. |
Eben’s take: what most waterproofing guides get wrong
What I’ve learned from years of watching waterproofing fail
The single biggest misconception I encounter is property owners treating damp-proofing and waterproofing as the same thing. They are not. Damp-proofing reduces moisture vapour transmission. Waterproofing resists liquid water under pressure. Applying a damp-proof coating to a basement with a high water table is not a solution. It is a delay.
The second mistake is treating waterproofing as a product decision rather than a system decision. I have seen expensive crystalline coatings fail because there was no drainage board behind them. I have seen budget sheet membranes last thirty years because the drainage was designed correctly and the seams were heat-welded properly.
My honest view is that DIY waterproofing is entirely achievable for above-grade applications like driveways, balconies, and exposed slabs. Below-grade work, particularly on existing structures with active water ingress, is a different matter. The pressure direction, the crack assessment, the drainage integration, and the seam detailing all require experience that most property owners simply do not have yet. Getting it wrong means excavating again. That is always more expensive than getting professional input at the start.
Prioritise surface preparation above everything else. No product compensates for a contaminated or cracked substrate. And always ask your contractor or supplier what drainage solution accompanies the membrane. If they cannot answer that question clearly, find someone who can.
— Eben
Prowaterproofing: professional waterproofing for South African properties
Choosing the right waterproofing system is straightforward when you have the right team behind you. Prowaterproofing provides expert waterproofing services for residential, commercial, and industrial properties across South Africa, combining multiple waterproofing methods to suit each structure’s specific conditions.

Whether your project involves a new foundation requiring integral crystalline admixtures, a basement retrofit needing rigid cementitious coatings, or a flat roof requiring a liquid-applied membrane system, Prowaterproofing has the experience to specify and install the correct solution. The team also integrates drainage systems into every project, because a membrane without drainage is not a complete solution. Visit Prowaterproofing to request a quote or speak with a specialist about your property’s waterproofing needs.
FAQ
What is the difference between waterproofing and damp-proofing?
Waterproofing resists liquid water under hydrostatic pressure, while damp-proofing only reduces moisture vapour absorption. Damp-proofing is inadequate for below-grade areas with a high water table.
Which waterproofing method lasts the longest?
Crystalline waterproofing offers a permanent lifespan because the crystals it forms inside concrete are self-healing and do not degrade over time.
Can I apply waterproofing myself?
DIY waterproofing is practical for above-grade surfaces such as driveways and balconies. Below-grade or negative-side applications involve pressure direction assessment, crack repair, and drainage integration that typically require professional experience.
Why do sheet membrane seams fail so often?
Sheet membrane seams account for 80–90% of membrane leaks because they are the weakest point in the system. Heat-welding or specialist adhesives are required to achieve a watertight bond at every seam.
How does drainage affect waterproofing performance?
Without drainage to relieve hydrostatic pressure, even a correctly installed membrane will eventually fail. Weeping tiles, drainage boards, and positive exterior grading are all part of a complete waterproofing system.