
TL;DR:
- Rising damp results from groundwater rising through porous walls via capillary action, not surface condensation.
- Effective prevention includes installing a continuous damp-proof course, improving drainage, and using breathable repair materials.
- Correct diagnosis, proper DPC installation, and timely, professional treatment save long-term costs and prevent recurring damage.
Damp patches creeping up your walls, peeling paint, crumbling plaster, and a persistent musty smell are more than cosmetic nuisances. In South Africa, rising damp is one of the most damaging and most misunderstood moisture problems homeowners face, and the repair bills from ignoring it can run into tens of thousands of rands. The good news is that stopping capillary groundwater rise through an effective damp-proof course and integrated moisture management is entirely achievable when you follow the right process. This guide walks you through exactly how to do that.
Table of Contents
- Understanding rising damp and its causes
- Preparation: Assessing risk and what you need
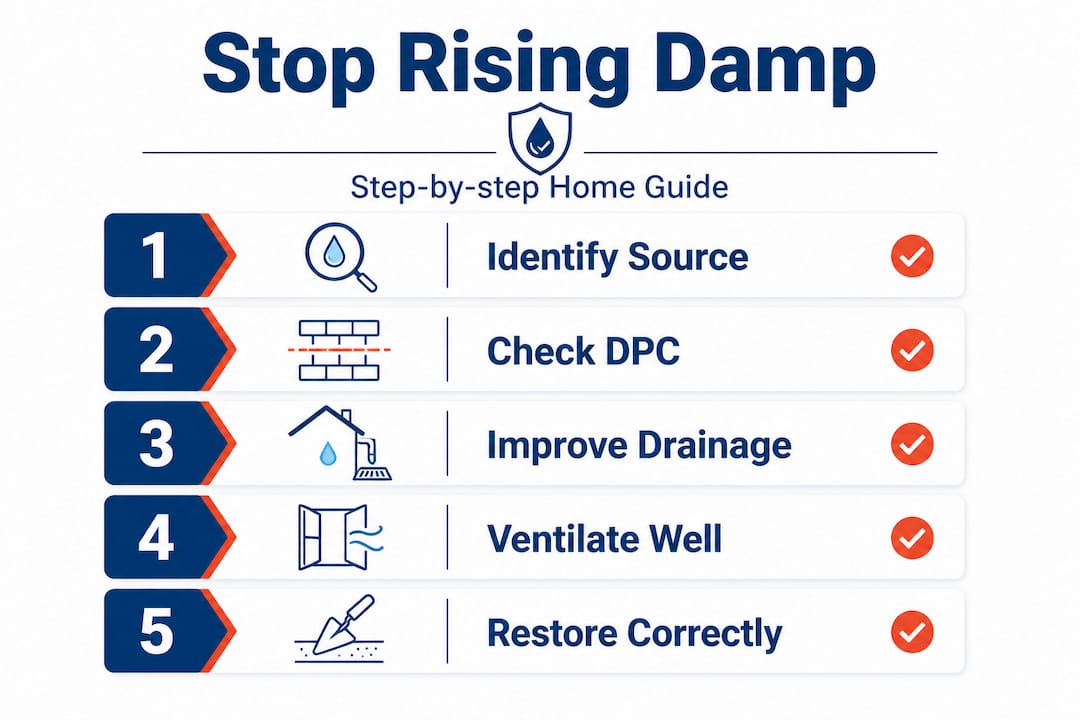
- Step-by-step: Preventing rising damp
- Common mistakes and troubleshooting
- Expected results and long-term checks
- Why prevention is always more cost-effective, and the overlooked role of breathable repairs
- Get expert help with rising damp prevention
- Frequently asked questions
Key Takeaways
| Point | Details |
|---|---|
| Identify damp type first | Correctly diagnosing rising damp prevents wasted effort on the wrong solutions. |
| Install or repair DPC | A properly laid damp-proof course is the foundation of reliable prevention. |
| Control drainage and ventilation | Good ground management and airflow reduce the risk of rising damp. |
| Avoid cosmetic-only fixes | Surface treatments alone do not solve the underlying moisture ingress. |
| Use breathable materials | Salt-resistant, breathable restoration allows walls to dry out safely after treatment. |
Understanding rising damp and its causes
Rising damp is not the same as condensation dripping down your bathroom walls or rainwater seeping through a cracked facade. It is a specific process where groundwater moves upward through the porous brick, stone, or mortar of your walls via capillary action. Think of it like a sponge sitting in water. The wall absorbs moisture from the soil and draws it upward, sometimes reaching heights of 1.0 to 1.5 metres above ground level.
In South Africa, clay-rich soils, high water tables in coastal regions, and older homes built without a proper damp-proof course (DPC, a horizontal moisture barrier built into the wall) create ideal conditions for rising damp. Many properties built before the 1970s either lack a DPC entirely or have one that has deteriorated over time.
The difference matters enormously. Misidentifying damp type leads directly to ineffective remedies and wasted money. Here is a quick comparison:
| Damp type | Source | Typical location | Key signs |
|---|---|---|---|
| Rising damp | Groundwater via capillary action | Base of walls, upward tide mark | Salt deposits, peeling lower plaster |
| Condensation | Warm moist air meeting cold surfaces | Ceilings, upper walls, windows | Black mould, water droplets |
| Penetrating damp | Rain through walls or roof | Anywhere near external defect | Wet patches after rain, no tide mark |
Common signs that rising damp is your problem include:
- A distinct horizontal tide mark or staining at the base of walls
- White powdery deposits (efflorescence, or salt crystals left as water evaporates)
- Plaster that is soft, blistering, or crumbling near skirting boards
- Persistent damp smell even in dry weather
- Rust staining from embedded metal ties or reinforcement
Understanding the distinction between waterproofing versus damp proofing is also important at this stage, as the two are related but serve different purposes in your home’s moisture defence system.
“Do not confuse rising damp with other damp types; misdiagnosis leads to ineffective remedies.” Venti Group, What is Damp?
Preparation: Assessing risk and what you need
With a clear understanding of what rising damp is, it is time to evaluate your property’s risks and gather what you need for prevention or repairs. Skipping this step is one of the main reasons homeowners spend money on treatments that fail within a year.
Risk factors for rising damp include poor drainage around the building’s perimeter, inadequate subfloor ventilation, ground levels that have risen above the DPC over time (from garden beds or paving), and walls that have never had a DPC installed.
Start with a thorough visual inspection. Walk around the exterior of the building and look for:
- Ground levels: Is the soil or paving higher than the DPC? The DPC should sit at least 150 mm above external ground level.
- Drainage: Does water pool against the walls after rain? Are downpipes discharging water close to the foundation?
- Ventilation: Are there airbricks or vents at subfloor level? Are they blocked by soil, paving, or debris?
- Wall condition: Any visible cracking, salt staining, or discolouration at low levels?
- Internal checks: Lift skirting boards carefully. Check for soft, damp, or discoloured plaster behind them.
Here is a summary of what you will need for a thorough inspection and basic prevention work:
| Item | Purpose |
|---|---|
| Moisture metre (electronic) | Accurate moisture reading in walls |
| Torch and mirror | Inspecting subfloor vents and cavities |
| Screwdriver or probe | Testing plaster hardness |
| Camera or smartphone | Documenting problem areas |
| Spirit level | Checking ground levels against DPC |
| Salt-resistant render mix | Restoration after damp proofing |
| Chemical DPC injection kit | Remedial DPC in older walls |
Pro Tip: A professional moisture metre takes the guesswork out of diagnosis. A reading above 20% in masonry at low levels strongly suggests rising damp rather than surface condensation. Hiring a contractor who uses one is a basic quality check. You can find further guidance in our essential damp proofing tips for South African properties.
Understanding the role of damp proofing in your building’s broader structural health will also help you prioritise where to spend your budget first.
Step-by-step: Preventing rising damp
Having assessed your risks and prepared your tools, you can now follow the practical steps below to prevent and control rising damp.
1. Diagnose the source accurately.
Before spending a cent on materials, confirm that rising damp is the actual problem. Use your moisture metre at different wall heights. Rising damp readings typically drop off as you move higher up the wall. If moisture is consistent from floor to ceiling, a roof or penetrating source is more likely.
2. Ensure a continuous DPC exists at wall bases.
A DPC is your primary defence. Stopping capillary groundwater rise depends on having an effective, unbroken barrier at the base of every wall. In new construction, this means a physical DPC membrane laid during bricklaying. In older or renovated homes, inspect existing DPC integrity.
3. Integrate DPC with floor membranes.
A wall DPC that is not connected to the floor damp-proof membrane (DPM) creates a gap that moisture exploits. Ensure these two systems are properly lapped and sealed where they meet.
4. Lower external ground levels where necessary.
This is one of the most overlooked fixes. If garden beds, paving, or soil have risen above the DPC over the years, moisture bypasses the barrier entirely. Excavate around the perimeter to re-expose and protect the DPC, and ensure a minimum clearance of 150 mm.
5. Improve drainage around the building.
Install or clear French drains, channel drains, or surface water drains to direct water away from foundations. Regrade soil away from the building so that rain flows outward rather than pooling against walls.
6. Restore and maintain subfloor ventilation.
Blocked airbricks trap moisture under suspended floors. Clear all vents of debris, soil, and overgrown vegetation. In severe cases, add additional airbricks or mechanical ventilation units. Good airflow keeps subfloor timbers and the wall base significantly drier.
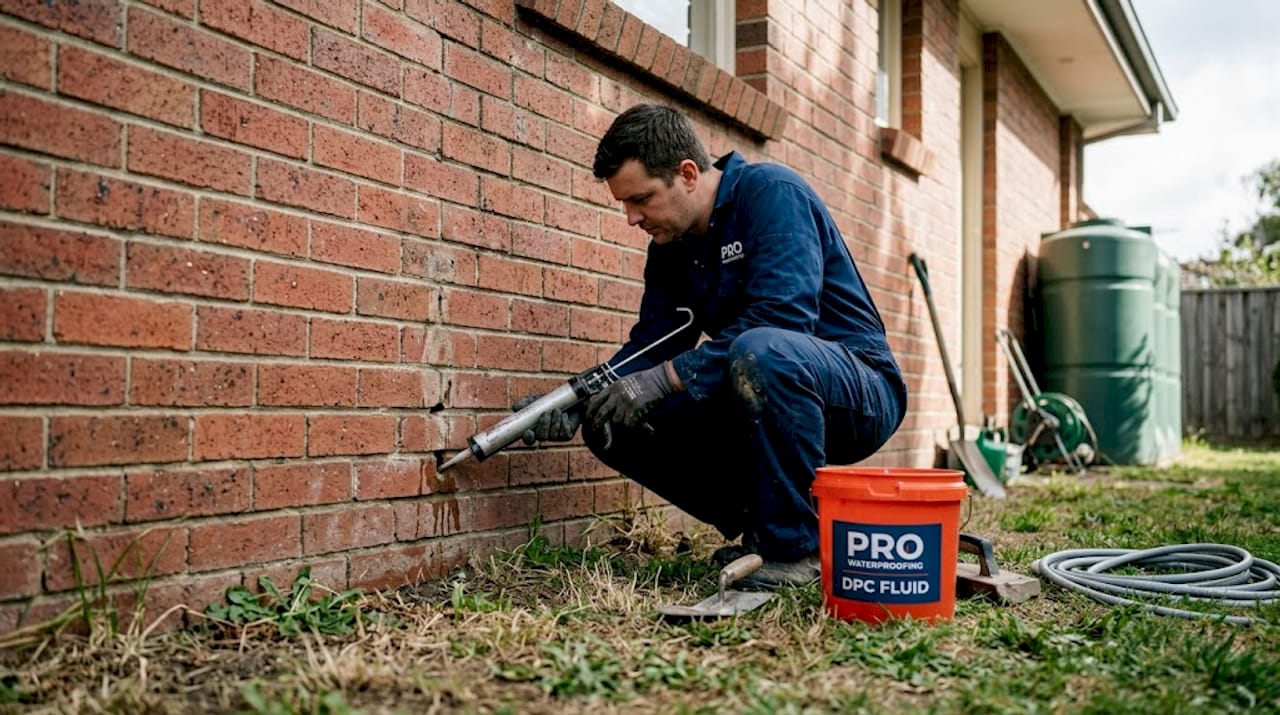
7. Use chemical DPC injection as a remedial solution.
Chemical injection DPC is the standard approach for older walls where a physical DPC is absent or has failed. A silicone-based fluid is injected under pressure into a series of drill holes at the wall base, creating a water-repellent zone within the masonry. This is a skilled operation and usually best left to a professional contractor. Read our guide on damp proofing walls for a detailed breakdown of the process.
8. Allow adequate drying time before restoration.
After any DPC treatment, walls must dry out fully before replastering. This can take anywhere from three to twelve months depending on wall thickness, material, and local climate. Rushing this stage traps residual salts and moisture inside the new plaster, leading to rapid failure.
9. Restore with breathable, salt-resistant materials.
Standard cement-based plaster is not suitable for walls that have experienced rising damp. Use a renovating plaster or lime-based render that allows moisture vapour to escape while resisting salt attack. These waterproofing best practices make a significant difference to long-term durability.
Pro Tip: When specifying render for damp-affected walls, always ask for a product with a salt-barrier additive or choose a two-coat renovation plaster system. Standard plaster on a previously damp wall will crack and blister within months.
Common mistakes and troubleshooting
Even with strong prevention, mistakes can derail rising damp solutions. Here are the most common pitfalls and what to do instead.
- Misidentifying the damp type. Treating rising damp with anti-condensation paint or surface waterproof coatings does nothing to address the source. Always verify the damp type with a moisture metre before spending money.
- Ignoring external ground levels. Many homeowners install a chemical DPC and then leave elevated garden beds intact. The moisture simply bypasses the new barrier via the soil bridging above it.
- Applying chemical injection to saturated walls and replastering immediately. Chemical DPC injection controls further upward movement of water but does not dry out the existing moisture in the wall. Replastering too soon means new render fails quickly.
- Using impermeable finishes on treated walls. Vinyl paints and cement renders trap moisture inside the wall rather than allowing it to evaporate. This extends drying times and increases salt damage.
- Neglecting drainage and ventilation after DPC work. A DPC alone cannot succeed if groundwater continues to saturate the base of the wall or if subfloor humidity remains very high.
“Chemical DPC injection primarily controls further vertical ingress and is not a dry-out treatment. Drying time and follow-on works still matter significantly.” The Rising Damp Book, Safeguard Europe
If damp returns after treatment, check the continuity of the DPC barrier, look for bridging above the DPC on the exterior, and verify that drainage improvements are functioning. You can also review the waterproofing standards South Africa guidelines to ensure all work meets current requirements.
Expected results and long-term checks
Once prevention measures are in place, it is important to know what realistic progress looks like. Rising damp does not disappear overnight. In most cases, visible improvements such as drier walls, reduced efflorescence, and stable plaster take between three and twelve months to become evident, depending on the severity of the problem and local climate.
A practical prevention system includes correct diagnosis, an effective DPC and drainage solution, proper drying time, and restoration using breathable, salt-resistant materials. Every element must be present for the system to work.
What to monitor after prevention works:
- Wall moisture readings at low levels (retest every three months)
- Condition of new plaster render for cracking or salt staining
- External ground levels, especially after heavy rainfall or garden work
- Drainage channels and French drains for blockages
- Airbricks and subfloor vents remaining clear
Annual and seasonal inspection checklist:
- Before the rainy season, clear all drainage channels and check downpipes discharge away from foundations
- After the rainy season, inspect internal wall bases for any new staining or damp patches
- Every two years, visually inspect the DPC line on the exterior for bridging by soil or paving
| Approach | Outcome |
|---|---|
| Full prevention system (DPC, drainage, breathable restoration) | Long-term dryness, stable plaster, no recurrence |
| Chemical DPC without drainage improvement | Partial improvement, likely recurrence within 2 to 5 years |
| Surface paint or waterproof coating only | Short-term cosmetic fix, problem worsens underneath |
| No treatment | Progressive structural damage, mould risk, rising repair costs |
Refer to our waterproofing standards owner guide for a detailed checklist aligned with South African building requirements.
Why prevention is always more cost-effective, and the overlooked role of breathable repairs
Here is a perspective we share with clients often, and it tends to surprise people: the most expensive rising damp problems we see are not the ones that went untreated for decades. They are the ones that were treated repeatedly with the wrong methods.
A tube of waterproof paint or a single DPC injection without drainage correction feels like a bargain. It costs a few hundred rand and takes a weekend. But when the damp returns six months later and the plaster has to be stripped and replaced again, and again, the cumulative cost exceeds a properly executed prevention system many times over. We have seen homeowners spend more on repeated cosmetic fixes over five years than a full professional treatment would have cost at the outset.
The part that most guides leave out is the restoration stage. Even when the DPC works perfectly, a wall plastered with standard cement render immediately after treatment will fail. The residual salts crystallise inside the new plaster as the wall dries, causing it to blister and pop off the surface. Breathable, salt-resistant renovation plasters are not a premium luxury. They are a basic requirement for any rising damp repair to hold.
Proper prevention also needs waterproofing regulations South Africa compliance, particularly for any structural or basement waterproofing work. Getting this right protects your investment, your occupants’ health, and your property’s resale value. The short version: do it once, do it properly, and you will not be doing it again.
Get expert help with rising damp prevention
If you’re ready to ensure your home is protected for the long haul, here’s how to get results you can trust.
Persistent rising damp is not a problem that rewards guesswork. The difference between a solution that lasts twenty years and one that fails in six months often comes down to correct diagnosis, proper DPC installation, and the right restoration materials. Professional waterproofing specialists have the equipment, the experience, and the product knowledge to get all three right the first time.

At Pro Waterproofing, we provide expert assessment and full rising damp prevention systems for residential, commercial, and industrial properties across South Africa. From initial moisture metre diagnostics through to chemical DPC injection, drainage improvements, and breathable plaster restoration, our team delivers complete solutions backed by real expertise. Contact us today for a quote and stop paying for repairs that keep coming back.
Frequently asked questions
How do I know if I have rising damp and not another damp type?
Rising damp typically starts at the base of walls and rises upward, often leaving a horizontal tide mark with white salt deposits. Condensation tends to appear on colder surfaces higher up, and misdiagnosis leads to ineffective remedies, so always test with a moisture metre before treating.
Can I prevent rising damp without a damp-proof course?
Good drainage and ventilation reduce risk, but stopping groundwater capillary rise requires an effective DPC at the wall base. These measures support the DPC but cannot replace it for full, long-term protection.
How soon after installing a chemical DPC can I replaster the walls?
You should wait until the wall has dried sufficiently, which may take several months, to avoid trapping residual moisture and salts inside the new plaster and causing it to fail.
Is painting over damp patches an effective solution?
No. Paint does not address the moisture source, and drainage and DPC measures are required for genuine prevention. Surface coatings typically peel or blister as moisture continues to push through from inside the wall.
Do I need professional help to prevent rising damp?
Professional assessment is strongly recommended for accurate diagnosis and a lasting prevention system. Some minor drainage improvements can be DIY, but chemical DPC injection and structural damp-proofing work should be handled by an experienced specialist.