TL;DR:
- Interior wall waterproofing involves applying specialized barriers and drainage systems to prevent moisture damage inside walls. Proper surface preparation, product selection based on pressure conditions, and layered moisture control are essential for long-lasting protection. Exterior methods address the root cause more effectively but cost more and require excavation; interior solutions are quick, affordable, and effective for mild issues.
Interior wall waterproofing is the process of applying specialised barriers, coatings, and drainage systems to prevent moisture migration and water damage inside a building’s walls. It is the recognised industry term for what many homeowners call “waterproofing walls inside” or “inside wall waterproofing,” and it covers everything from crystalline cementitious coatings to liquid-applied membranes and interior drainage channels. Left unaddressed, moisture ingress causes structural decay, mould growth, and compromised indoor air quality. The right system, correctly applied, stops water at the source and protects your property for years.
What methods and materials are used for interior wall waterproofing?
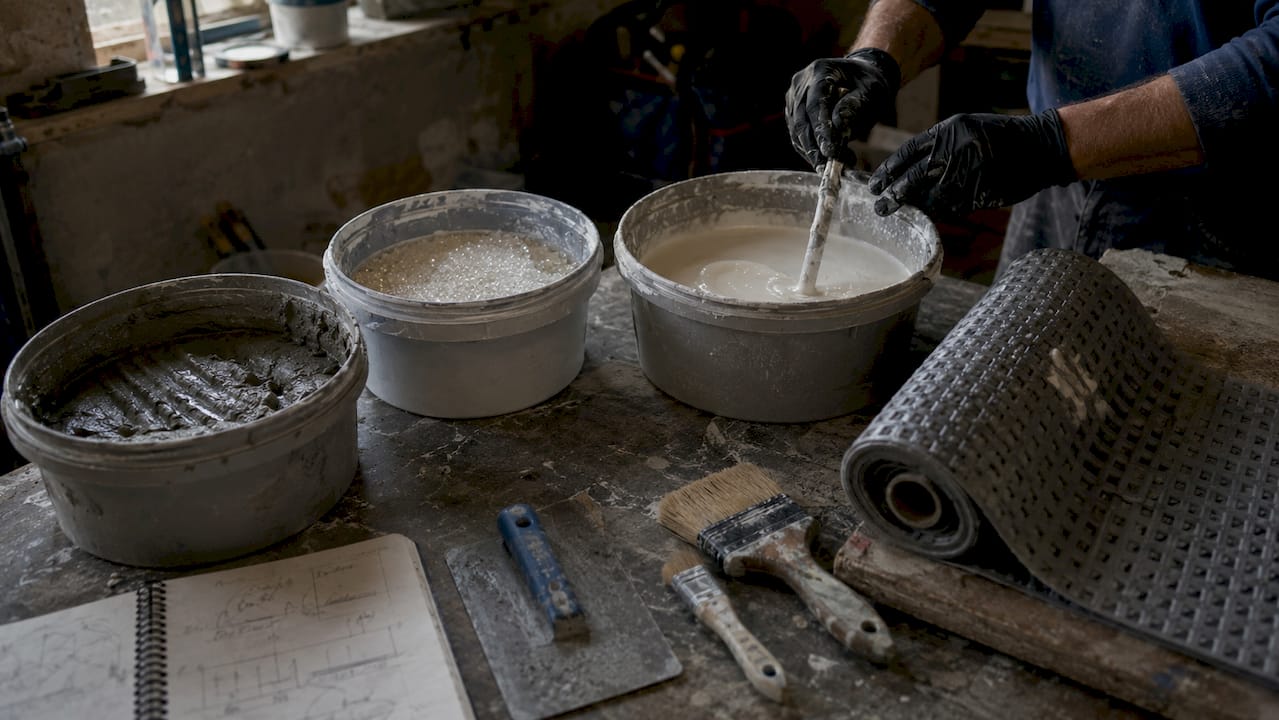
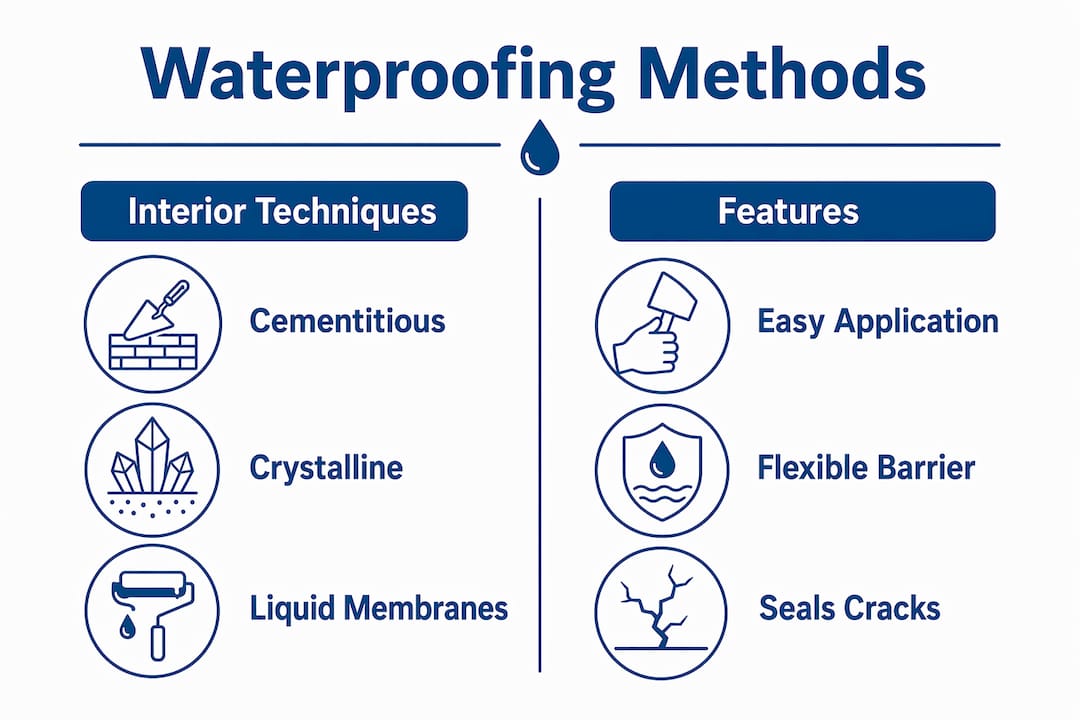
Interior wall waterproofing relies on four main product categories, each suited to different moisture conditions and substrate types.
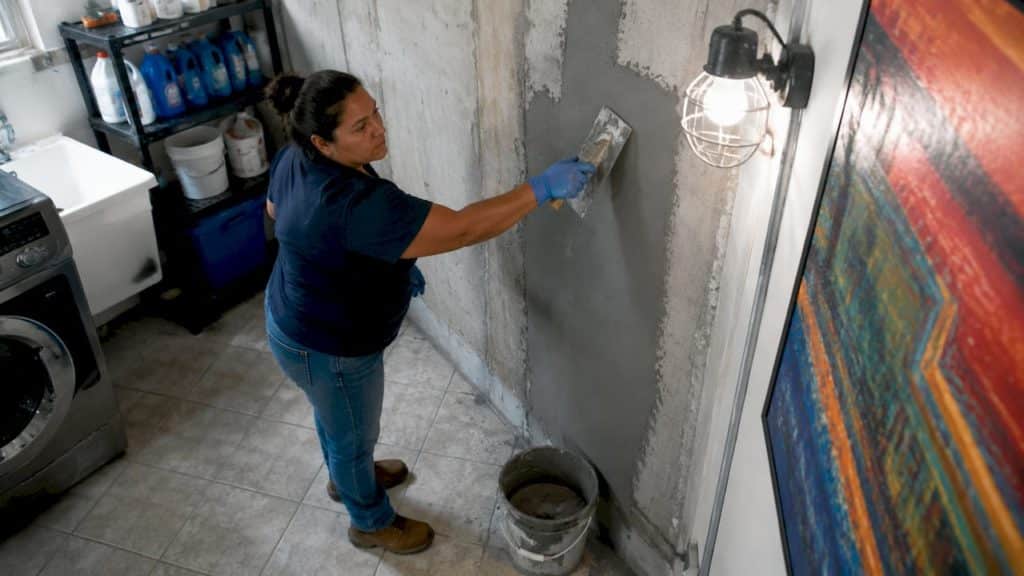
Cementitious coatings are cement-based slurries mixed with waterproofing agents and trowelled or brushed directly onto masonry. They bond chemically with the substrate and are widely used on concrete block, brick, and poured concrete walls. Their key advantage is rigidity and breathability, which makes them suitable for below-grade applications where some moisture movement is expected.
Crystalline waterproofing is a subset of cementitious technology that deserves separate attention. Products in this category contain active chemicals that react with water and unhydrated cement particles to form insoluble crystals inside the concrete matrix. Those crystals physically block water pathways. Cementitious and crystalline coatings are the only products reliably resistant to negative-side hydrostatic pressure, which is the condition where water pushes against the back of the coating. This matters enormously for basement and below-grade walls in South Africa’s wetter regions.
Liquid membranes are polymer-based coatings applied by brush, roller, or spray. They cure to form a flexible, seamless film. High-performance liquid membranes require two coats, cover approximately 8.9 square metres per 25 kg pail, and offer around 15 years’ durability with proper maintenance. In wet areas such as bathrooms, the membrane must extend at least 1,800 mm up the wall to comply with standard installation codes.
Waterproofing paints are the most accessible option for homeowners tackling mild dampness. Products such as Zinsser WaterTite are formulated for masonry and withstand up to 34 psi of water pressure when applied correctly. Two coats are required, with four hours’ drying time between each coat and a full cure period of 7 to 14 days. They perform best in conditions of mild dampness rather than active water ingress.
Key product considerations at a glance:
- Cementitious coatings: best for porous masonry, tolerates damp substrates
- Crystalline coatings: best for concrete, resists negative-side pressure
- Liquid membranes: best for wet rooms and flexible substrates, long service life
- Waterproofing paints: best for mild condensation and surface dampness, DIY-friendly
Pro Tip: Before applying any coating, the substrate must be mechanically cleaned, all salts and efflorescence removed, and the surface brought to a saturated but not puddled condition. Skipping this step is the single most common cause of coating failure.
How do interior waterproofing techniques work against hydrostatic pressure?
Hydrostatic pressure is the force exerted by water in saturated soil pushing against a wall from the outside. It is the primary enemy of any interior waterproofing system, and understanding it changes how you select and apply products.
When water accumulates in the ground around a foundation, it does not simply seep through cracks. It builds pressure and forces itself through the concrete matrix, mortar joints, and any imperfection in the wall. Barrier coatings cannot withstand significant hydrostatic pressure alone. Active leaks under pressure require drainage systems to relieve that pressure before any coating can hold. Applying a standard waterproofing paint over an actively leaking wall is a waste of time and money.
“Interior drainage systems work with physics rather than against it. By collecting water at the base of the wall and directing it to a sump pump, they remove the pressure that would otherwise push coatings off the wall.”
The two main strategies for managing hydrostatic pressure from inside are:
- Barrier coatings (crystalline and cementitious): physically resist water penetration; effective for mild to moderate pressure where the wall is structurally sound
- Interior drainage systems: perforated channels installed at the wall-floor junction collect infiltrating water and pump it away via a sump pump; drainage systems achieve higher reliability than barrier coatings alone, particularly during cold, wet seasons
Moisture vapour is a separate but equally serious problem. Even when liquid water ingress is controlled, vapour drive and condensation can leave moisture trapped behind walls, feeding mould and degrading insulation. The solution is a layered approach: a waterproofing coating on the wall face, moisture-resistant insulation in the cavity, and controlled air gaps to allow any residual vapour to dissipate. Ventilation is not optional in this system. It is the mechanism that prevents condensation from accumulating where you cannot see it.
Common pitfalls in this area include inadequate substrate cleaning before coating, ignoring vapour drive entirely, and assuming that one product type solves all moisture problems. For interior waterproofing in South African properties, the combination of seasonal rainfall and high ambient humidity makes vapour control as important as liquid water management.
How does interior waterproofing compare with exterior waterproofing?
The choice between waterproofing walls interior or tackling the problem from outside is one of the most consequential decisions a property owner makes. Both approaches have genuine merit, and the right answer depends on access, budget, and the severity of water ingress.
| Attribute | Interior waterproofing | Exterior waterproofing |
|---|---|---|
| Typical cost | R55,000 to R145,000 (approx.) | R145,000 to R365,000 (approx.) |
| Installation time | 1 to 3 days | 5 to 10 days |
| Excavation required | No | Yes |
| Landscape disruption | Minimal | Significant |
| Effectiveness | 85 to 90% for typical residential issues | Addresses root cause directly |
| Lifespan | 10 to 20 years depending on product | 20 to 30 years with quality membrane |
Interior systems cost between $3,000 and $8,000 and require 1 to 3 days of installation, while exterior systems cost $8,000 to $20,000 and involve 5 to 10 days of excavation. Interior waterproofing is 85 to 90% effective for typical residential moisture issues. That figure means it resolves the vast majority of problems without touching the garden, the driveway, or the structural footings.
Exterior waterproofing addresses the root cause by sealing the wall from the water side. It is the preferred solution for severe hydrostatic pressure, structural cracks, or properties where interior drainage is impractical. The trade-off is cost, disruption, and the need to reinstate landscaping afterwards. For a detailed breakdown of both approaches, Prowaterproofing’s guide on exterior vs interior methods covers the decision criteria clearly.
Pro Tip: If your basement or below-grade wall shows active water jets or structural cracking, start with exterior excavation and membrane application. Interior coatings are a secondary defence, not a substitute for addressing the source.
What are best practices for applying interior waterproofing systems correctly?
Correct application is where most DIY projects fail. The product is rarely the problem. The preparation and process are.
Step-by-step preparation and application:
- Inspect and repair: Identify all cracks, honeycombing, and failed mortar joints. Fill active cracks with hydraulic cement before applying any coating. Coatings cannot bridge structural movement.
- Mechanical cleaning: Wire-brush or grind the surface to remove paint, efflorescence, and loose material. Proper substrate preparation requires removing all salts and contaminants to allow chemical bonding.
- Pre-wet the surface: Dampen the wall thoroughly. The substrate must be saturated but free of standing water or puddles. This is non-negotiable for cementitious and crystalline products.
- Apply first coat: Work the coating into the surface with a stiff brush or trowel, ensuring full coverage and no pinholes. Follow manufacturer thickness specifications.
- Allow correct drying time: For waterproofing paints, allow four hours between coats. For cementitious products, follow the specific product datasheet, as some require misting during cure.
- Apply second coat: Apply perpendicular to the first coat to eliminate pinholes and ensure uniform thickness.
- Cure and protect: Allow the full cure period before exposing the surface to water. For most coatings, this is 7 to 14 days.
The table below summarises key application parameters for the main product types:
| Product type | Coats required | Drying time between coats | Full cure period |
|---|---|---|---|
| Cementitious coating | 2 to 3 | 4 to 6 hours | 28 days |
| Crystalline coating | 2 | 6 to 8 hours | 28 days |
| Liquid membrane | 2 | 2 to 4 hours | 7 days |
| Waterproofing paint | 2 | 4 hours | 7 to 14 days |
After application, pair the waterproofing layer with moisture-resistant insulation and a vapour barrier on the warm side of the wall. A layered waterproofing strategy that combines exterior grading, interior drainage, and secondary moisture barriers manages water far more effectively than any single product. Schedule an inspection every two to three years and re-apply topcoats where wear or cracking appears. Local building codes in South Africa may also specify minimum membrane thickness and coverage rates for below-grade and wet-area applications. Confirm compliance before signing off on any installation.
Key takeaways
Interior basement waterproofing works best when it combines the right product for the pressure conditions with thorough surface preparation and a layered vapour control strategy.
| Point | Details |
|---|---|
| Match product to pressure | Use crystalline or cementitious coatings for negative-side pressure; paints suit mild dampness only. |
| Prepare the substrate first | Mechanical cleaning and pre-wetting are non-negotiable for coating adhesion and longevity. |
| Layer your defences | Combine drainage systems, barrier coatings, and vapour control for reliable moisture management. |
| Interior vs exterior | Interior systems cost less and install faster but do not address the root cause of severe ingress. |
| Maintain regularly | Inspect every two to three years and re-apply where coatings show wear to sustain effectiveness. |
What I’ve learned from years of watching interior waterproofing succeed and fail
Most homeowners come to interior waterproofing after a wet winter has already caused damage. That reactive mindset is understandable, but it shapes the decisions that follow in ways that often lead to disappointment.
The single biggest mistake I see is treating a waterproofing paint as a fix for an active leak. It is not. Waterproofing paints are less effective on active leaks because adhesion fails when water is pushing from behind. Painting over a leaking wall feels productive. It rarely is. The water finds another path within months, and the homeowner concludes that “waterproofing doesn’t work,” when the real problem was product selection.
The second trap is ignoring the drainage side of the equation. I have seen crystalline coatings applied perfectly to walls that were under severe hydrostatic pressure, only to watch them delaminate within a season. The coating was not at fault. The pressure was simply too great for any barrier product to hold alone. The drawbacks of negative-side waterproofing are real, and they are worth understanding before you commit to a product.
My practical advice: if you have mild surface dampness or condensation, a quality cementitious or liquid membrane coating, properly applied, will solve the problem. If you have water running down walls or pooling at the base after rain, call a professional and discuss drainage first. The coating comes second. Working with a qualified contractor also means you get a proper diagnosis, not just a product recommendation. For complex or high-pressure situations, that diagnosis is worth more than any tin of waterproofing paint.
— Eben
Get lasting protection with expert waterproofing solutions

Diagnosing the right interior waterproofing system for your property requires more than choosing a product off a shelf. Prowaterproofing provides expert assessment, tailored waterproofing plans, and professional installation for residential, commercial, and industrial properties across South Africa. Whether you are dealing with basement seepage, rising damp, or persistent condensation on interior walls, the team at Prowaterproofing can identify the source and apply the correct system the first time. Reach out for a quote and stop moisture damage before it becomes a structural problem.
FAQ
What is interior wall waterproofing?
Interior wall waterproofing is the application of specialised coatings, membranes, or drainage systems to the inside face of a wall to prevent moisture ingress and water damage. It includes products such as cementitious coatings, crystalline systems, liquid membranes, and waterproofing paints.
Can I waterproof basement walls from the inside myself?
DIY interior basement waterproofing is feasible for mild dampness using waterproofing paints or cementitious coatings, provided the surface is properly prepared. Active leaks under hydrostatic pressure require professional drainage systems and are not suitable for DIY application.
How long does interior waterproofing last?
Liquid membranes offer approximately 15 years’ durability with proper maintenance, while cementitious and crystalline coatings can last 20 or more years when correctly applied. Regular inspection every two to three years extends the effective service life of any system.
Is interior waterproofing as effective as exterior waterproofing?
Interior waterproofing is 85 to 90% effective for typical residential moisture issues and installs in 1 to 3 days without excavation. Exterior waterproofing addresses the root cause more directly but costs significantly more and involves substantial disruption to landscaping and access.
What causes interior waterproofing coatings to fail?
The most common causes of coating failure are inadequate surface preparation, applying coatings over active leaks under hydrostatic pressure, and ignoring vapour drive behind the wall. Substrate cleaning and pre-wetting are critical steps that determine whether a coating bonds and holds long-term.