
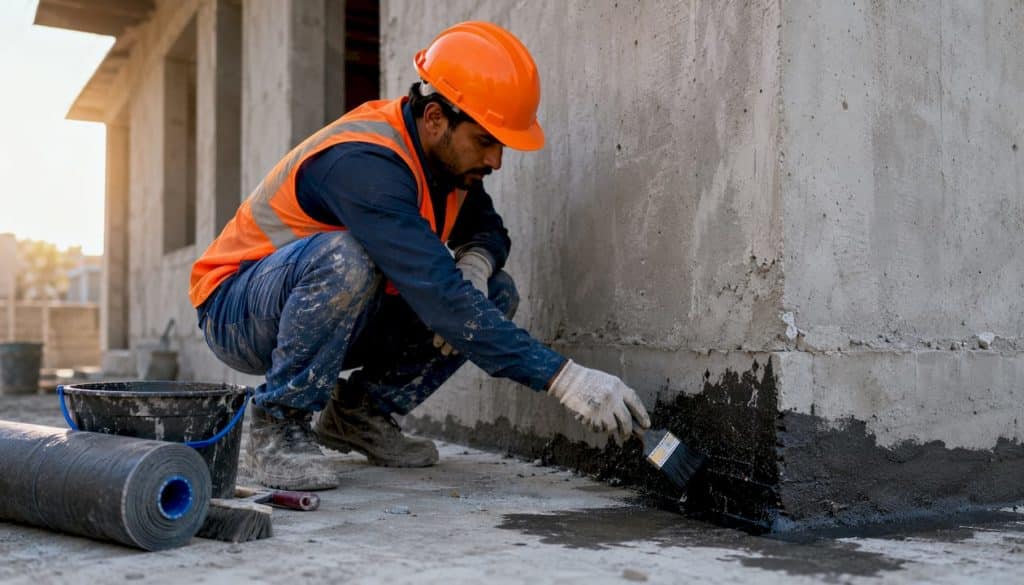
TL;DR:
- Corners are the most common source of waterproofing failure in South African buildings due to inadequate detailing and poor workmanship.
- Standards require mortar fillet radii of 45 mm and membrane turn-up depths of 40 mm, with adherence ensuring warranty validity.
Poorly detailed corners and abutments are the single most common cause of waterproofing failure in South African buildings. Under SANS 10021, mortar angle fillets at internal corners must have a minimum radius as recommended by standards, and membrane turnups must be counter-flashed into the wall to a sufficient depth to ensure proper sealing. Miss either dimension and you are not just risking a damp patch — you are creating the conditions for membrane tearing, delamination, and insurance claims that go nowhere.
The single action to take now: before signing any waterproofing quote, insist on a written specification that states the 45 mm fillet radius and 40 mm counter-flash depth explicitly, alongside evidence of the contractor’s competence.
Key facts to keep in mind:
- Corners concentrate structural movement, making them the highest-stress points for any membrane system.
- Both SANS 10400-L and SANS 10021 set measurable, enforceable minimums for corner preparation.
- Prowaterproofing applies these standards on every project—with photographic sign-off and written warranties.
Table of Contents
- Why corners are the weakest point for water ingress
- What SANS 10400-L and SANS 10021 require for corner detailing
- Contractor shortcuts that put your property at risk
- How to inspect corners yourself and when to call a professional
- What a correct corner specification should include
- How to choose a contractor who will detail corners correctly
- What to do when corner detailing has already failed
- Key takeaways
- The detail most contractors skip
- Prowaterproofing: SANS-aligned corner detailing for South African properties
- Useful references
Why corners are the weakest point for water ingress
Corners concentrate mechanical movement. Every time a building heats up, cools down, or settles slightly, the junction between a floor and a wall moves more than the flat surfaces on either side. A membrane laid over a sharp 90° angle must bridge that geometry, and under normal thermal cycling it will stretch, fatigue, and eventually tear.
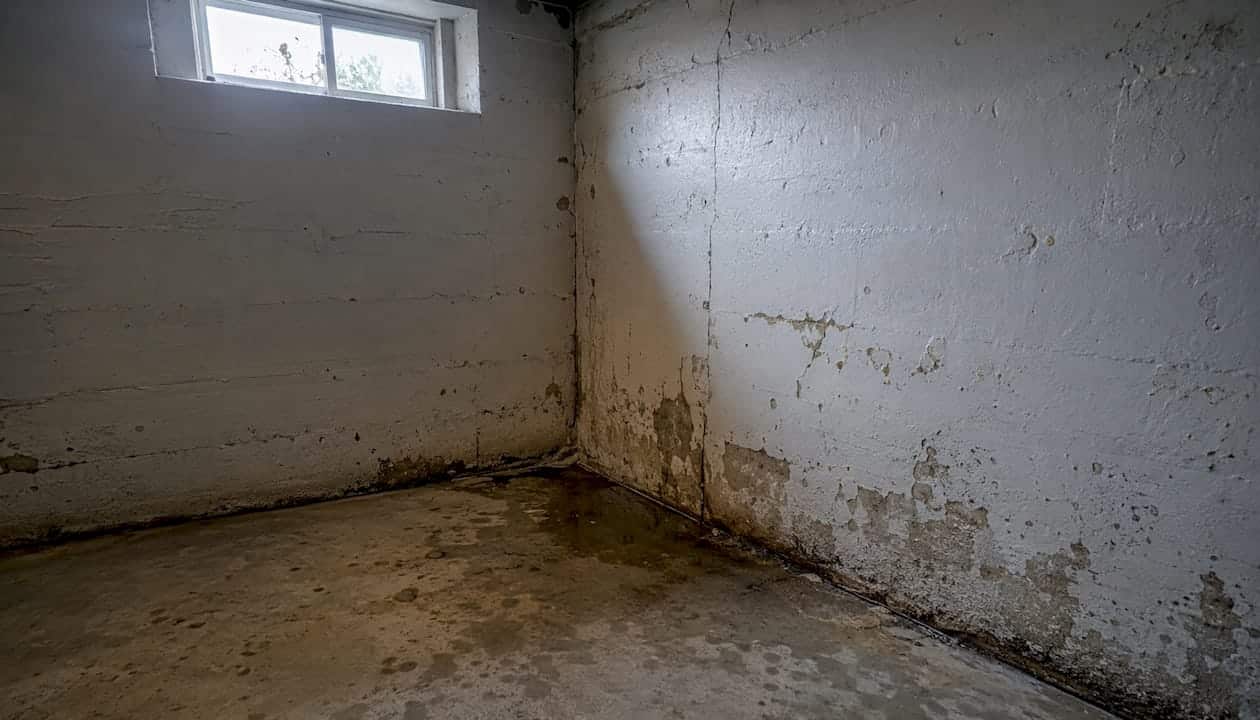
The physics compounds the problem. Capillary action draws water into hairline cracks at corner joints far more aggressively than across open flat surfaces. Add poor drainage falls that allow water to pond at abutments, and you have standing water sitting precisely where the membrane is under the most stress.
Penetrations make it worse still. Pipes, outlets, and service conduits almost always exit through corners or abutments. Each penetration is a potential bypass for water if the membrane is not correctly dressed and sealed around it.
Common signs of corner failure that owners can spot themselves:
- Split or blistered membrane at internal wall-floor junctions
- Damp staining or tide marks at the base of abutment walls
- Efflorescence (white salt deposits) tracking from corners
- Soft or hollow areas in screeds near abutments
- Ponding water that does not drain away from wall junctions
- Rust staining around pipe penetrations at corners
What SANS 10400-L and SANS 10021 require for corner detailing
South African National Standards set minimum, measurable requirements for corner preparation that materially reduce membrane failure risk. These are not guidelines — they are enforceable under the National Building Regulations, and non-compliance can void warranties and weaken insurance claims.
SANS 10021 specifies: mortar angle fillets (coves) at internal corners must have a minimum radius of 45 mm. Membrane turnups against abutments must be counter-flashed into the wall to a minimum depth of 40 mm. The substrate must be primed before membrane application, and a screed to falls must be laid prior to the membrane.
AfriSam’s technical guidance on concrete slabs recommends a roof fall of at least 1:80 (steeper where construction accuracy is variable), with sand-cement screeds providing the substrate for membrane adhesion. Manufacturer specifications, such as those published by Derbigum, align with this: substrate surface-dry and clean, internal corners coved, external corners rounded, and the area primed with bituminous primer before any membrane is applied.
| SANS requirement | Minimum dimension | What it controls |
|---|---|---|
| Mortar angle fillet (cove) radius | 45 mm | Prevents membrane bridging and tearing at sharp angles |
| Membrane turnup / counter-flash depth | 40 mm | Secures lap and prevents water tracking behind the membrane |
| Roof fall (screed to falls) | 1:80 minimum | Prevents ponding at abutments and corners |
| Substrate priming | Per manufacturer spec | Ensures membrane adhesion and prevents delamination |
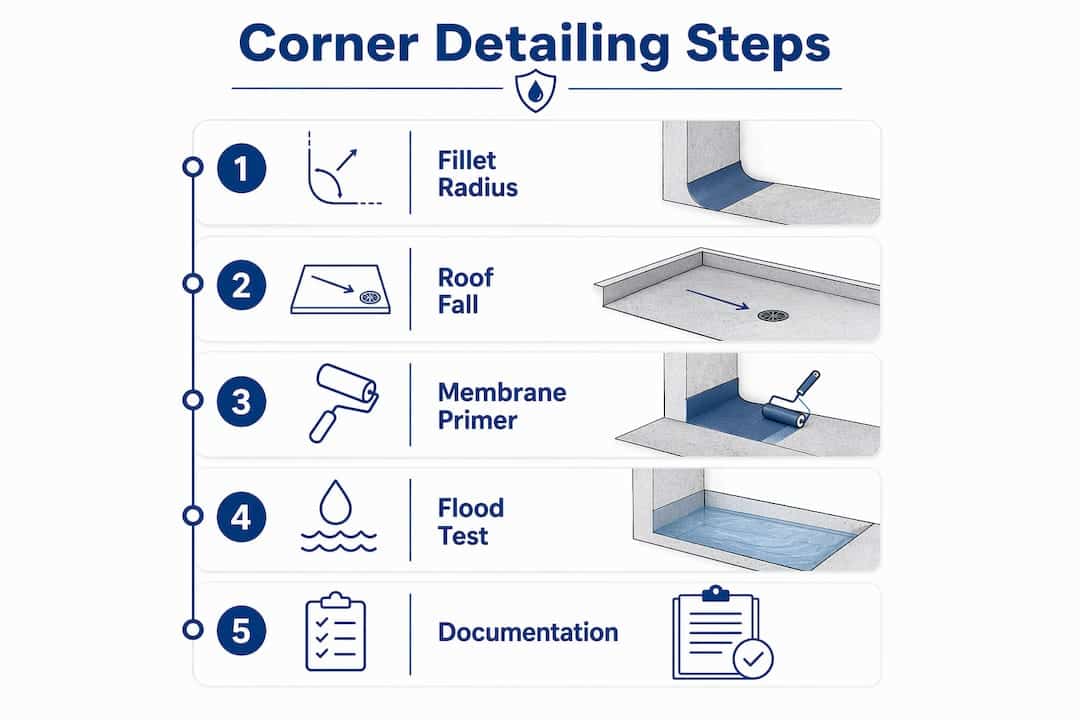
Documentation of SANS compliance strengthens warranty and insurance claims considerably. A contractor who cannot produce a specification referencing these dimensions is a contractor who cannot demonstrate compliance.
Contractor shortcuts that put your property at risk
Competence gaps show up in the details, and corners are where shortcuts are easiest to hide. Poor workmanship commonly involves skipping surface preparation or missing critical details at corners and penetrations — and the consequences are leaks, rework, and failed claims.
The most common shortcuts:
- No mortar fillet formed. The membrane is applied directly over the sharp 90° angle, which is a common fault highlighted in the Sealtek Cape sitemap for waterproofing details. It will bridge, stress, and tear.
- Insufficient or no priming. Without a bituminous primer, the membrane cannot bond properly to the substrate, particularly at corners where adhesion is already under stress.
- No reinforcement at corners. A second layer of membrane or a reinforcing strip at the corner is standard practice; skipping it halves the effective thickness at the highest-stress point.
- Membranes cut short at turnups. A turnup that does not reach 40 mm into the wall will allow water to track behind the membrane during heavy rain.
- Inadequate lap overlaps. Laps that are too narrow at corner junctions create pathways for water under normal movement.
- No flood testing. Without a flood test, there is no evidence the system is watertight before handover.
Red flags to watch for when reviewing a quote: vague scope with no specification values, no mention of fillet dimensions or turnup depths, no written warranty, and no provision for site photographs or flood test evidence.
How to inspect corners yourself and when to call a professional
Simple visual and tactile checks can detect most early failures before they become major claims. Walk the perimeter of any waterproofed area — flat roof, balcony, bathroom, or basement — and look for the following:
- Visible splits, blisters, or lifting edges in the membrane at wall-floor junctions
- Damp staining or discolouration at internal corners, particularly after rainfall
- Efflorescence tracking from corner joints
- Soft or hollow-sounding areas in the screed when tapped near abutments
- Ponding that persists more than 24 hours after rain
- Rust staining around pipe penetrations
When to act immediately: if you see structural timber or plaster damage, spreading damp marks that grow between inspections, or persistent leaks after every rainfall event, commission a professional condition report before attempting any repair. Temporary patches without diagnosis rarely hold.
Pro Tip: Request time-stamped photographs from your contractor at each stage of the work — substrate preparation, fillet formation, priming, membrane application, and flood test completion. These photographs are your primary evidence if a warranty claim or insurance dispute arises later.
What a correct corner specification should include
A clear, measurable specification removes ambiguity and gives you a basis to hold a contractor accountable. When requesting quotes or briefing a contractor, include the following items in your scope of work:
- Mortar angle fillets at all internal corners, minimum radius 45 mm, formed in sand-cement mortar and allowed to cure before membrane application.
- Membrane turnups counter-flashed into the wall to a minimum depth of 40 mm at all abutments.
- Substrate preparation — surface clean, dry, and free of voids or sharp protrusions; all surfaces primed with a named bituminous primer per the manufacturer’s data sheet.
- Reinforcement — a second membrane layer or reinforcing strip applied at all corners, penetrations, and upstands.
- Membrane overlaps — minimum lap widths as specified by the membrane manufacturer, fully bonded at all junctions.
- Flood testing — a water test held for a minimum period (typically 24 hours) with photographic and written sign-off before handover.
- Workmanship warranty — a written warranty referencing the scope, the SANS dimensions, and the contractor’s name and registration details.
Pro Tip: Ask for the membrane manufacturer’s technical data sheet and confirm the specified primer is the one the manufacturer recommends for your substrate type. A mismatch between primer and membrane is a common cause of delamination that voids manufacturer warranties.
How to choose a contractor who will detail corners correctly
Competence and documented process matter more than the lowest price. A contractor who cannot explain how they form a mortar fillet or counter-flash a turnup is unlikely to do either correctly.
Questions to ask before appointing a contractor:
- Do you form mortar fillets to a minimum 45 mm radius at all internal corners?
- Do you counter-flash membrane turnups at least 40 mm into the wall?
- Can you provide manufacturer approval or system certification for the membrane you intend to use?
- Will you supply photographs from the substrate preparation, priming, and membrane application stages?
- Do you provide a written workmanship warranty that references the scope and SANS compliance?
- Do you carry out flood testing and provide written sign-off?
For a structured approach to vetting contractors before you commit, Prowaterproofing’s guidance covers the key questions and red flags in detail. The waterproofing application workflow article also sets out what a properly documented project looks like from inspection through to sign-off.
Red flags that should end the conversation: a lump-sum quote with no scope breakdown, refusal to allow on-site inspection during works, no mention of flood testing, and no written warranty offered.
What to do when corner detailing has already failed
Stop ongoing water ingress first, then document everything before touching the damage.
- Contain the leak. Apply a temporary cover or patch to limit further water entry. Do not attempt permanent repairs until the cause is diagnosed.
- Photograph and time-stamp. Capture the damage from multiple angles, including the surrounding area. Note the date, time, and any recent rainfall.
- Record the event. Write down rainfall dates, the sequence in which damp appeared, and any previous repairs. This record supports an insurance claim.
- Commission a professional condition report. A written report from a qualified waterproofing contractor identifies the root cause and provides the basis for a remedial specification.
- Obtain a written remedial quote. The quote must reference the specific failures, the SANS dimensions to be achieved, and the testing and documentation to be provided on completion.
- Remediation sequence: diagnose cause → remove failed detailing completely → prepare substrate and form correct fillets → apply membrane with reinforcement → flood test → photographic sign-off.
Keep all contractors’ invoices, material data sheets, and the signed flood test record. These documents are the evidence base for any warranty or insurance claim.
Key takeaways
Correctly detailed corners, built to SANS 10021 minimums, are the most cost-effective defence against waterproofing failure in South African buildings. Add the 45 mm fillet and 40 mm counter-flash dimensions to every quote review checklist.
| Point | Details |
|---|---|
| Mortar fillet minimum | Form all internal corner fillets to a minimum radius of 45 mm before membrane application. |
| Counter-flash depth | Membrane turnups must be cut into the wall to a minimum depth of 40 mm at every abutment. |
| Written specification | Demand a scope that states both SANS dimensions, primer details, and reinforcement requirements. |
| Flood test and photos | Require time-stamped photographic evidence and a written flood test sign-off at handover. |
| Prowaterproofing | Prowaterproofing applies SANS-aligned corner detailing with written warranties and photographic completion records on every project. |
The detail most contractors skip
Corner detailing is where the gap between a cheap quote and a durable waterproofing system is most visible — if you know what to look for. Most property owners never see the fillet being formed or the turnup being counter-flashed. By the time the membrane is down, the critical geometry is buried, and if it was wrong, you will not know until the leak appears.
The 45 mm fillet and 40 mm counter-flash are not arbitrary numbers. They represent the minimum geometry a membrane needs to bridge a corner without being placed under chronic stress. A contractor who dismisses these dimensions as unnecessary is telling you, plainly, that they intend to cut the detail that matters most.
The practical consequence is straightforward: a correctly detailed corner costs almost nothing extra to build correctly the first time. Remediation — stripping failed membrane, reforming fillets, re-applying and re-testing — costs multiples of that, and the insurance claim may not cover it if SANS compliance cannot be demonstrated.
Prowaterproofing: SANS-aligned corner detailing for South African properties
Waterproofing that lasts starts with the details that most contractors skip. Prowaterproofing delivers SANS-compliant inspections, written specifications, and remedial works that reference SANS 10400-L and SANS 10021 at every stage — including the 45 mm fillets and 40 mm counter-flashing that protect your abutments long-term.

Every project includes photographic documentation at each stage, a flood test with written sign-off, and a workmanship warranty tied to the scope. Whether you need a condition report on an existing system, a specification for a new project, or remedial works on a failed installation, Prowaterproofing covers residential, commercial, and industrial properties across South Africa. Request a site inspection or specification review at prowaterproofing.co.za.
Useful references
Authoritative documents and resources for further reading on corner detailing and SANS compliance:
- SANS 10021 — the primary South African standard for waterproofing of buildings, including the measurable requirements for mortar fillets, turnup depths, priming, and flood testing.
- AfriSam: Waterproofing Concrete Slabs — technical guidance on falls, screed thickness, and upstand requirements for concrete roof and slab waterproofing.
- Derbigum Balcony Specifications — manufacturer specification showing substrate preparation, priming, and coved corner requirements for membrane systems.
- ABE Typical Corner and Upstand Detail — construction detail drawings for fillets, upstands, and membrane laps; useful to request from your contractor as a reference drawing.
- ServiceLink SA: Waterproofing Contractor Checklist — practical checklist covering surface preparation, corner reinforcement, flood testing, and documentation requirements.
- Prowaterproofing: Contractor Selection Guidance — actionable tips for reviewing quotes and spotting red flags in contractor proposals.
- Prowaterproofing: Application Workflow — step-by-step workflow from inspection through to photographic sign-off and warranty.
| Resource | What it covers |
|---|---|
| SANS 10021 | Measurable minimums: 45 mm fillet, 40 mm counter-flash, priming, flood test |
| AfriSam slab guidance | Falls (1:80), screed thickness, upstand dimensions |
| Derbigum balcony spec | Manufacturer substrate and corner preparation requirements |
| ABE corner detail drawings | Construction drawings for fillets, upstands, and membrane laps |
| ServiceLink SA checklist | Contractor vetting: preparation, reinforcement, testing, documentation |