
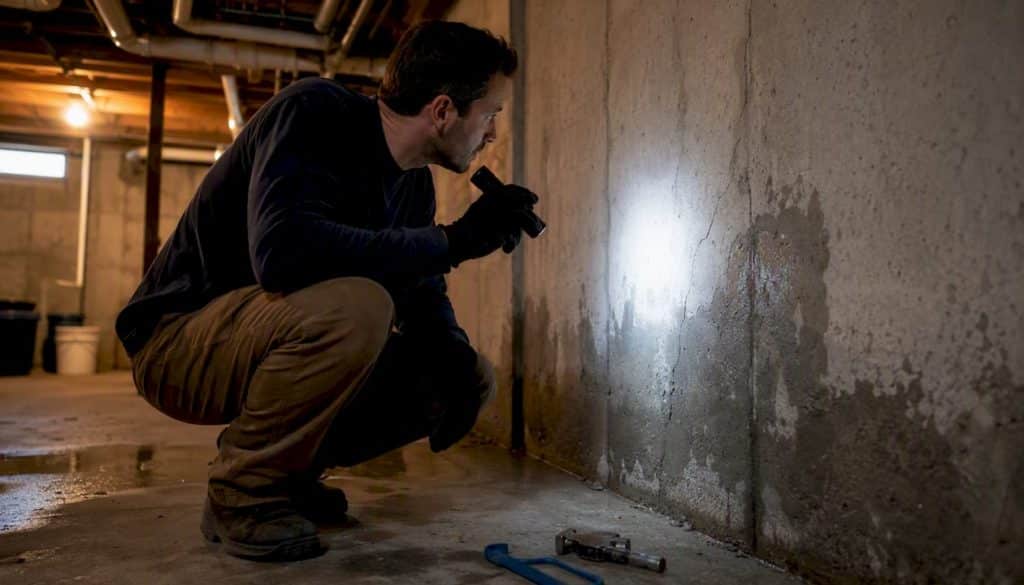
Most basement water comes from one of three places: groundwater pressure pushing against your foundation, cracks where the wall meets the floor, or a plumbing pipe that has already failed somewhere inside your walls. Before anything else, check your water meter with every tap and appliance switched off. If the dial still moves, you have an internal plumbing leak, not a groundwater problem. Next, walk the basement and look at every visible pipe joint, the water heater base, and the sump pump for standing water or corrosion.
That gives you a fork in the road:
- Meter moves, no visible pipe issue — the leak is likely hidden inside a wall or under the slab, and you should move to plumbing‑specific tests.
- Meter is still, but you see damp patches or pooling — you are almost certainly dealing with groundwater or a drainage fault outside, which points you toward the inspection routine below rather than a plumber.
Either way, you now know which half of the house to investigate first, and that alone saves hours of guesswork.
Key Takeaways
Most basement leaks trace back to groundwater pressure, a floor‑wall joint failure, or hidden plumbing, and a water‑meter test plus a dated photo log will tell you which one you’re dealing with before you spend a penny on repairs.
| Point | Details |
|---|---|
| Start with the meter | Shut off all taps and appliances, check the water meter, and wait 15 minutes to rule plumbing in or out. |
| Match symptoms to source | Weather‑linked dampness points to groundwater; constant dampness points to plumbing or condensation. |
| Follow the inspection order | Dry the area, reproduce conditions, then test plumbing, drains, and the sump pump in sequence. |
| Treat structural cracks as urgent | Horizontal or stair‑step cracks and bowing walls need a specialist, not a DIY patch. |
| Professional detection saves money | Acoustic and tracer‑gas surveys pinpoint leaks within centimetres, avoiding wide excavation. |
| Get a written diagnosis first | Prowaterproofing surveys the site, detects non‑invasively, and provides a written report before any repair begins. |
Table of Contents
- How to find leak in basement: recognising the signs first
- Common leak sources and how their symptoms differ
- Step‑by‑step inspection routine to trace a basement leak
- Non‑invasive professional detection methods explained
- Low‑cost tests and simple tools homeowners can use
- Temporary fixes and safety while you diagnose the problem
- When to call a professional and what to expect
- What a professional waterproofing survey delivers
- Frequently asked questions
- Sources
How to find leak in basement: recognising the signs first
Before you start testing anything, learn to read what the basement is already telling you. A leak rarely announces itself with a puddle on day one. It creeps in through smaller signals that most homeowners walk past for weeks.
Watch for:
- Damp patches or tide lines on walls, especially near the floor
- White, chalky efflorescence where mineral deposits have been left behind by evaporating water
- A persistent musty smell, even when nothing looks visibly wet
- Peeling paint, bubbling wallpaper, or warped skirting boards
- Standing puddles that appear only after heavy rain
- Mould spots in corners or behind stored boxes
Timing tells you almost as much as the sign itself. Dampness that shows up within a day of rainfall usually points to groundwater or poor drainage outside. Wetness that stays constant regardless of weather is more consistent with a plumbing leak or condensation. Persistent damp patches, water stains and efflorescence are among the most reliable indicators that groundwater is finding its way through your walls.
Photograph every sign you find, and jot down the date underneath it. A fortnight of dated photos does more to convince an insurer or a contractor than any verbal description ever will.
Common leak sources and how their symptoms differ
Not every basement leak behaves the same way, and matching the symptom to the likely cause is what stops you wasting a weekend chasing the wrong culprit. Groundwater pressure, known as hydrostatic pressure, is the most common long‑term driver of basement dampness. Saturated soil around your foundation pushes water through hairline cracks, mortar joints, and the seam where wall meets floor, and it tends to worsen after several days of steady rain rather than a single downpour.
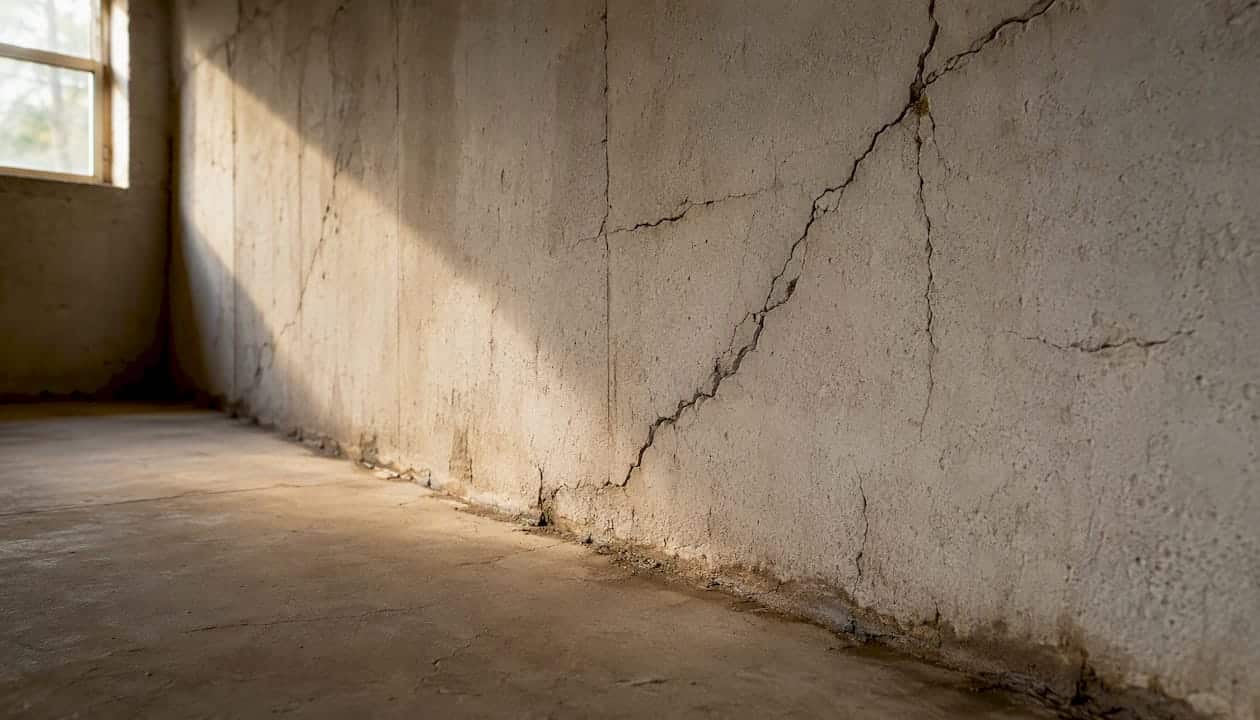
Foundation cracks behave differently depending on their shape. Vertical hairline cracks are usually cosmetic settling. Horizontal or stair‑step cracks are a different story entirely: severe hydrostatic pressure can bow walls or force water through the wall to floor joint, and that is a structural warning sign, not a weekend DIY job.
Plumbing leaks, by contrast, show up regardless of weather. A supply line leak often leaves a warm, localised damp patch near a wall, while a drain leak tends to smell of sewage rather than soil. Condensation is the impostor in this list. It appears on cold pipes or unfinished concrete during humid months and vanishes when you run a dehumidifier, which is the fastest way to rule it out.
| Symptom | Likely source | Quick confirmatory test |
|---|---|---|
| Damp after rain, worse near the floor‑wall joint | Groundwater / hydrostatic pressure | Check outside grading and gutters after the next downpour |
| Horizontal or stair‑step wall cracks | Foundation structural stress | Photograph and monitor width weekly with a pencil mark |
| Constant dampness, no link to weather | Plumbing supply or drain leak | Water‑meter test with all taps off |
| Sweating pipes, no odour, seasonal | Condensation | Run a dehumidifier for 48 hours and recheck |
| Water pooling near sump pit | Sump pump or drain failure | Pour a bucket of water into the pit and time the pump cycle |
| Damp patch near an external wall penetration | Pipe or cable entry point | Inspect the exterior seal and caulking |
Step‑by‑step inspection routine to trace a basement leak
Work through this routine in order rather than jumping straight to the wall you suspect. Skipping steps is the single biggest reason homeowners misdiagnose a leak and end up repairing the wrong thing.
- Clear and dry the area. Remove stored boxes, wipe down the suspect wall or floor with a towel, and let it sit dry for at least four hours.
- Reproduce the conditions. If the leak appears after rain, wait for the next downpour or run a garden hose against the exterior wall for 20 to 30 minutes.
- Do a full visual sweep. Check the dried area for fresh dampness, and inspect the exterior for pooling, downspout discharge, and grading that slopes toward the house instead of away from it.
- Test plumbing and appliances. Check the water meter with everything switched off, and listen for the faint sound of running water near suspect pipe runs.
- Check drains, gutters and the sump pump. Pour a bucket of water into the sump pit and time how long the pump takes to activate and clear it.
- Mark the moisture path. Use a pencil to trace the wet edge as it dries, which shows you whether water is travelling laterally along a joint or rising straight up through the floor.
Each test needs a different wait time. The hose test needs a full 20 to 30 minutes of continuous water before you check inside, because groundwater can take that long to travel through masonry. The water‑meter test only needs 15 minutes with all fixtures off. A dye test in a floor drain trap needs about 10 minutes to show colour if there’s a hidden connection to another leak point.
Pro Tip: Never test electrical outlets or fuse boxes near a wet floor while standing in water. If there’s any standing water near an outlet, switch off power at the consumer unit before you go anywhere near it.
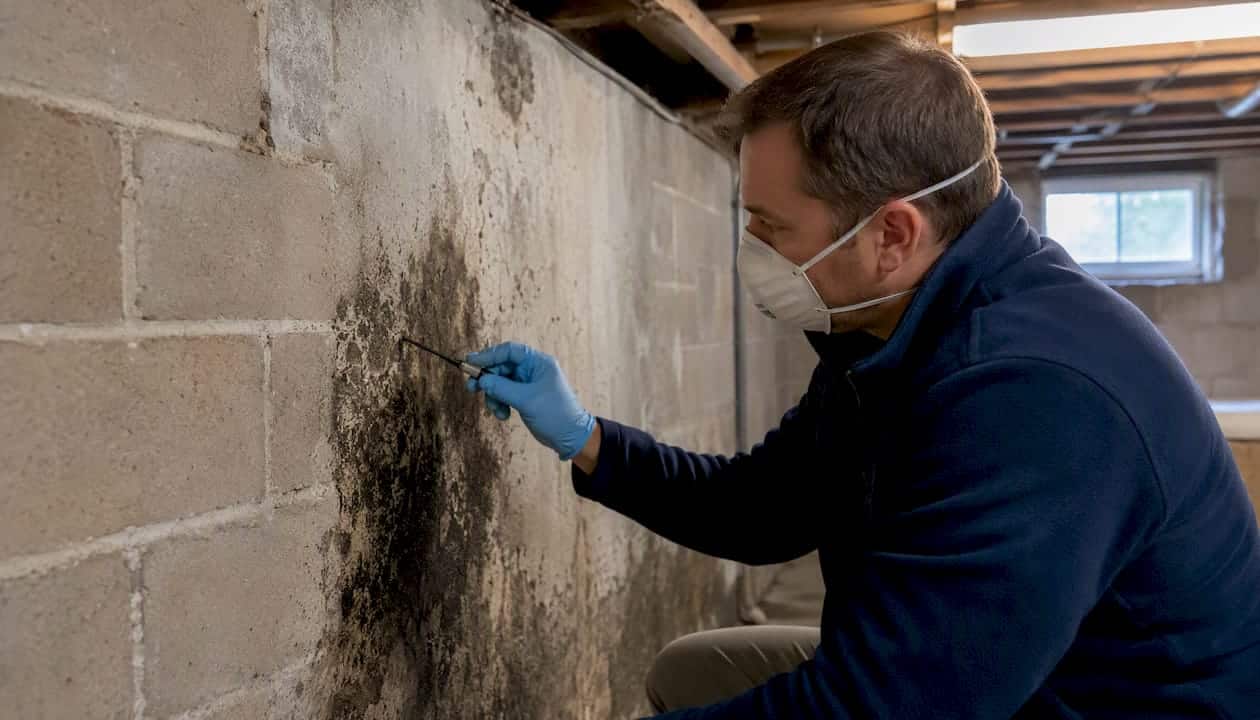
Mould exposure is the other hazard worth taking seriously. If you see black or green growth covering more than a small patch, wear a mask and gloves, and consider calling a specialist rather than disturbing it yourself.
Non‑invasive professional detection methods explained
Once your own tests point to a plumbing leak you can’t locate visually, a professional’s toolkit gets a lot more precise than yours, and understanding what each tool does helps you make sense of the quote you receive.
- Ground microphones and digital correlators listen for the acoustic signature of water escaping under pressure, then triangulate the exact point along the pipe. They work well on metal pipework but struggle on plastic pipe, which transmits sound poorly.
- Tracer gas detection involves pushing a harmless hydrogen and nitrogen mix through the empty pipe and sniffing for where it escapes at the surface. It’s highly accurate on pipes buried under concrete slabs where sound alone won’t travel.
- Thermal imaging cameras pick up temperature differences caused by wet insulation or escaping water, giving a fast visual map without lifting a single tile.
- Camera inspections send a small lens down a drain or pipe run to physically show blockages, cracks, or root intrusion.
A typical professional survey follows a predictable shape: roughly a one‑hour initial assessment, 30 to 60 minutes of pipe locating, and a further one to two hours of acoustic survey to narrow the fault down to a specific spot. Modern correlator technology commonly pinpoints a leak within centimetres, which is why a properly equipped technician can open a single small section of floor instead of trenching the whole run. That precision is what turns a potentially room‑wide repair into a patch job.
Low‑cost tests and simple tools homeowners can use
You don’t need professional equipment to gather useful evidence. A handful of inexpensive tools, used in the right order, will tell you more than an hour of staring at a damp patch.
Keep these on hand:
- A basic moisture meter (pin or pinless type)
- Food colouring or dye tablets for drain and toilet tests
- A torch for dark corners and pipe runs
- A garden hose for exterior wall testing
- A bucket for sump pump and drain checks
- Your phone camera for a dated photo log
Run them in this order:
- Water‑meter test – shut off every tap and appliance, note the meter reading, wait 15 minutes, and check again.
- Bucket test – pour water directly into a floor drain or sump pit and time how quickly it clears.
- Hose test – run water against a suspect exterior wall section for 20 to 30 minutes while someone watches inside.
- Dye test – add food colouring to a toilet cistern or drain trap and watch for coloured water appearing elsewhere.
- Moisture meter spot checks – take readings across the wall or floor in a grid pattern and log each number with its location.
DIY tests have real limits. A moisture meter can’t tell you whether water is coming from outside or from a leak two metres away travelling along a joist, and a hose test in dry weather won’t reproduce heavy groundwater pressure. If two or more tests contradict each other, that’s your signal to stop guessing and call in proper equipment.
Temporary fixes and safety while you diagnose the problem
Safety comes before any repair attempt. Switch off power to any circuit serving a wet area, avoid direct contact with water that might be contaminated by sewage, and wear gloves and a mask if mould is present. Keep children and pets out of the basement until the area is dry and assessed.
Once you’re safe, a few short‑term measures limit damage while you work out the real cause:
- Sandbags or reshaped soil grading outside can divert surface water away from the foundation
- Waterproof tape or hydraulic cement can seal a small, visible crack for a few weeks
- A portable sump pump or a dehumidifier keeps the area dry and prevents secondary mould growth
- Moving stored items off the floor protects them while you investigate further
None of these are permanent solutions. Hydraulic cement plugging a crack does nothing to relieve the hydrostatic pressure building up behind the wall, and ignoring that underlying pressure is one of the most common reasons a repair fails within a year or two. Treat every temporary fix as a stopgap, not a solution, and keep monitoring the area for change.
When to call a professional and what to expect
Some signs mean it’s time to stop testing and pick up the phone. Horizontal or stair‑step wall cracks, visible wall bowing, water forced through the wall to floor joint under pressure, a sump pump that won’t keep up, or DIY tests that keep contradicting each other are all reasons to bring in a specialist rather than keep experimenting.
Before you hire anyone, ask:
- What detection method will you use, and can I see a sample report from a previous job?
- How long will the survey and repair take, from start to finish?
- Will this need excavation, and if so, how much?
- What guarantee or warranty comes with the repair?
- Can I speak to a recent local reference?
A typical professional inspection takes half a day to a full day depending on the property, and precise detection tools mean most repairs need only a small, targeted excavation rather than digging up the entire run. Costs vary widely by region, severity, and whether structural work is involved, so treat any online cost figure as a rough starting point rather than a firm quote for your property.
Pro Tip: Ask every contractor for their findings in writing, including photos and moisture readings, before agreeing to any repair. A written report protects you if you need to make an insurance claim later or get a second opinion.
Expert note: practical priorities when hunting basement leaks
Safety and evidence come before repair, every time. The instinct to grab a hammer and start chasing a damp patch is understandable, but precise, non‑destructive detection almost always beats random digging. Document everything with dated photos and moisture readings before anyone touches the wall. That record is what turns a vague guess into a repair plan a contractor can actually quote against, and what protects you if the claim ever needs backing up.
Pro Tip: An experienced technician will tell you the same thing every time: the report matters as much as the repair. If a contractor can’t explain how they found the leak, question the fix they’re proposing.
What a professional waterproofing survey delivers
A proper contractor visit follows a clear sequence: a site survey to assess drainage and structure, non‑invasive detection to locate the exact source, a written report with photos and findings, and a targeted repair that avoids unnecessary excavation. Prowaterproofing works through this same process for basement, wall, and roof leaks, using the detection evidence gathered on site to scope the smallest repair that actually solves the problem rather than papering over it.

A proper written quote should spell out the detection method used, the exact repair scope, materials, and the warranty period, so you can compare it against any other quote on fair terms. Precision detection is what keeps that quote honest. If a survey pinpoints the fault within centimetres, you’re paying for a patch, not a full re‑excavation of the foundation. Before you contact a contractor, have your photo log, meter readings, and a rough timeline of when the dampness started ready to share. It’s the fastest way to get an accurate first assessment.
If you’d rather skip the DIY guesswork altogether and get a proper diagnosis from the outset, visit the Pro Waterproofing service page to request a site survey and written quote for your property. For readers who want to understand the repair side before they call anyone, this guide to stopping basement leaks walks through what typically comes after diagnosis.
Frequently asked questions
How do I find a leak in my basement without tearing up walls?
Start with the water‑meter test, then run a hose against the exterior wall for 20 to 30 minutes while checking inside. If both point to a specific area, a moisture meter and dye test narrow it further without any demolition.
What’s the difference between a plumbing leak and groundwater seepage?
A plumbing leak stays constant regardless of weather and often shows on the meter test. Groundwater seepage worsens after rain and usually appears near the floor‑wall joint or through hairline cracks.
Can condensation be mistaken for a leak?
Yes. Condensation forms on cold pipes or bare concrete during humid weather and clears within 48 hours of running a dehumidifier, which is the quickest way to tell it apart from an actual leak.
How long does a professional leak detection survey take?
Most surveys run half a day, combining an initial assessment, pipe locating, and an acoustic or tracer‑gas survey to pinpoint the exact source.
When should I stop testing and call a professional?
Call a specialist if you see structural cracks, bowing walls, a failing sump pump, or if your own tests keep giving contradictory results.
Sources
For detection methods, see INFICON’s overview of non‑invasive leak technology and First Alert’s home leak detection guide. For repair and waterproofing next steps once you’ve identified the source, read Prowaterproofing’s guide on sealing a leaking basement or browse TT Waterproofing’s resources for further contractor perspectives.
- INFICON — Non‑invasive technology finds water leaks fast
- Water leak in basement solutions — MyBuilder
- How to find and detect water leaks at home — First Alert