
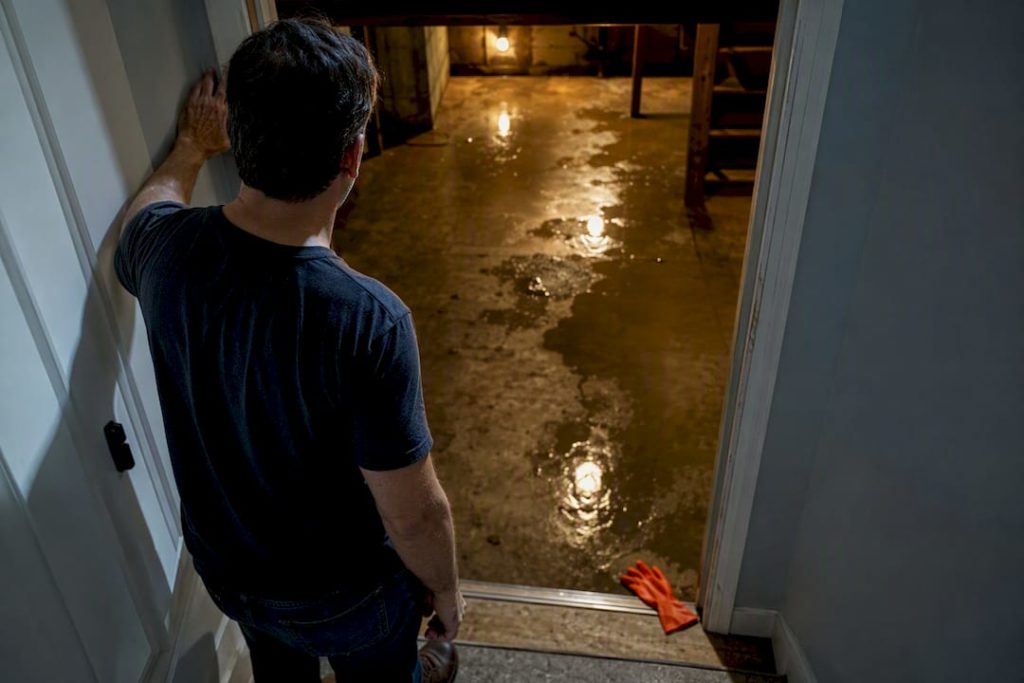
Yes, most wet basements can be fixed. Stop the water coming in, get the space drying immediately, and then match the repair to the actual cause rather than guessing. If water is actively flowing or the basement is flooded, deal with safety first: cut the power, get people clear, and pump out standing water before anything else. Widespread seepage through the walls or floor usually points to hydrostatic pressure, which needs a professional waterproofing system, not a tube of sealant.
TL;DR:
- Fixing a wet basement requires diagnosing whether water entry is due to surface runoff or hydrostatic pressure, as each calls for a different solution.
- Addressing grading, gutters, and downpipes effectively prevents most leaks, often avoiding the need for costly excavation or membrane systems.
- DIY repairs like crack patching or sealing penetrations work only for minor issues caused by surface water, not pressure-driven seepage.
- Long-term waterproofing relies on external tanking or internal drainage systems combined with proper drainage outlets and sump pumps with backup power.
- Proper inspection by experienced professionals ensures accurate diagnosis, preventing wasted money on ineffective sealants or generic patches.
Table of Contents
- What to do first when you find a wet basement
- Why is my basement getting water in it?
- Which DIY basement repairs actually work?
- What professional waterproofing systems fix a wet basement long term?
- How do sump pumps and backup power keep a basement dry?
- What does fixing a wet basement typically cost?
- How do you vet a contractor and get a proper diagnosis?
- What actually matters most when fixing a wet basement
- Get a proper inspection before you commit to a fix
- Sources
What to do first when you find a wet basement
Before you touch anything, work out whether this is a trickle or a flood. The order below reflects what actually reduces damage and risk, not just what feels productive.
- Cut power to affected circuits at the board, and shut off the gas supply if there’s any chance of a leak. Never wade into water near live sockets, appliances, or extension cords.
- Photograph the damage for insurance before you move or discard anything, then get furniture, boxes, and electronics up off the floor and away from the wet zone.
- Stop new water coming in. Clear blocked gutters, extend downpipes away from the foundation, and use sandbags or a temporary diversion channel if surface water is still running towards the house.
- Pump or bail out standing water. A submersible pump handles anything deeper than a few centimetres; a wet/dry vac is fine for shallow puddling.
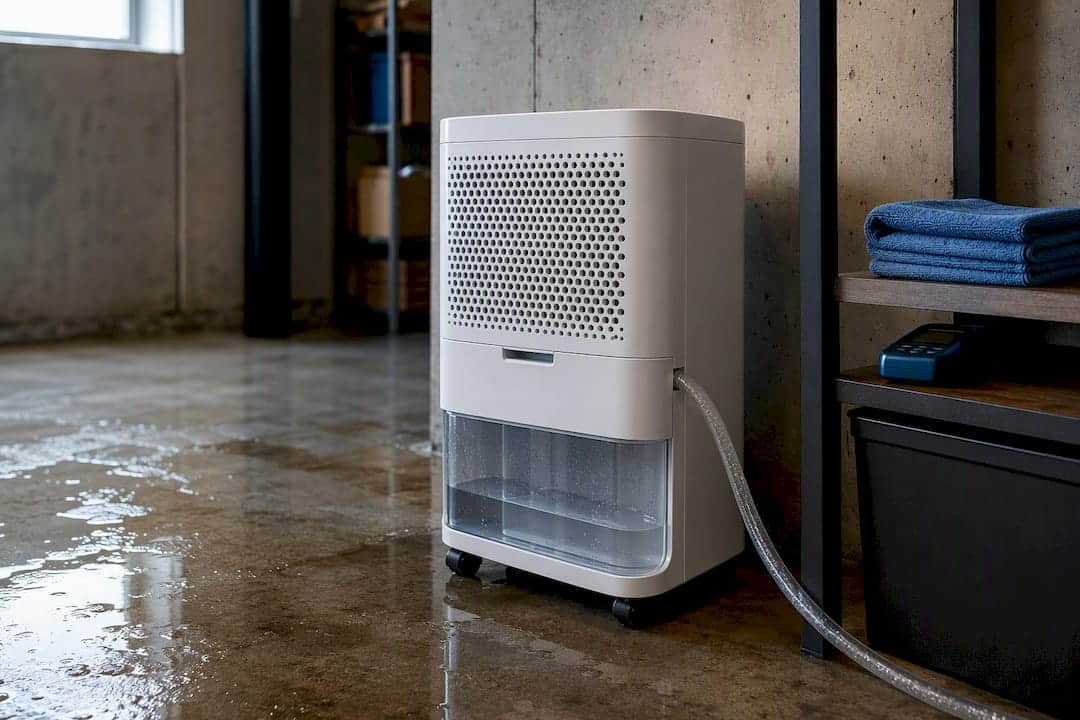
- Start staged drying. Bring in fans for airflow, run a dehumidifier once standing water is gone, and use towels or a commercial desiccant for damp corners fans can’t reach.
Drying too aggressively, too fast, carries its own risk. Rapid drying can cause cracking and encourage mould growth if moisture is pulled out of masonry faster than it can safely release, so treat the first 48 hours as controlled drying, not a race.
Pro Tip: Run the dehumidifier continuously for the first three days rather than switching it on and off. Basement humidity swings encourage the exact mould growth you’re trying to prevent.
Why is my basement getting water in it?
Diagnosis matters more than most homeowners assume, because the fix for surface run-off looks nothing like the fix for hydrostatic pressure, and treating one as the other wastes money and time.
Start with a walk-around, ideally during or right after rain:
- Map every visible water entry point: corners, wall-floor joints, window wells, and any hairline cracks.
- Look for efflorescence, the white chalky residue left as water evaporates through masonry, and note where damp patches or mould keep reappearing in the same spots.
- Check gutters, downpipes, and the grading within roughly 3 metres of the foundation. Ground that slopes towards the house rather than away from it is one of the most common, and most fixable, causes of a wet basement.
- Run a simple hose test on a dry day, aiming water at different sections of the foundation for ten minutes each, to isolate exactly where it’s getting in.
- If you suspect plumbing rather than groundwater, a dye test in suspect drains or a period with water isolated to specific fixtures can rule plumbing in or out.
- Widespread seepage across multiple walls, saturated brickwork low down, or water pushing up through the slab itself are signs of hydrostatic pressure rather than a simple leak.
If you want a deeper look at diagnosing pressure-driven leaks specifically, Prowaterproofing’s guide on stopping hydrostatic pressure without excavation walks through the distinction in more detail.
Which DIY basement repairs actually work?
Plenty of wet basement problems are genuinely fixable without a contractor, provided the cause is surface water rather than pressure from below.
- Fix the grading first. Sloping the ground away from your foundation for about 3 metres is one of the single most effective, and most overlooked, preventative measures set out in South African waterproofing guidance.
- Clear and extend downpipes so water discharges well clear of the walls rather than pooling right against them. This alone resolves a surprising number of basement leaks without any excavation at all.
- Patch non-structural cracks with hydraulic cement, which expands as it cures and is ideal for active minor seepage, or epoxy injection for hairline cracks that aren’t moving.
- Seal small penetrations, such as around pipe entries, with a masonry sealant rated for below-grade use.
- Dry with fans and a dehumidifier, but resist the urge to blast heat at damp walls. Slow, steady drying limits cracking and mould.
Prowaterproofing’s practical repair guide for basement leaks covers crack injection technique in more depth if you’re tackling this yourself.
Know when to stop, though. If seepage keeps returning after you’ve fixed the grading and patched the cracks, if water is clearly coming through under pressure rather than trickling, or if the basement has flooded more than once, DIY has reached its limit.
Pro Tip: If a patched crack weeps again within a week of dry weather, that’s not a patching failure. It’s usually a sign of hydrostatic pressure behind the wall, and no amount of hydraulic cement will out-muscle groundwater.
What professional waterproofing systems fix a wet basement long term?
Once DIY has been ruled out, or the diagnosis points straight to pressure or structural cracking, the right long-term system depends heavily on site conditions rather than personal preference.
- External tanking. A waterproof membrane, typically polyolefin sheeting, bitumen-based felt, or mastic asphalt, is applied to the outside of the foundation wall after excavation, then protected with a board before backfilling. SANS 10021:2012 sets out these membrane types and installation detail as standard practice, and this approach works best on new builds or where excavation around the property is actually feasible.
- Cavity drain membranes (internal drainage). A dimpled plastic membrane fixed to the inside face of the wall creates a drained cavity that channels water down to a perimeter drain and a pumped sump, rather than trying to block it outright. This is often the most practical retrofit for basements with active leaks, particularly where digging up the exterior isn’t realistic.
- French drains, internal or external, relieve hydrostatic pressure by giving groundwater a lower-resistance path away from the foundation before it can build up against the wall.
- Crystalline and cementitious coatings have a role, but only as supplementary protection. They are not a standalone answer to serious hydrostatic pressure.
Whichever route fits your site, SANS guidance is consistent on one point: waterproofing without a drainage strategy tends to fail eventually, because the water still has to go somewhere. Membrane protection during backfill and correctly detailed drainage outlets matter as much as the membrane material itself. For a fuller comparison of these methods against South African soil and rainfall conditions, see Prowaterproofing’s guide to basement waterproofing methods.
How do sump pumps and backup power keep a basement dry?
A cavity drain system is only as good as the pump moving water out of the sump pit, so this part of the system deserves more attention than most homeowners give it.
- The sump pit collects water channelled by the drain membrane and perimeter drain; the pump then ejects it away from the foundation, usually through a discharge line running clear of the house.
- Choose pump capacity based on your worst-case inflow, not average conditions, and make sure the float mechanism and check valve (which stops discharged water flowing back into the pit) are both fitted correctly.
- Battery backup or a small generator is worth the cost. Power outages frequently coincide with the same storms that cause the worst flooding, which is exactly when you need the pump running most.
- On high-risk sites, especially where the water table sits close to the foundation, a second backup pump is standard advice rather than overkill.
- Check the float switch, clear the discharge route, and service the unit at least once a year, ideally just ahead of the wet season.
A sump pump that fails during a storm is worse than no pump at all, because it gives you false confidence right up until the moment it matters.
What does fixing a wet basement typically cost?
Costs vary enormously with the cause, but the pattern is fairly predictable.
- Emergency drying and minor DIY repairs (fans, a dehumidifier, hydraulic cement for a small crack): low cost, done within hours to a few days.
- Internal drainage retrofit with a cavity membrane, perimeter drain, and sump pump: moderate cost, typically days to a couple of weeks depending on basement size.
- External tanking with excavation: the highest cost and the longest timeline, often several weeks once you factor in digging, membrane installation, protection boards, and backfill, but generally the most durable fix available.
What drives the price up or down on any of these: site access for machinery, soil type, how high the water table sits, the depth of excavation needed, and whether a geotechnical report is required before work starts. Two houses on the same street can face very different quotes purely because of soil conditions underneath them.
How do you vet a contractor and get a proper diagnosis?
A reputable waterproofing contractor should diagnose before they quote, not the other way round. Prowaterproofing’s inspection process typically covers moisture mapping across walls and floors, crack monitoring where movement is suspected, and a site drainage evaluation, all pulled together into a written report before any repair method is recommended.
Before you sign anything, ask for:
- A valid contractor’s licence and proof of relevant experience with basement work specifically, not just roofing or damp-proofing.
- A method statement that references recognised standards such as SANS 10021, so you know the workmanship, not just the materials, meets a documented benchmark.
- Contactable references from previous basement jobs, ideally ones a few years old so you can see how the work has held up.
- Clear written warranty terms covering both materials and workmanship, and how long that cover lasts.
Good materials fail if joints are poorly executed or membranes get damaged during backfill, so workmanship and supervision matter as much as the product specified. For more on what standards apply to South African properties, Prowaterproofing’s waterproofing standards guide is a useful reference before you meet a contractor.
What actually matters most when fixing a wet basement
The advice most homeowners get is backwards. They’re told to seal the walls first, and only later, once the sealant fails, do they hear the word “hydrostatic pressure.” That order should be reversed. Diagnosis costs nothing but time, while a wrong repair costs money and delays the real fix by months.
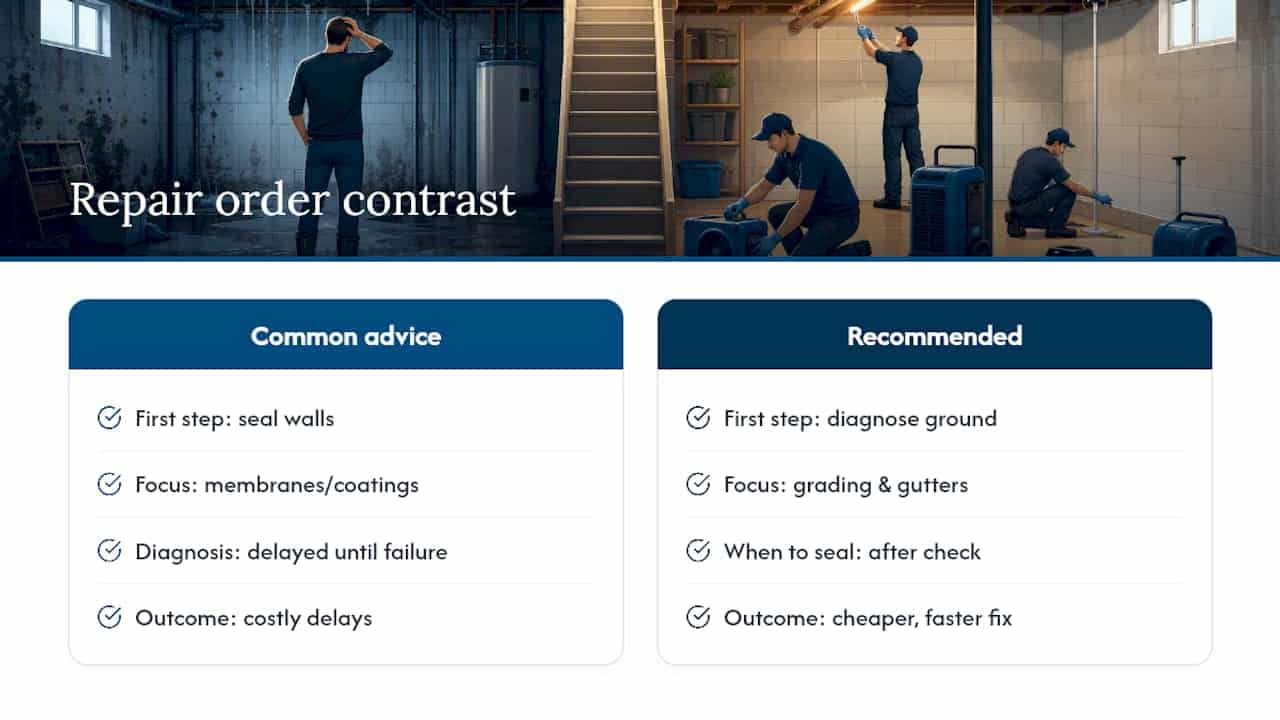
The most underrated step in this entire process is the ground within 3 metres of your foundation. Homeowners fixate on membranes and coatings, which are visible and feel like “real” waterproofing, while ignoring grading and gutters, which are boring but stop more leaks than any product applied afterwards. Fix the cheap, unglamorous stuff before spending on anything else.
If there’s one place conventional wisdom genuinely fails, it’s treating every wet basement as a sealant problem. Some are. Many aren’t. Groundwater under pressure doesn’t respect a tube of masonry sealant, and pretending otherwise just delays the professional fix while the damage keeps compounding underneath the floor you can’t see.
— Eben
Get a proper inspection before you commit to a fix
Guessing at the cause wastes money on repairs that don’t hold. Prowaterproofing inspects the actual site, checking grading, moisture patterns, crack behaviour, and drainage, before recommending anything, so you’re paying for a fix matched to the real problem rather than a generic patch job.

Before your inspection, gather a few things: photographs of damp patches or standing water taken over time, dates of any previous flooding, and details of any drainage or grading work already done. It helps the assessment move faster and gives a clearer picture of whether you’re dealing with surface run-off or something driven by groundwater pressure. Every job includes clear warranty terms and follow-up support, so you’re not left guessing whether a repair actually held once the rain returns. If your basement has been damp, flooding, or showing recurring seepage, request a quote from Prowaterproofing and get a straight answer on what’s actually causing it.
Sources
For technical depth beyond this guide, SANS 10021:2012 remains the primary reference for basement waterproofing membranes and drainage detail in South Africa. For cavity membrane and sump pump specifics, see the ServiceLink SA overview, and visit Prowaterproofing directly for enquiries.
- SANS 10021:2012 (waterproofing of buildings)
- Easy outside repairs for wet basement — The Spruce
- Basement foundation waterproofing — ServiceLink SA