
TL;DR:
- Flood testing verifies waterproofing integrity by ponding water to identify leaks before finishes are applied. Skipping this step risks concealed damage, costly repairs, and warranty voids. Combining flood tests with non-destructive methods ensures comprehensive quality assurance in waterproofing projects.
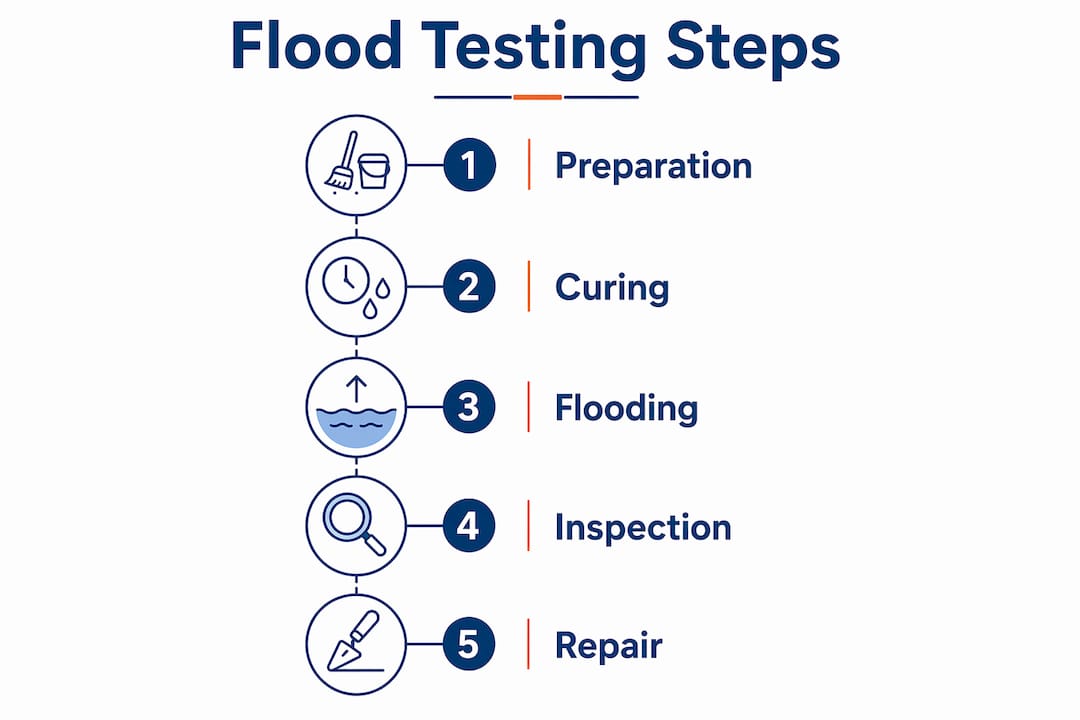
Flood testing waterproofing is defined as the controlled ponding of water on a waterproofed surface to verify that no leaks exist before permanent finishes are applied. The industry term for this process is a “flood test” or “water ponding test,” and it is a standard verification step in South African waterproofing practice under frameworks such as SANS and ASTM-aligned quality control plans. Property owners and building managers who skip this step risk concealed water damage that is both expensive and destructive to repair. Prowaterproofing recommends flood testing as a non-negotiable checkpoint on every waterproofed surface, from shower trays to flat roofs and balconies.
What is flood testing waterproofing and how does it work?
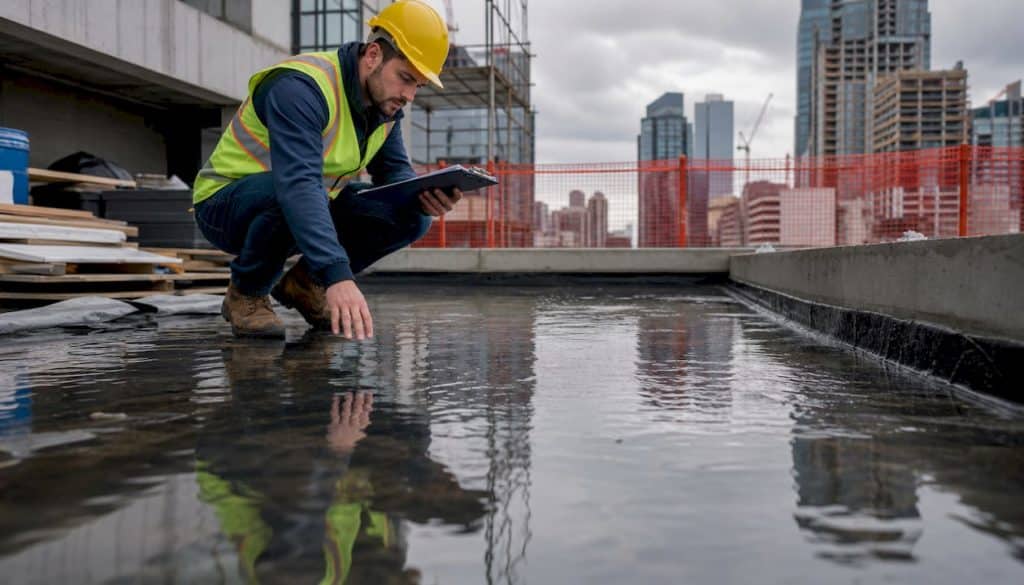
Flood testing is the process of temporarily filling a waterproofed area with water to a set depth and observing whether any leaks appear over a defined period. The test confirms that the membrane performs as intended under real conditions, not just on paper. No visual inspection of a membrane surface can replicate this level of certainty.
The standard procedure follows these steps:
- Block all drainage outlets. Plugs or temporary seals are fitted to prevent water from escaping through drains.
- Fill the area with water to approximately 50mm depth. This depth applies consistent pressure across the membrane and its joints.
- Mark the water level clearly. A pencil line or tape mark on the wall allows you to monitor whether water is being lost through the membrane rather than evaporation.
- Conduct the test over 24–72 hours. Standard procedure requires this duration to allow slow leaks to become visible.
- Inspect below and around the test area. Check ceilings, walls, and adjacent spaces for moisture, staining, or drips.
- Remove the water and assess. Any unexplained drop in water level, or visible moisture below, indicates a membrane failure.
Common flood test setups include shower trays, wet room floors, balconies, and flat roof decks. For shower trays specifically, filling with water to roughly 25mm and observing for seepage around drains and edges is a practical and widely used approach.
Pro Tip: Always conduct flood tests during dry weather. Rain must be avoided throughout the test period, as rainfall introduces water from outside the controlled area and creates false positives that invalidate your results.
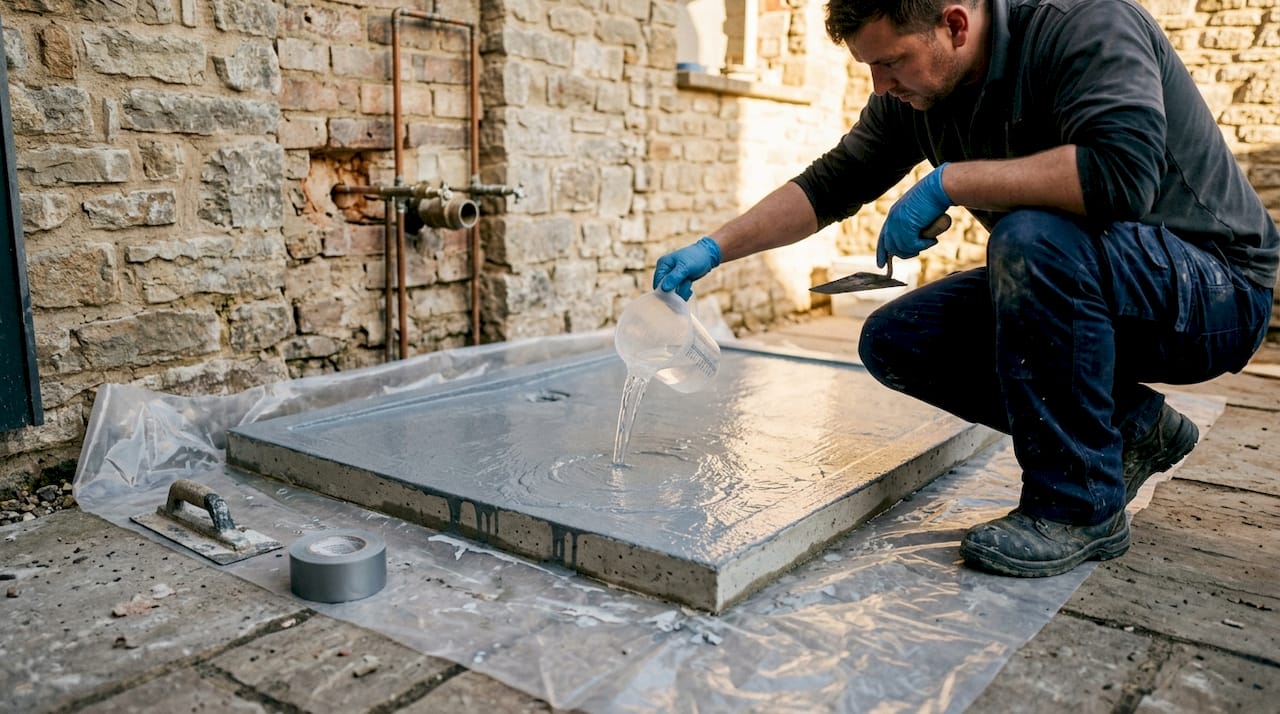
Liquid membranes require adequate curing before any water is introduced. Curing times typically run 24–48 hours before flood testing can begin. Rushing this step produces unreliable results and may damage a membrane that has not yet reached full strength.
Why flood testing before tiling is non-negotiable
Flood testing is the last opportunity to identify a waterproofing defect before tiles, screed, or other finishes make the membrane permanently inaccessible. Once a floor or wall is tiled, membrane integrity cannot be verified or repaired without removing the entire finish. That work is costly, disruptive, and entirely avoidable.
The risks of skipping a flood test include:
- Concealed leaks that saturate substrate layers and cause structural damage over months or years
- Mould and damp building up behind tiles where ventilation is absent
- Voided warranties because most waterproofing product manufacturers and contractors require documented flood test results
- Regulatory non-compliance under South African building standards, which can affect insurance claims and property resale
- Costly remediation that requires full tile removal, membrane replacement, and re-tiling
Skipping flood testing is not a shortcut. It is a gamble on waterproof integrity that almost always costs far more to fix than the test itself would have cost to conduct. Flood testing is mandatory before tiling to avoid irreparable water damage beneath finishes and to secure waterproofing warranties.
Common failures revealed during flood tests include membrane tears at corners, poor adhesion across the field, inadequate drainage slope causing unintended ponding, and cracked grout allowing leak paths to form. These are installation errors that are straightforward to fix before tiling and catastrophic to fix after. Flood testing catches them at the right moment.
Compliance with South African waterproofing standards in 2026 increasingly requires documented proof of flood testing as part of quality assurance records. Property owners who request this documentation from their contractors protect both their investment and their legal standing.
Alternative and complementary waterproofing verification methods
Flood testing is not always possible. Existing structures, occupied buildings, and areas where water ponding would cause collateral damage all present constraints. Several complementary methods fill this gap.
| Method | How it works | Best used when |
|---|---|---|
| Infrared thermography | Detects temperature differences caused by moisture beneath surfaces | Existing finishes cannot be removed |
| Moisture mapping | Uses probes or sensors to locate wet areas within substrates | Post-leak investigation on occupied properties |
| Membrane pull tests | Measures adhesion strength of the membrane to the substrate | Quality control on torch-on or sheet membranes |
| Pressure testing | Applies air or water pressure to plumbing fixtures and seals | Wet rooms with complex penetrations |
Infrared thermography and moisture mapping detect leaks non-destructively by revealing thermal and moisture differentials without removing finishes. This makes them the preferred choice for existing structures where damage from investigation would be as costly as the leak itself.
Pull tests for membrane adhesion are conducted at a rate of 1 per 20m² and serve as additional quality control, particularly for torch-on membranes. They confirm that the membrane has bonded correctly to the substrate, which flood testing alone cannot verify.
Pro Tip: Do not treat flood testing and complementary methods as alternatives. Multiple methods combined, including flood tests, pull tests, and thermal scans, yield the highest waterproofing quality assurance. Use the full toolkit on new construction and at least one non-destructive method on existing structures.
The limitation of flood testing is that it only confirms whether water passes through the membrane under static conditions. It does not assess adhesion, long-term durability, or resistance to movement. A multi-method approach, aligned with the quality assurance standards used by professional contractors, addresses all these dimensions together.
Preparation, curing, and common mistakes in flood testing
Getting the flood test right depends almost entirely on what happens before the water goes in. Poor preparation produces unreliable results and can damage a membrane that is not yet ready.
Curing requirements:
Liquid waterproofing membranes require 24–48 hours of curing before flood testing begins. Full cure before tiling or screeding proceeds takes 3–7 days, depending on the product, temperature, and humidity. Applying finishes before full cure traps moisture in the membrane and compromises its long-term performance.
Substrate preparation:
The substrate must be clean, dry, and free of dust, oil, or loose material before the membrane is applied. Priming is required on most substrates to achieve proper adhesion. Skipping the primer is one of the most common causes of membrane delamination, which flood testing will reveal but cannot fix.
Drainage slope:
All waterproofed surfaces must fall towards the drain at a minimum gradient. A flat surface causes permanent ponding, which accelerates membrane degradation over time. Check the slope with a spirit level before applying the membrane.
Common mistakes that invalidate flood tests:
- Insufficient ponding depth, typically less than 25mm, which fails to pressurise joints and penetrations adequately
- Unblocked or poorly sealed drains that allow water to escape and mimic a passing result
- Testing during or after rainfall, which contaminates the controlled water volume
- Testing before the membrane has fully cured, which can cause the membrane to fail the test it would otherwise pass
- Failing to inspect below the test area, meaning leaks go undetected even when water loss is visible
Proper sealing of all penetrations, including pipe sleeves, drain flanges, and wall junctions, is critical before the test begins. These are the highest-risk points in any waterproofed assembly. Contractors who follow industry standards for waterproofing in South Africa address penetrations with reinforced membrane detailing before the flood test is conducted.
Key takeaways
Flood testing is the definitive verification method for waterproofing integrity, and no visual inspection, pull test, or thermal scan replaces it on new construction before finishes are applied.
| Point | Details |
|---|---|
| Flood test definition | Water is ponded to 50mm depth for 24–72 hours to confirm membrane integrity before tiling. |
| Curing before testing | Liquid membranes need 24–48 hours before flood testing and 3–7 days before finishes proceed. |
| Mandatory before tiling | Skipping flood testing voids warranties and risks concealed leaks that require full tile removal to fix. |
| Complementary methods | Pull tests at 1 per 20m² and infrared thermography add quality assurance beyond what flood testing alone provides. |
| Common failures caught | Membrane tears at corners, poor adhesion, inadequate slope, and unsealed penetrations are all revealed by flood testing. |
Flood testing is the check most contractors rush, and it shows
I have seen properties where the waterproofing membrane looked perfect on the surface. The contractor was confident, the product was reputable, and the installation appeared clean. Six months later, the owner was pulling up tiles in a bathroom that had never been flood tested, trying to find a leak that had been saturating the substrate since day one.
The uncomfortable truth is that visual inspection is almost worthless as a final quality check. Membranes can look fully applied and still have pinholes, unbonded corners, or inadequately sealed drain flanges that only reveal themselves under water pressure. A flood test applies that pressure in a controlled way, before the tiles go down and the problem becomes invisible.
What I find equally troubling is how often property owners accept a contractor’s word that the waterproofing “passed” without asking for documented proof. A legitimate flood test produces a written record: the date, the duration, the water depth, the weather conditions, and the outcome. If your contractor cannot produce that record, the test either did not happen or was not conducted properly.
My advice is straightforward. Require a flood test on every new waterproofed surface. Witness it yourself if you can, or ask for photographs taken at the start and end of the test period. Hire contractors who follow current waterproofing regulations and offer warranties backed by documented quality control. The flood test costs almost nothing relative to the cost of a failed waterproofing system discovered after tiling.
— Eben
Prowaterproofing’s approach to verified waterproofing
Property owners who want certainty about their waterproofing need more than a membrane application. They need a documented verification process.
Prowaterproofing delivers professional waterproofing services that include industry-compliant flood testing, membrane pull tests, and full quality assurance documentation on every project. Every installation follows current South African standards, and every flood test is recorded and provided to the client. Whether you are waterproofing a new bathroom, a flat roof, or a commercial balcony, Prowaterproofing’s team ensures the membrane is verified before any finish goes down. Request a free quote and get waterproofing you can trust, backed by proof.
FAQ
What is flood testing in waterproofing?
Flood testing is the process of blocking drains, filling a waterproofed surface with water to approximately 50mm depth, and observing for leaks over 24–72 hours. It confirms membrane integrity before tiles or screed are applied.
How long does a flood test take?
A standard flood test runs for 24–72 hours, conducted in dry weather with no rainfall during the test period. The water level is marked at the start and checked at the end to detect any unexplained loss.
When should flood testing be done?
Flood testing must be completed after the membrane has cured for at least 24–48 hours and before any tiling, screeding, or other finishes are applied. Testing after finishes are in place is not possible without removing them.
What happens if a flood test fails?
A failed flood test means the membrane has a defect that must be repaired before the area can be tiled. Common causes include tears at corners, unsealed penetrations, and poor adhesion. All are repairable at this stage and catastrophic to fix after tiling.
Can infrared thermography replace flood testing?
Infrared thermography detects moisture non-destructively and is useful for existing structures, but it does not replace flood testing on new construction. The two methods are complementary, and using both together provides the highest level of waterproofing assurance.