TL;DR:
- Proper site assessment and local climate considerations are crucial for effective waterproofing in South Africa.
- Thorough surface preparation, including cleaning, repairing cracks, and priming, accounts for most project success.
- Choosing experienced, local contractors with proper safety protocols ensures long-lasting waterproofing results.
Water damage is one of the most destructive and expensive problems a South African property can face. Inadequate preparation before a waterproofing project is often the root cause, turning what should be a protective investment into a costly, recurring nightmare. Whether you manage a residential home in Cape Town or a commercial building in Johannesburg, the difference between a waterproofing job that lasts decades and one that fails within months comes down almost entirely to how well you prepared. This guide walks you through every critical step, from initial assessment to final checks, so your waterproofing project delivers lasting protection.
Table of Contents
- Assessing your property and planning for waterproofing
- Gathering essential materials and preparing the site
- Coordinating with contractors and ensuring safety
- Step-by-step surface preparation and issue resolution
- Final checks and what to expect after preparation
- A fresh perspective on waterproofing preparation in South Africa
- Ensure your waterproofing is done right with expert help
- Frequently asked questions
Key Takeaways
| Point | Details |
|---|---|
| Start with thorough assessment | Check all vulnerable property areas and create a site-specific plan for waterproofing readiness. |
| Prepare surfaces properly | Clean, dry, and repair every surface to ensure waterproofing products adhere and perform effectively. |
| Work with the right team | Choose contractors with relevant South African experience, and enforce strict safety procedures. |
| Final checks are crucial | A last walkthrough ensures nothing is missed, reducing the risk of future water damage. |
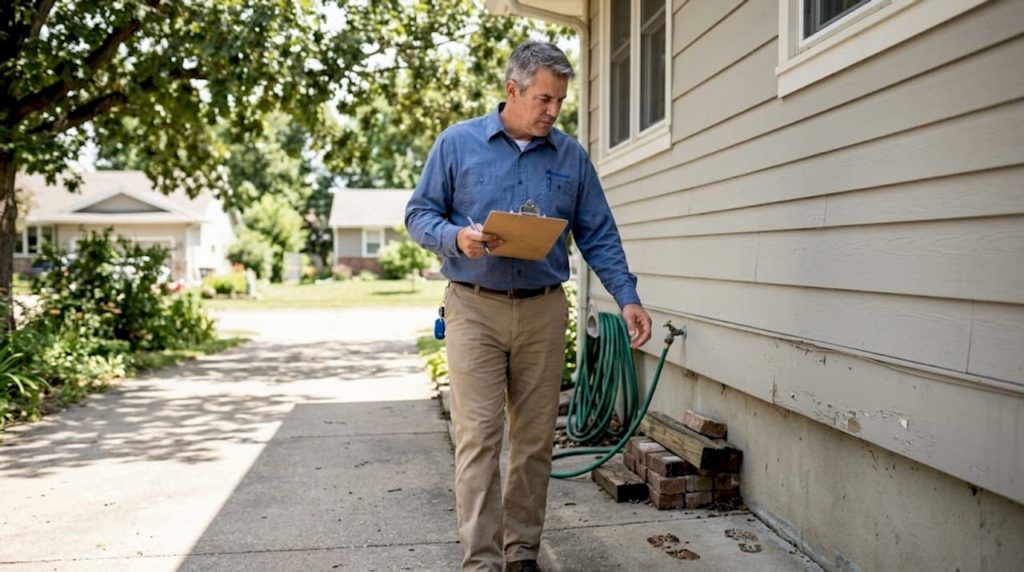
Assessing your property and planning for waterproofing
With the need for thorough preparation clear, let’s begin by assessing your property and making a solid plan. Before a single drop of waterproofing membrane touches your building, you need a clear picture of where your vulnerabilities lie. Skipping this step is like applying sunscreen after you’ve already been burned.
Key risk areas to inspect:
- Flat roofs and parapet walls where water pools
- Basement walls and floor joints where hydrostatic pressure builds
- Balconies and terraces with insufficient drainage gradients
- Foundation perimeters, especially in clay-heavy soil areas
- Window and door frames where sealant has degraded
South Africa’s climate adds a layer of complexity that imported advice often ignores. In coastal regions like Durban, constant humidity accelerates surface degradation. In Gauteng, the dramatic summer thunderstorms create rapid water ingress pressure that flat roofs struggle to manage. Your assessment must account for these local conditions, not just generic best practice.
| Risk zone | Primary threat | Assessment priority |
|---|---|---|
| Flat roof | Ponding water | High |
| Basement | Hydrostatic pressure | High |
| Balcony | Drainage failure | Medium |
| Foundation | Rising damp | Medium |
| Window frames | Sealant failure | Low to medium |
A waterproofing readiness checklist tailored to local conditions will help you avoid missing critical zones. In fact, a comprehensive checklist is essential before starting any waterproofing project, particularly in South Africa where building age and construction methods vary widely. Use an inspection checklist to document each area systematically.
Pro Tip: One of the most commonly missed checks is the condition of internal downpipes and concealed drainage channels. Blockages here cause water to back up and penetrate walls invisibly, undermining even the best waterproofing membrane applied to the outside.
Gathering essential materials and preparing the site
Once your assessment and plan are in place, it’s time to gather materials and ready your property for project day. Proper material selection and site readiness are crucial to a successful waterproofing application, as even the highest quality products will fail if applied to a poorly prepared substrate.
Steps to prepare your site, in order:
- Remove all loose debris, old coatings, and vegetation from surfaces to be treated
- Repair structural cracks using an appropriate filler or mortar mix before proceeding
- Clean all surfaces thoroughly, using pressure washing where necessary
- Allow surfaces to dry completely, which may take 24 to 72 hours depending on conditions
- Apply a bonding primer suited to your chosen waterproofing system
- Cordon off the work zone with barriers and clear signage
Different property types have different material requirements. A torch-on bitumen membrane suits flat commercial roofs, while an acrylic or polyurethane coating may be ideal for residential balconies. Always match the product to the surface, the exposure level, and the expected foot traffic.
| Surface type | Recommended system | Key preparation step |
|---|---|---|
| Flat concrete roof | Torch-on bitumen membrane | Remove old membrane fully |
| Balcony | Polyurethane coating | Grind smooth and prime |
| Basement wall | Crystalline waterproofing | Saturate surface before applying |
| Foundation | Bituminous paint | Clean and dry substrate |
For preparation tips for SA projects specific to local building types, reviewing regional guidance is highly valuable. Consult a step-by-step preparation guide to ensure nothing is missed.
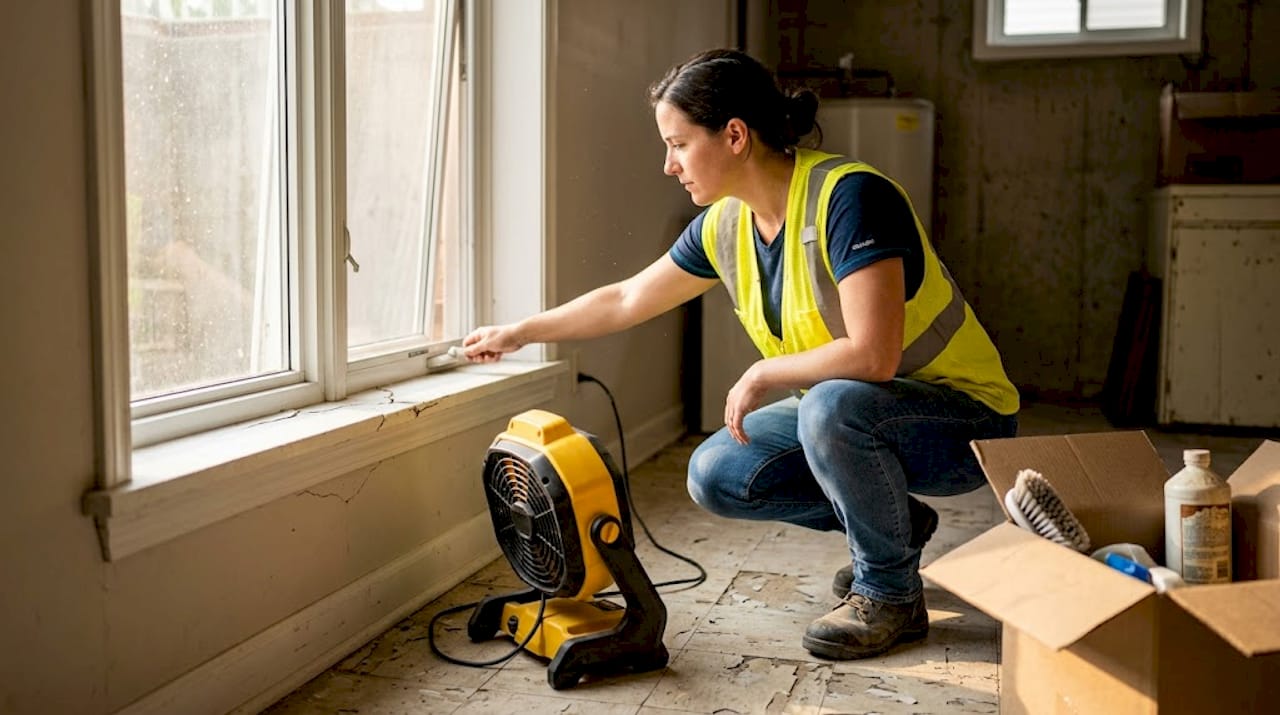
Pro Tip: When preparing an enclosed area such as a basement or interior courtyard, open all windows and use industrial fans for cross-ventilation during surface preparation. Dust from grinding or wire brushing concrete is not only a health risk but can also contaminate freshly primed surfaces, causing adhesion failure.
Coordinating with contractors and ensuring safety
With your site set up, effective communication and contractor coordination are the next major keys to success. Choosing the right contractor for a South African waterproofing project is not simply about price. Experience with local conditions, building codes, and material suppliers matters enormously.
What to look for when vetting contractors:
- Verifiable experience with your building type and waterproofing system
- Familiarity with NHBRC registration and relevant South African standards
- Proof of liability insurance and a written warranty on workmanship
- References from comparable local projects completed within the last three years
- Clear communication about project scope, timelines, and potential disruptions
Asking the right contractor interview questions is essential because interviewing contractors with the right questions is key to project success. Before signing any agreement, also consult advice on choosing a contractor and review hiring contractors in SA to protect your investment legally and financially.
Safety obligations you cannot ignore: South African occupational health and safety regulations require that all contractors provide personal protective equipment (PPE) on site. Barriers, warning signage, and restricted access zones must be established before any chemical products are opened. Property owners and managers share legal responsibility for ensuring these protocols are enforced, even on contracted jobs. Failure to comply can result in significant liability should an incident occur.
Ensure that you confirm all safety measures are active before any work begins. A brief site induction meeting between you, your contractor, and any affected occupants takes less than 30 minutes but can prevent serious accidents.
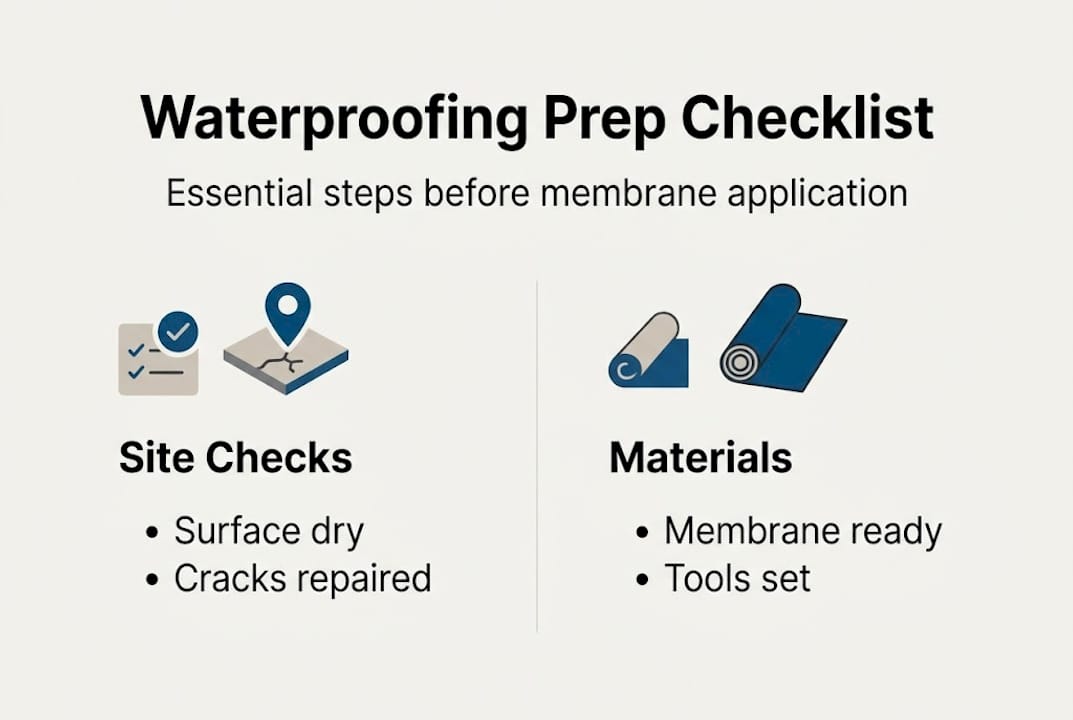
Step-by-step surface preparation and issue resolution
With contractors on board, finalise your preparation by properly treating and attending to all critical surfaces. Proper surface preparation prevents waterproofing failure and long-term water ingress, making this stage non-negotiable regardless of the quality of materials you plan to use.
Follow this ordered approach for every surface type:
- Clean thoroughly: Remove all dust, oil, algae, and old coatings using pressure washing or mechanical grinding
- Patch and repair: Fill all cracks wider than 0.3 mm with flexible polyurethane sealant or cementitious filler
- Address active leaks: Use hydraulic cement to plug any actively weeping cracks before proceeding
- Prime the surface: Apply the correct primer for your waterproofing system and allow full cure time
- Moisture test: Use a plastic sheet taped to the surface for 24 hours to detect residual moisture before application
For roofs, pay special attention to upstands (the vertical edges where the roof meets a wall), as these are prime failure points. Balconies require correct falls (gradients) toward drainage points, typically a minimum of 1:80. Basements need particular care at construction joints and penetrations such as pipe entries.
Refer to an expert project preparation guide for surface-specific advice and review the surface preparation steps for your system before beginning.
Pro Tip: To detect hidden moisture in older South African buildings, use a pin-type moisture meter on suspect walls and slabs. Readings above 18% indicate moisture levels that will cause most waterproofing membranes to blister or delaminate within months.
Final checks and what to expect after preparation
With all surfaces prepared, ensure everything is in order with a systematic final check. This stage is about verification, not second-guessing. A structured walkthrough before waterproofing begins can save you from costly call-backs and remedial work later.
Your final readiness checklist:
- All surfaces are visibly dry and free of dust, oil, or contamination
- Every crack and defect has been filled, cured, and signed off
- Drainage outlets are clear and unobstructed
- Primer coats have been applied and are fully cured
- Contractor has confirmed the correct materials are on site
- Occupants and vehicles have been cleared from the work zone
- Weather forecast confirms at least 48 hours of dry conditions ahead
A final inspection checklist ensures all preparation steps have been properly completed before the waterproofing membrane goes down. Confirm with your contractor that they have reviewed the substrate and are satisfied before work commences.
In terms of timing, most surface preparations require at least 24 to 48 hours of drying time after cleaning and priming. In humid coastal areas of South Africa, this can extend to 72 hours. On waterproofing day itself, expect the area to be restricted for several hours and, in some cases, for up to 48 hours while the applied product cures. Your contractor should give you a written timeline so you can plan around the disruption.
A fresh perspective on waterproofing preparation in South Africa
Having completed your preparation, it is worth considering why some waterproofing projects still fail despite careful planning. In our experience, the answer is rarely a faulty product. It is almost always a combination of underestimated local conditions and skipped minor steps.
Many property owners focus on the big-ticket actions, such as selecting the right membrane or finding a reputable contractor, while dismissing small details like checking the age of a building’s drainage system or testing for residual alkalinity in new concrete. Those small details are where most waterproofing failures actually begin.
South Africa’s diverse microclimates demand a level of site-specific thinking that generic online guides simply cannot provide. A solution that works perfectly in a Sandton apartment block may be entirely wrong for a sea-facing home in Bloubergstrand. Local knowledge, built through years of working with actual South African buildings, is genuinely irreplaceable.
The uncomfortable truth is that the preparation stage accounts for roughly 80% of a waterproofing project’s success or failure. The application itself is almost secondary. Yet most budget conversations focus on the product and labour costs, not on the preparation time required to do the job properly. Reviewing detailed waterproofing preparation advice before committing to any timeline or budget is a wise first step that too few property owners take.
Ensure your waterproofing is done right with expert help
If you’re ready to ensure water never becomes a problem for your property, here’s the smartest next move. Preparation is the foundation of every successful waterproofing project, but navigating the process alone can lead to costly oversights. Having a specialist assess your property, recommend the right system, and manage the full project removes the guesswork entirely.

Pro Waterproofing offers expert assessments and professional waterproofing solutions for residential, commercial, and industrial properties across South Africa. Our team understands local conditions, building types, and the nuances that make the difference between a membrane that lasts two years and one that lasts twenty. Contact us today to book a consultation and get a tailored plan for your property.
Frequently asked questions
What are the first signs that my property needs waterproofing?
Look for damp spots, peeling paint, mould, musty odours, and visible cracks. These signals usually point to underlying moisture issues, and a comprehensive inspection is the foundation for identifying exactly what waterproofing is needed.
How should I prepare surfaces before waterproofing starts?
Surfaces must be dry, thoroughly cleaned, and all cracks or holes repaired before any product is applied. Proper surface preparation is essential to avoid membrane failure and long-term water ingress.
Who should I contact if I find major damage during preparation?
Major structural damage should be assessed and repaired by a qualified professional before waterproofing proceeds. Guidance on choosing waterproofing contractors wisely will help you find the right specialist for serious water-related issues.
Can I waterproof my property myself, or do I need professionals?
Minor spot repairs may be manageable as DIY, but most waterproofing projects require specialist tools, products, and expertise. For robust, lasting results, professional involvement is highly recommended to avoid repeat failures and wasted expenditure.