
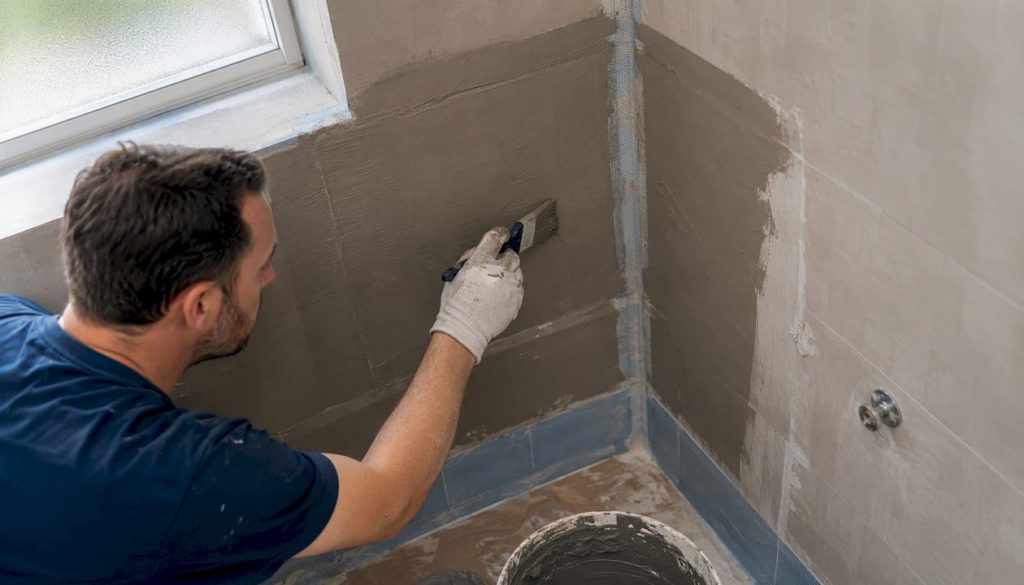
The most reliable DIY approach is a liquid-applied membrane or cementitious slurry, applied over primer with reinforced corners and a full cure before tiling. If you’re renting or working to a tight budget, peel-and-stick vinyl coverings or waterproof wall panels offer a short-term fix without wet trades. Either way, the standard to build against is SANS 10400 Part R, which calls for wet-area waterproofing up to at least 1.8 m on shower walls, sealed penetrations, and a flood test before tiling.
Do these three things today: check existing silicone and grout lines for gaps or discolouration, run a 24 to 48 hour flood test on any suspect floor or shower tray, and open a window or run an extractor fan before you touch any liquid membrane, primer, or cementitious slurry.
Key Takeaways
Reliable bathroom wall waterproofing comes down to correct primer, reinforced corners, full manufacturer cure time, and a flood test before any tile goes up.
| Point | Details |
|---|---|
| Prioritise wet zones first | Shower walls to 1.8 m, floor upstands, and bath surrounds need waterproofing before anything else. |
| Never skip corner reinforcement | Embed tape or fabric into a wet coat at every internal corner and joint. |
| Respect cure times | Typical cures run 24 to 48 hours, but always check the manufacturer’s datasheet before tiling. |
| Test before tiling | Run a 24 hour flood test and check for seepage before committing to tiles. |
| Call a professional for failures | Prowaterproofing offers a site assessment, correct tanking detail, and a warranty when DIY has already failed. |
Table of Contents
- Where to waterproof in a bathroom (priority zones)
- Materials and tools you’ll need
- How do you waterproof bathroom walls before tiling?
- Renter-friendly and budget alternatives
- Common mistakes, testing, and quick fixes
- When do you need a professional instead of DIY?
- Why professionals often choose cementitious slurries or liquid membranes
- Professional help: when you want a guaranteed repair
- Frequently asked questions
- Sources
Where to waterproof in a bathroom (priority zones)
Not every wall needs the same treatment; for advice on choosing the most suitable doors and fittings in moist bathroom environments, see which doors are best for bathrooms. Focus your effort, and your budget, on the zones that actually get wet.
- Shower walls, up to at least 1.8 m from the floor
- The shower floor and any step or upstand at the wall to floor junction
- Bath surrounds and tile skirtings around the tub
- Splash zones behind and beside basins
- Pipe penetrations and any wall chase carrying plumbing
Extend membrane 100 to 150 mm above any splash point, and treat internal corners and joints as the weakest link, not an afterthought.
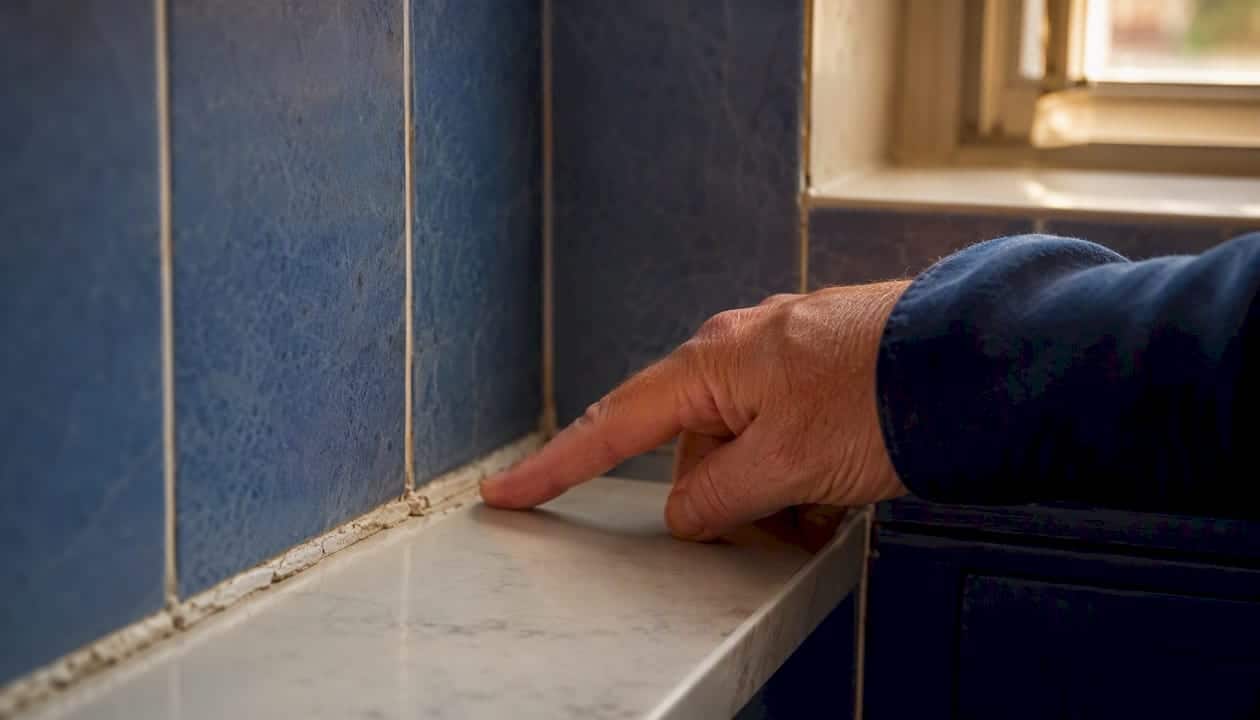
Pro Tip: Run your finger along every internal corner before you start. If you can feel a gap between tiles and grout, that’s exactly where a membrane failure will show up first.
Materials and tools you’ll need
Buy once, buy right. A half-finished waterproofing job because you ran out of slurry mid-wall is a false economy.
- Waterproof primer suited to your substrate (what a primer actually does is worth understanding before you buy)
- Liquid-applied membrane or cementitious slurry, plus reinforcement fabric
- Membrane tape for internal corners and joints
- Silicone sealant rated for wet areas
- Waterproof grout and tile adhesive
- Rollers, brushes, a notched trowel, puddle flange or drain collar, masking tape, gloves
- Renter-friendly extras: peel-and-stick vinyl wall covering or pre-formed waterproof panels
Pro Tip: Check the coverage rate on the tin before you buy. TAL Sureproof Shower, for instance, covers roughly 3 m² per 5 kg, so a small shower recess can need two coats across less product than you’d expect. Under buying means a rushed, thin second coat.
How do you waterproof bathroom walls before tiling?
Get the order right and this is a weekend job. Get it wrong and you’ll be pulling tiles off in a year.
- Inspect and prepare the substrate. Check for existing damp, loose plaster, or old sealant, and remove anything that isn’t sound. A membrane bonds to what’s beneath it, not to flaking paint.
- Form a coving or fillet at the wall to floor junction. This rounded detail stops the membrane cracking at a sharp 90 degree angle, which is one of the most common failure points.
- Prime the surface. Porous substrates like plaster and masonry pull moisture out of whatever you apply next unless they’re primed first.
- Reinforce corners and joints with tape or fabric, pressed into a wet coat of membrane so it’s fully embedded, not just laid on top.
- Apply the first coat of membrane or slurry. CTM’s guidance is blunt about this step: skipping it, or treating it as optional, is one of the leading causes of tile failure down the line.
- Allow tack time, then apply a second coat to reach the manufacturer’s specified thickness. One thin coat is not waterproofing, it’s a base coat.
- Fit the puddle flange or drain collar and detail any pipe penetrations before the membrane fully sets, so the seal is continuous.
- Cure fully before tiling. Typical cure times run 24 to 48 hours, but always check the datasheet. Rushing this stage is the single most avoidable DIY mistake.
- Run a flood or water test for 24 hours, checking the ceiling below and adjoining walls for any sign of seepage before you tile.
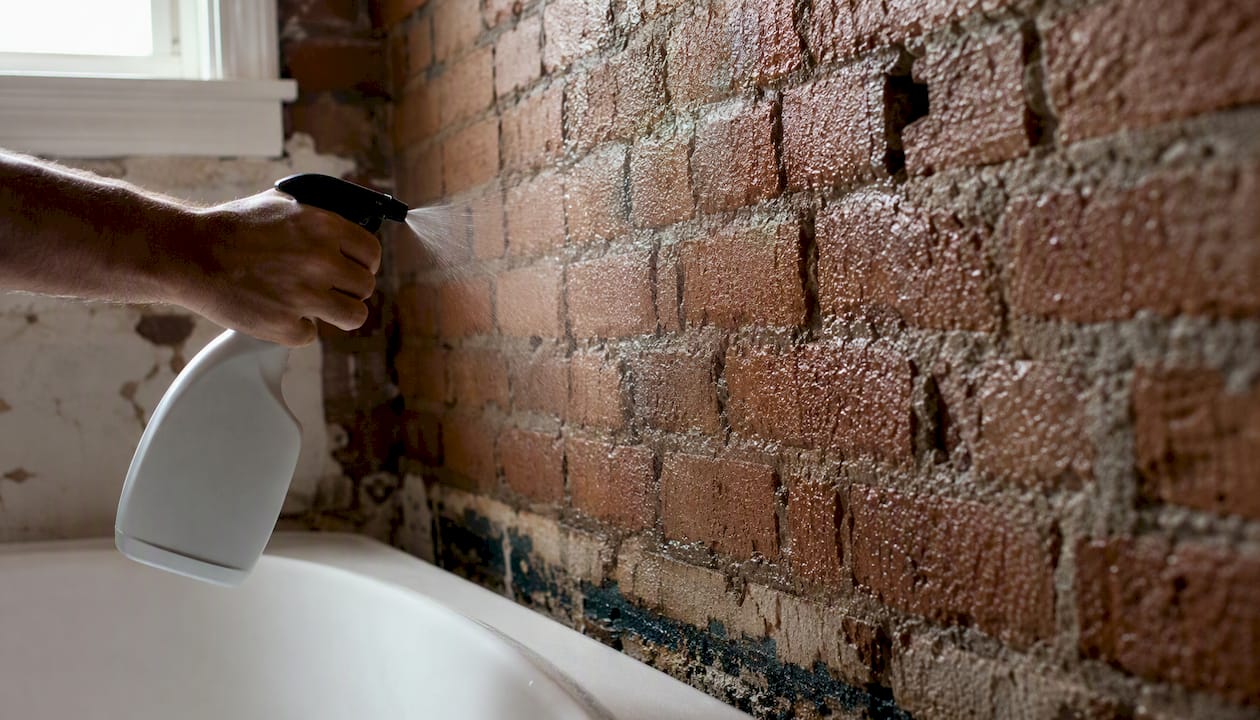
Manufacturer instructions for cementitious systems like Sika Cemflex specifically call for dampening the substrate first, with no standing water, so the slurry doesn’t dehydrate and crack as it cures.
Pro Tip: A dry wall will suck the water straight out of your slurry mix, leaving it brittle within hours. Mist the substrate lightly before you apply cementitious products, and never on a bone-dry, sun-warmed wall.
Pro Tip: Two proper coats beat one thick one. A single heavy application skins over on the surface while staying wet underneath, which traps moisture and delays curing by days.
Liquid membranes carry a real advantage in flexibility. As one UK bathroom fitting guide notes, ready-to-use membranes apply easily by roller or brush and are designed to form a seamless, flexible barrier under tiles, which matters wherever timber floors or stud walls introduce slight movement.
Ventilate the room throughout. Liquid membranes and some primers carry solvents, and gloves aren’t optional when you’re mixing cementitious powders.
Renter-friendly and budget alternatives
If tanking a wall isn’t an option, whether that’s a landlord agreement or a stretched budget, a few short-term fixes hold up reasonably well.
- Peel-and-stick vinyl wall coverings install without adhesive drying time and lift off cleanly when you move out.
- Pre-formed waterproof wall panels click together over an existing wall and skip wet trades entirely.
- Surface waterproofing paints or sealants add a moisture barrier over sound plaster, though they don’t bridge movement the way a proper membrane does.
- Temporary silicone repairs buy you time around a failing joint, but they’re a stopgap, not a fix.
None of these replace full tanking in a shower enclosure or continuously wet area. Joints and penetrations remain the weak point on every one of them, and warranties are typically shorter than on a proper membrane system.
Common mistakes, testing, and quick fixes
Most bathroom waterproofing failures trace back to the same handful of shortcuts.
- Skipping primer on porous plaster or masonry
- Leaving internal corners and joints unreinforced
- Applying membrane too thinly to hit the specified coverage rate
- Tiling before the membrane has fully cured
- Ignoring fall to drain, so water pools instead of running off
- Missing the puddle flange detail around the drain
Test your work properly before committing to tiles: a visual check for pinholes and thin patches, then a 24 to 48 hour flood test on the floor and lower walls. Watch for musty smells, swollen skirtings, or damp patches showing up in the room below or next door, all signs worth checking against a proper damp checklist.
Small pinholes or thin patches can usually be patched with an extra coat once you’ve identified them. Widespread failure under tiles, a persistent damp patch on a ceiling below, or a leak you can’t locate is not a weekend patch job.
When do you need a professional instead of DIY?
Some situations are past the point where a DIY fix is sensible.
- An active, visible leak rather than seasonal dampness
- Structural damp or mould spreading across more than one room
- A membrane that’s already failed under existing tiles
- No proper fall to the drain, so water isn’t draining away
- Complex penetrations, multiple pipes, or awkward junctions
Ask any contractor for proof of insurance, a written warranty on the work, evidence they’ll test the substrate before starting, and which system they’re proposing and why, cementitious or liquid membrane. A contractor who can’t explain their flood-test procedure and timeline hasn’t earned the job.
Why professionals often choose cementitious slurries or liquid membranes
Cementitious slurries bond strongly to masonry and plaster and, because they’re fibre-reinforced, bridge hairline cracks that would otherwise telegraph through tiles. Liquid membranes flex with the substrate, which suits timber floors, stud walls, or any shape too complex for a trowel-applied slurry.
- Cementitious systems need a damp, not wet, substrate to bond and cure properly
- Reinforce every corner and penetration regardless of which system you choose
- Follow the manufacturer’s coverage and cure guidance exactly, not a rounded-up guess
Pro Tip: Local contractors flood test every job before tiling, no exceptions. It costs a day. A callback to rip out failed tiles costs a lot more than a day.
A contractor perspective on durable waterproofing
Nearly every waterproofing failure I’ve seen traces back to the same three things: a skipped corner detail, a drain that doesn’t fall correctly, and a movement joint nobody accounted for. Testing before tiling isn’t a formality, it’s the only way to catch a mistake while it’s still cheap to fix. The extra day for curing and testing is never the expensive part of the job. Good preparation, more than any premium product, is what actually keeps a bathroom dry for years.
Professional help: when you want a guaranteed repair
DIY gets most bathrooms sorted, but recurring damp, a failed membrane under existing tiles, or a leak you can’t pin down calls for an on-site assessment rather than another coat of sealant. That’s the gap Prowaterproofing fills: a proper inspection, correct tanking and puddle-flange detailing, and a warranty on the finished work, so you’re not troubleshooting the same wet patch again next winter.

Before you request a quote, take a few photos of the affected area, measure the wall or floor space involved, and note when you first noticed damp, smells, or staining. That gives an assessor everything needed to scope the job accurately on the first visit. You can start that process directly through Pro Waterproofing’s site, where a quote request takes a few minutes and gets a real assessment booked in, not a generic call back.
Frequently asked questions
How long does bathroom wall waterproofing take to cure before tiling?
Most liquid membranes and cementitious slurries cure within 24 to 48 hours, though thickness, temperature, and product all affect the exact window. Always check the specific datasheet rather than assume a standard time.
Can I waterproof bathroom walls without removing existing tiles?
Not properly. Membrane needs direct contact with the substrate, so existing tiles usually have to come off first. Peel-and-stick vinyl coverings are the exception, since they sit over sound existing surfaces.
Is waterproof paint enough for bathroom walls?
It works reasonably well for splash zones around basins, but it isn’t a substitute for a proper membrane in a shower enclosure or any continuously wet area, where movement and standing water demand a flexible, reinforced system.
Do renters have any real waterproofing options?
Yes. Peel-and-stick vinyl coverings and pre-formed waterproof panels both install without wet trades or permanent alteration, and both lift off cleanly at the end of a tenancy.
How do I know if my bathroom wall waterproofing has failed?
Watch for musty smells, damp patches on an adjoining wall or ceiling, swollen skirtings, or peeling paint near grout lines. A flood test before tiling catches most problems before they ever reach that stage.
Sources
- Damp and mould checklist (The Homeowners Manual)
- Waterproofing 101: why it matters before you install bathroom tiles (CTM blog)
- How to waterproof a shower (Sika South Africa DIY guide)