
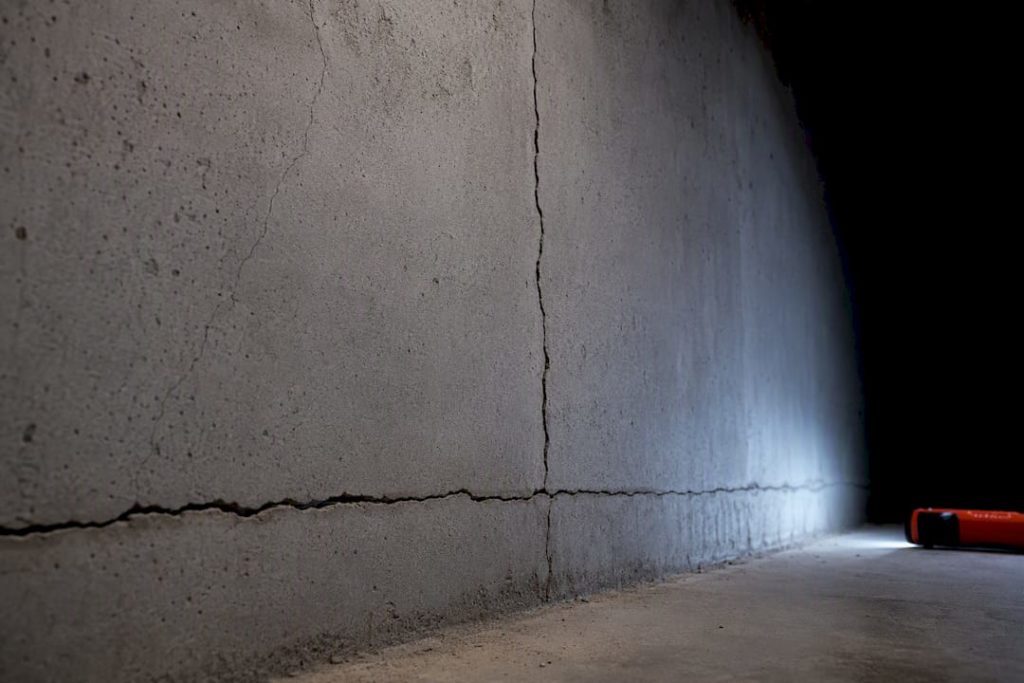
For hairline and small non-structural cracks, a polymer or epoxy filler applied to a clean, dry surface will do the job for years. Active leaks call for low-pressure polyurethane injection, which works even against damp concrete. Horizontal cracks, stair-step patterns, or a crack that’s widening month to month are not DIY territory. Get a structural engineer or a waterproofing contractor out before you touch a caulking gun.
TL;DR:
- Horizontal cracks wider than 5mm, cracks that keep growing, or cracks with displacement typically require professional assessment and repair.
- Self-sealing concrete cracks under 3mm, not actively leaking, and with no movement can often be repaired with epoxy or polyurethane fillers after proper surface preparation.
- Active leaks or structural cracks need injection with polyurethane for movement or epoxy for rigidity, complemented by drainage improvements for durable solutions.
- Professional waterproofing methods should include drainage and grading checks, as crack sealing alone often fails if water is allowed to bypass the repair.
- Ongoing monitoring with regular photos, sump pump checks, and gutter maintenance is crucial to prevent failure and catch new issues early.
Table of Contents
- How do you identify the type of basement crack you have?
- How do you prepare a basement crack before sealing it?
- Step-by-step: sealing hairline and small non-structural cracks yourself
- What do you do about active leaks or structural cracks?
- Which sealing method fits which crack and site condition?
- When should you call a professional instead of doing it yourself?
- What does basement crack repair cost, and how long does it last?
- How do you monitor a repaired crack going forward?
- Common pitfalls and durable choices from field experience
- How can Pro Waterproofing help with crack repair and quotes?
- Sources
How do you identify the type of basement crack you have?
Not every crack means trouble, but the shape tells you almost everything about the cause. Hairline cracks, thinner than a small noticeable width, usually come from concrete shrinkage as it cures and rarely threaten the structure, usually come from concrete shrinkage as it cures and rarely threaten the structure. Vertical or diagonal cracks running relatively straight often trace back to normal settlement, especially in homes under ten years old. Horizontal cracks are the ones to worry about: they can point to lateral soil pressure or hydrostatic force pushing against the wall, and horizontal cracking or multiple severe crack patterns often signal the need for professional assessment.
Stair-step cracks in blockwork follow the mortar joints in a zigzag and usually mean the foundation is shifting unevenly. Cove joint cracks, where the wall meets the floor, are extremely common in basements and typically result from hydrostatic pressure rather than structural failure.
Watch for these red flags:
- A crack wider than 5mm or one that keeps growing
- Displacement, where one side of the crack sits higher than the other
- Doors or windows nearby suddenly sticking
- Water actively seeping through under pressure, not just seasonal dampness
How do you prepare a basement crack before sealing it?
Preparation decides whether a repair lasts five years or five months. Start by working out if the crack is actively leaking. Press a dry paper towel against it for a few minutes; if it comes away damp, you’re dealing with moisture that some products can handle and others can’t.
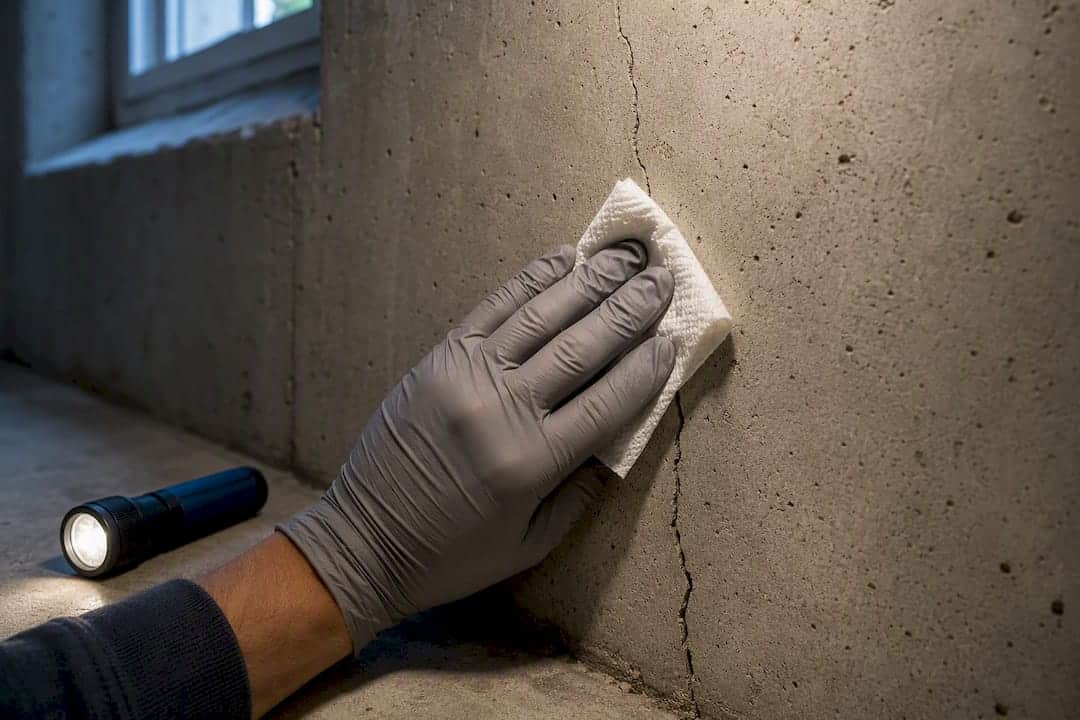
Whether the substrate needs to be bone dry depends entirely on the material. Surface sealers and cementitious patches need a dry surface to bond properly, but certain injection resins are formulated to work even when water is present, which is why professionals reach for them on active leaks rather than waiting for things to dry out.
Gather your kit before you start:
- Safety glasses, a dust mask rated for concrete dust, and gloves.
- A wire brush or angle grinder to open the crack slightly, known as routing.
- A wet/dry vacuum to clear loose debris and dust from the channel.
- A degreaser or diluted detergent if there’s any oil or efflorescence present.
Proper repair begins with removing all debris and excavating the crack down to solid material before any filler goes in, because sealant bonded to loose or crumbling concrete fails almost immediately.
Pro Tip: Run your finger along the crack after routing. If you feel grit or powder coming off, vacuum again. Filler bonded to dust is filler that will pop out within a season.
Step-by-step: sealing hairline and small non-structural cracks yourself
DIY is appropriate here only when the crack is under roughly 3mm wide, isn’t actively leaking under pressure, and shows no displacement. If any of those conditions aren’t met, skip ahead to the professional section.
- Rout the crack slightly using a grinder or chisel to give the filler something to grip.
- Vacuum thoroughly and wipe with a damp cloth to remove dust, then let it dry fully.
- Apply a hydraulic cement patch or a two-part epoxy/polyurethane concrete filler, pressing it firmly into the full depth of the crack with a putty knife.
- Smooth the surface flush with the wall and feather the edges so it blends in.
- Allow the manufacturer’s stated cure time before exposing it to moisture.
- Once cured, apply a masonry waterproof coating over the repaired area and, ideally, the surrounding wall for extra insurance.
Crystalline admixtures can seal micro-cracks up to roughly 0.5mm by forming insoluble crystals that become part of the concrete itself, which is why some pre-mixed patching products list crystalline technology as an ingredient rather than a separate step. It’s a useful detail if you’re comparing fillers on a shelf, but it’s not a substitute for drainage work where water pressure is the real problem.
What do you do about active leaks or structural cracks?
Once a crack is moving, widening, or pushing water through under pressure, the repair shifts from a filler job to an engineering decision. Professionals reach for two main injection chemistries, and the choice depends on what the crack needs to do.
- Polyurethane injection expands on contact with water and stays flexible after curing, making it the standard choice for active leaks where the wall will keep experiencing minor movement.
- Epoxy injection cures rigid and bonds structurally, restoring some of the wall’s original strength, but it doesn’t flex, so it’s reserved for cracks that have stopped moving.
- Manufacturers produce polyurethane systems specifically for waterproofing and separate multi-component epoxy resins for structural repair, and mixing up the two is one of the more common contractor mistakes.
- For persistent hydrostatic pressure, excavation and external tanking or an internal cavity drain membrane with a sump pump becomes the more durable answer than crack injection alone.
- Where ongoing movement is expected, reinforcement using metal stitching or rebar fixed with epoxy across the crack is a professional structural technique, not something to attempt with hardware-store products.
While you’re arranging an inspection, you can still limit the damage. Run a portable pump or wet/dry vacuum to manage standing water, redirect any surface water away from the foundation with extended downpipes or regraded soil, and photograph the crack daily with a ruler in frame so you have a record of how fast it’s changing. That log becomes genuinely useful evidence when a contractor or engineer arrives, and it’s the kind of detail a leaky basement repair guide will usually recommend keeping from day one.
Which sealing method fits which crack and site condition?
Picking the right method comes down to three questions: is the crack structural or purely cosmetic, is water actively present, and what’s the wall made of.
- Epoxy injection rebuilds structural strength in stationary cracks but won’t flex if the wall moves again, and it doesn’t perform well against fresh, wet leaks.
- Polyurethane injection handles active water well and stays flexible, but it doesn’t restore load-bearing strength the way epoxy does.
- Cementitious coatings and polymer mortars work as a surface-level barrier on porous block or poured concrete, though they need a properly prepped, largely dry substrate and won’t stop pressurised water on their own.
- Crystalline admixtures work from within the concrete matrix, strengthening it and helping self-heal micro-cracks, but they’re best understood as part of a wider waterproofing system rather than a standalone fix for hydrostatic pressure.
- Cavity drain membranes don’t try to keep water out at all. They accept that some moisture will get through the wall and channel it to a sump instead, which is why an internal cavity drain with a perimeter drain and sump pump is often the most reliable retrofit for existing basements with active water problems.
Also worth checking before you buy: some injection products carry potable-water approval for specific applications, and manufacturers advise matching the product to whether the crack is structural or purely cosmetic rather than grabbing whatever tube is cheapest.
When should you call a professional instead of doing it yourself?
Call in a contractor or structural engineer the moment you see horizontal cracking, stair-step patterns across multiple courses, visible wall displacement, or water coming through under obvious pressure rather than just seeping. A proper inspection typically includes measuring crack width and length, checking for bulging or bowing, testing moisture levels in the surrounding concrete, and reviewing drainage and grading outside.
Before hiring anyone, ask these questions:
- Which injection or repair method do you use, and why does it suit this specific crack?
- Can you show photos of similar repairs, ideally a few years after completion?
- What warranty or guarantee comes with the work, and what does it actually cover?
- Does the quote include drainage improvements, or just the crack itself?
Pro Tip: A quote that only mentions filling the crack, with no mention of drainage or grading outside, is treating the symptom and not the cause. Ask what’s happening to the water once it hits your foundation wall.
What does basement crack repair cost, and how long does it last?
DIY fillers are the cheapest route and can last five to ten years on non-structural cracks if the prep work was solid. Professional injection repairs cost more upfront but address the actual water path rather than just the visible gap, and pricing for targeted crack injection versus a full cavity drain and sump installation varies significantly, with drain systems sitting at the higher end because they handle ongoing hydrostatic pressure rather than a single crack.
Most premature failures trace back to one thing: the water was never given anywhere else to go. A perfectly executed injection repair can still fail within a year if gutters overflow next to the foundation or a sump pump isn’t tested regularly. Drainage and workmanship matter more than which brand of filler ends up in the tube.
How do you monitor a repaired crack going forward?
Photograph every repair with a ruler for scale, and repeat the photo every few months, especially after heavy rain. Check the repaired area for dampness after storms, and note the date if anything looks different.
- Reapply surface sealers roughly every few years, depending on product guidance
- Test your sump pump manually at least twice a year
- Clear gutters and downpipes so water isn’t pooling against the foundation
- Treat a repeat crack in the same spot as a sign the underlying cause was never fixed, not a filler problem
Common pitfalls and durable choices from field experience
Most failed basement repairs I’ve seen didn’t fail because of bad filler. They failed because someone sealed a symptom and ignored the water’s actual route into the house. A tube of caulk on a cove joint might look tidy for a season, but if hydrostatic pressure is pushing water against that wall every winter, it’s coming back.
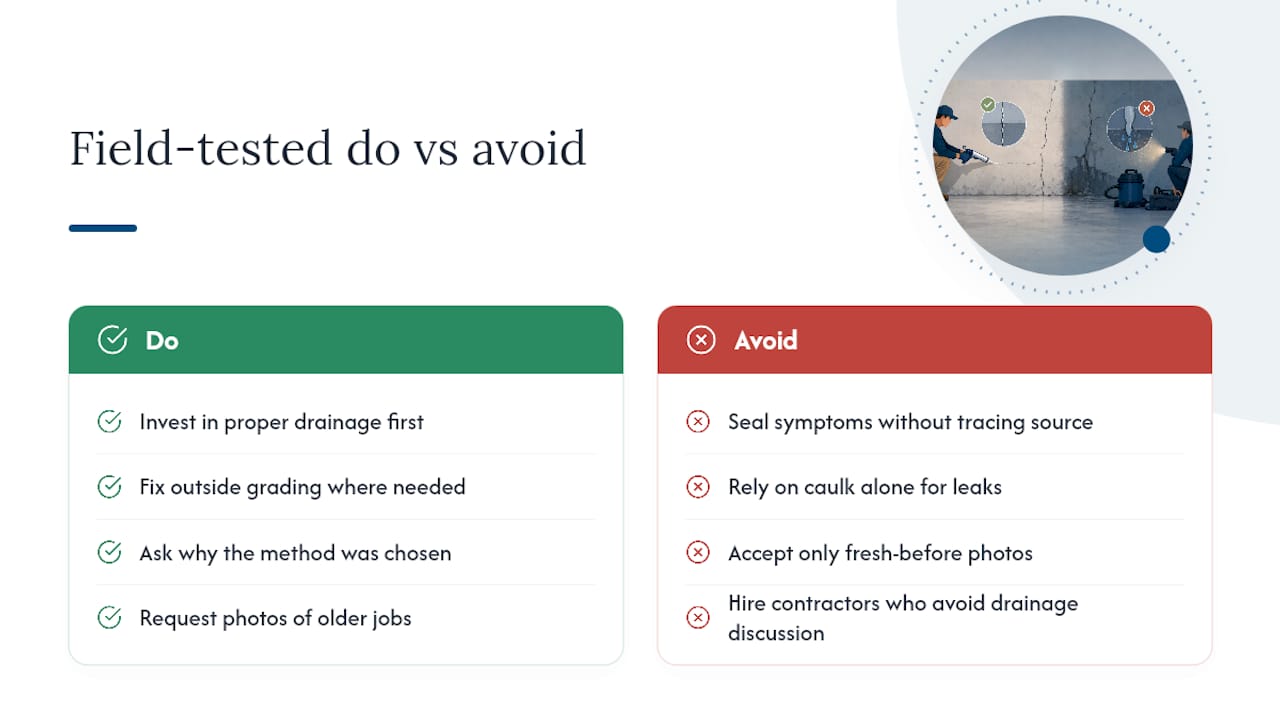
The homeowners who get lasting results are usually the ones who spend a bit more upfront on drainage, whether that’s a proper cavity drain and sump or simply fixing the grading outside. It’s less satisfying than watching a crack disappear under fresh sealant, but it’s the difference that actually holds up.
When vetting a contractor, I always want to hear them talk about why they’ve chosen a method, not just what it costs. Ask about warranties, ask to see photos of jobs a few years old, not fresh ones, and be wary of anyone who won’t discuss drainage at all.
— Eben
How can Pro Waterproofing help with crack repair and quotes?
If your crack has moved past the filler-and-forget stage, Prowaterproofing is the option that skips the guesswork of DIY-versus-professional and puts an actual inspection in front of you first. Teams handle everything from injection grouting on active leaks to full cavity drain and sump installations for basements dealing with persistent hydrostatic pressure.

Before requesting a quote, it helps to have a few photos of the crack, its approximate width and length, and notes on when leaking tends to happen, after rain, seasonally, or constantly. That gives our assessors a head start before they even arrive on site. Every inspection looks at drainage and grading around the foundation, not just the crack itself, because that’s usually where the real fix lies. If you want a second opinion after a DIY attempt hasn’t held, or you’ve spotted horizontal cracking that needs proper diagnosis, request a quote through Prowaterproofing and get a site assessment booked in.
Sources
For more on interior retrofit options, see Prowaterproofing’s guide to waterproofing a basement wall from the inside and its piece on stopping hydrostatic pressure without excavation. For general moisture control beyond basements, Stacyknows covers crawl-space repair as a related concern for whole-home dampness.
- Chryso®CWA Liquid 200 | Chryso South Africa
- Top 5 Signs Your Wall Cracks Need Immediate Repair
- The Ultimate Guide to Basement Waterproofing: Costs, Systems & Solutions for SA Homes | ServiceLink SA
- Below-Grade Waterproofing for Basements, Foundations & Underground Structures | Sika South Africa