
TL;DR:
- Water can penetrate tiles and grout more easily than expected, necessitating a dedicated waterproofing membrane beneath. These membranes, available as liquid, sheet, or uncoupling types, are crucial for preventing moisture damage and extending tile lifespan. Proper installation and substrate preparation are essential to ensure long-term waterproofing success.
Tiles look solid. Grout looks sealed. Yet water finds its way through both far more easily than most people expect, quietly saturating the substrate beneath before the damage becomes visible. An under tile waterproofing membrane is the layer that actually stops this from happening. Installed between the substrate and the tile adhesive, it is what professionals in the industry call a waterproof tanking membrane or wet-area membrane. Knowing what these membranes are, how the types differ, and what good installation looks like will save you from expensive repairs and tile failures down the line.
Table of Contents
- Key takeaways
- What is an under tile waterproofing membrane?
- Comparing membrane types
- Installation best practices
- Membranes across different floor types
- My honest take on membrane selection
- Let Prowaterproofing protect your tiled floors
- FAQ
Key takeaways
| Point | Details |
|---|---|
| Tiles alone are not waterproof | Grout and tile adhesive absorb moisture; a dedicated membrane beneath is the only reliable barrier. |
| Three membrane types serve different roles | Liquid, sheet, and uncoupling membranes are not interchangeable; choose based on substrate and application. |
| Installation quality drives performance | Seam overlaps and drain detailing matter as much as product choice for lasting waterproofing. |
| Uncoupling does not equal waterproofing | Uncoupling membranes manage substrate movement and do not provide moisture protection unless specifically rated for it. |
| Match membrane to floor type | Slab-on-grade, timber, heated, and outdoor floors each require a different approach to under tile moisture protection. |
What is an under tile waterproofing membrane?
At its most basic, a waterproofing membrane beneath tiles is a continuous barrier that prevents moisture from passing through the tile assembly into the substrate and structure below. Tile and grout are porous. They absorb water with every shower, every floor wash, and every spill. Without a proper barrier, that moisture works its way into screed, concrete, or timber, leading to structural weakening, mould growth, and eventually, failed tiles.
The industry uses the term wet-area membrane or tanking membrane to describe products specifically designed for this role. They fall into three broad categories: liquid-applied membranes, sheet membranes, and uncoupling membranes. Each serves a distinct purpose.
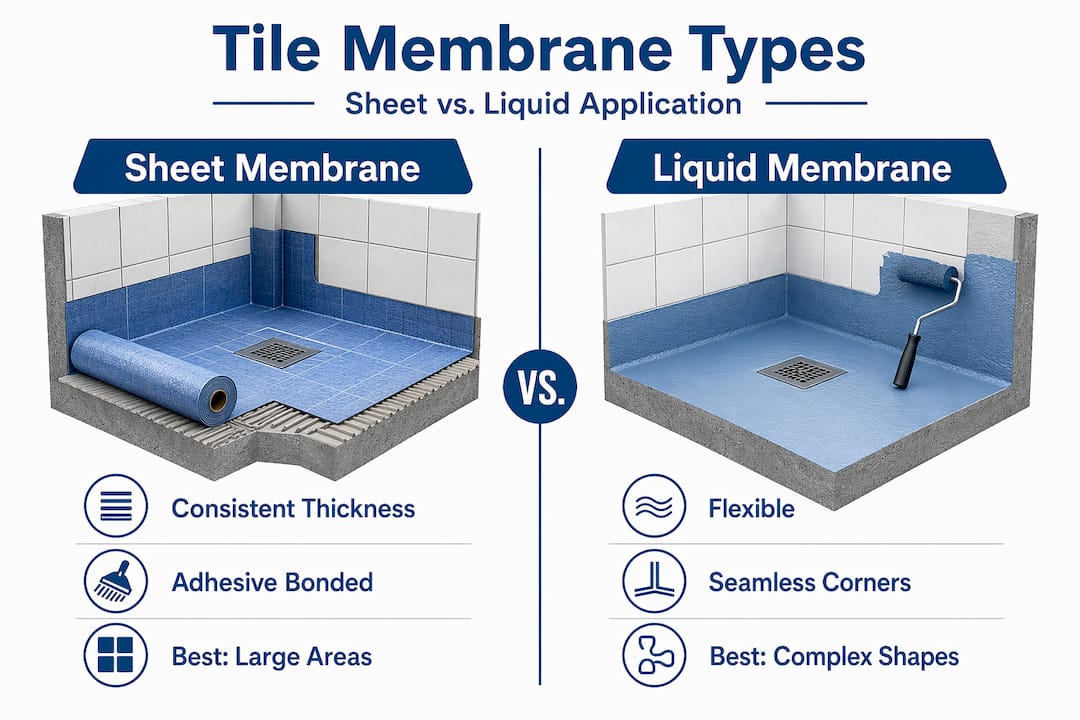
Liquid-applied membranes are brush or roller-applied coatings that cure to form a seamless, flexible waterproof skin. They are popular in bathrooms and wet rooms because they conform to irregular surfaces and bond directly to the substrate. Products are typically applied in two or more coats, with fabric reinforcement pressed into the first coat at corners and joints.
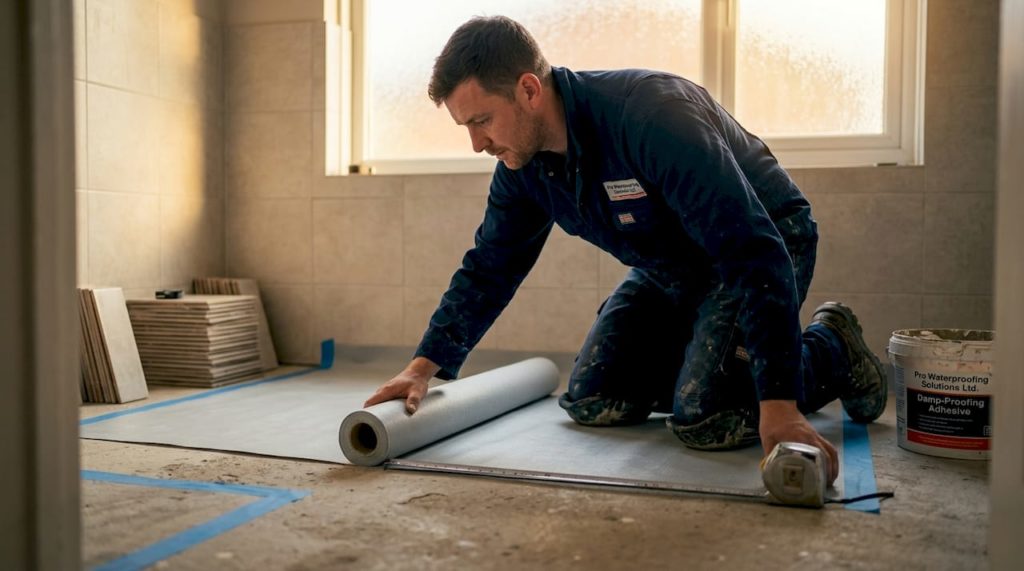
Sheet membranes are pre-formed polyethylene or CPE sheets bonded to the substrate with adhesive or thinset. They create a continuous waterproof barrier and are favoured for shower floors and walls where a consistent thickness is required. System-based sheet membranes like the wedi S-DRY use proprietary sealant and tape to seal seams and penetrations.
Uncoupling membranes are often misunderstood. Their primary function is to separate tile from substrate movement to prevent cracking, not to waterproof. Some products are designed with both functions, but you should never assume an uncoupling membrane provides water protection unless it carries a specific waterproofing rating.
The benefits of getting this layer right are significant: longer tile lifespan, no substrate rot, no mould beneath the floor, and protection of the structural elements of your building.
Pro Tip: In bathrooms, extend the membrane at least 150mm up the wall at all floor junctions. Most moisture failures in tiled floors start at the perimeter, not in the field.
Common applications include bathroom floors and walls, kitchen splashback areas, laundry rooms, wet rooms, balconies, and pool surrounds. Any area where water contact is regular or prolonged warrants a proper membrane beneath the tiles.
Comparing membrane types
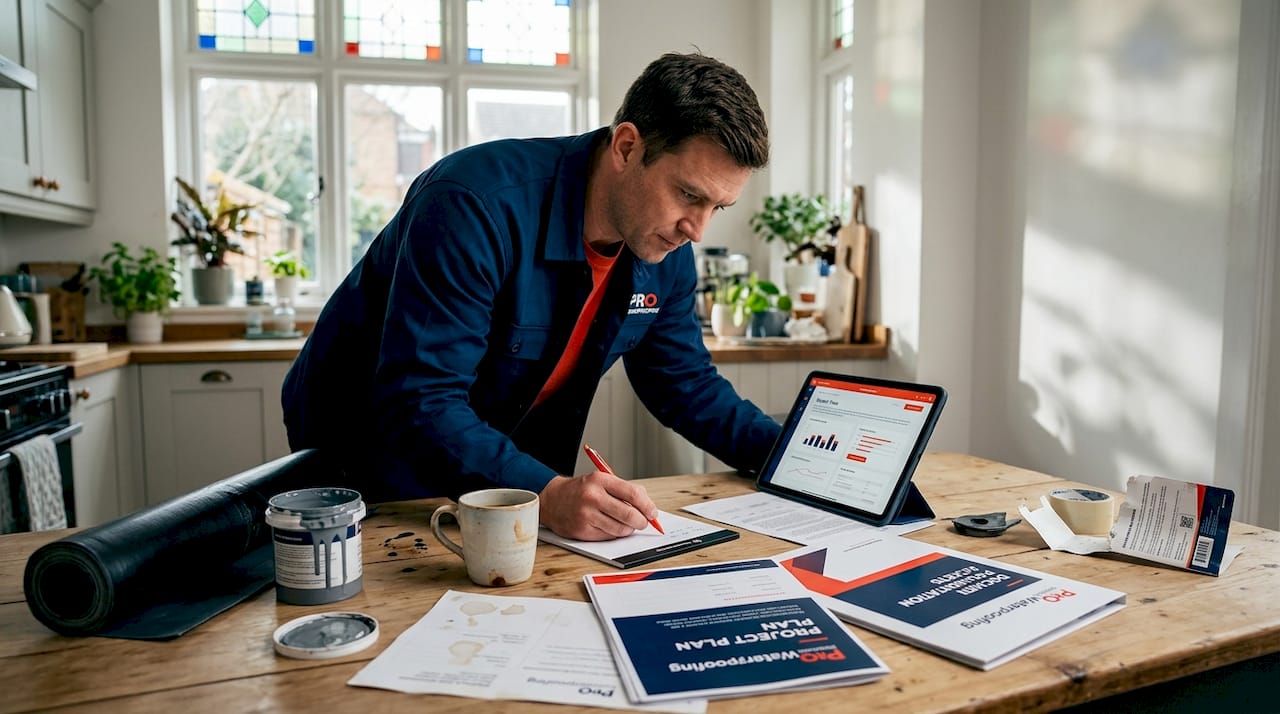
Choosing the right product for your project depends on substrate type, moisture exposure level, and whether movement management is also required. The table below summarises the key distinctions.
| Type | Primary function | Waterproof? | Best for |
|---|---|---|---|
| Liquid membrane | Seamless moisture barrier | Yes | Bathrooms, wet rooms, irregular surfaces |
| Sheet membrane | Continuous physical barrier | Yes | Showers, floors, system-based assemblies |
| Uncoupling membrane | Stress relief from substrate movement | Only if rated | Wood substrates, underfloor heating areas |
Sheet membranes are the choice when you need predictable, consistent thickness and a fully bonded system. The critical detail is seam treatment. Tile membranes require at least 2-inch overlaps at seams to maintain coverage. Skimping on this is one of the most common causes of membrane failure.
Liquid membranes offer the most flexibility for complex geometry. They are straightforward to apply but demand careful attention to wet film thickness and drying times between coats. Under-application is a frequent mistake, particularly at corners and vertical transitions where brush pressure reduces coating thickness.
Uncoupling membranes occupy a separate category. Their egg-crate or studded polypropylene mat structure physically isolates tile from the substrate, allowing independent movement. This is valuable over wood subfloors and concrete with high crack potential. Some advanced products, such as those meeting EN 13984 class W1 water penetration resistance, combine uncoupling with genuine waterproofing capability. These represent the best of both worlds but carry a higher cost and require verification of the specific product rating before specifying them.
A few additional points worth knowing:
- Liquid membranes need fabric reinforcement at all internal corners, wall-to-floor transitions, and around drain flanges.
- Sheet membranes should never be used as a substitute for uncoupling where significant substrate movement is expected, unless the product is rated for both functions.
- Vapour retarders used beneath concrete slabs serve a different moisture control role to wet-area tile membranes. They manage ground vapour transmission at the slab level, not surface water from tile use.
Installation best practices
Good product selection accounts for roughly half the outcome. The other half is workmanship. Most sheet membrane failures arise from poor bonding, incomplete embedding, and seam gaps rather than defects in the membrane material itself. That is a significant finding because it means the membrane you buy is rarely the problem. How it is installed usually is.
Follow this sequence for a reliable result:
- Prepare the substrate. Remove all dust, oil, loose material, and protrusions. Concrete substrates should be primed. Wood subfloors need to be rigid, as any flex will eventually compromise the membrane bond.
- Install pre-formed accessories first. At drains, use a matching drain flange kit. Pre-formed inside and outside corners improve waterproof reliability far more than hand-cut patches. Install these before the field membrane.
- Apply the membrane in sequence. For liquid membranes, apply the first coat, embed reinforcement fabric at all transitions and corners while the coat is wet, then allow full cure before the second coat. For sheet membranes, bond with the specified adhesive and maintain the required overlap at all seams.
- Seal seams and penetrations. Use the manufacturer’s specified sealant and tape. System-based membranes use specific adhesive and tape to maintain continuity. Do not substitute with generic silicone at seams.
- Test before tiling. Flood-test shower floors by blocking the drain and filling to 25mm depth for 24 hours. Check for any drop in water level before proceeding.
- Allow full cure. Do not apply tile adhesive until the membrane has fully cured. Respecting cure time prevents bond failure between membrane and adhesive.
Pro Tip: Always check adhesive compatibility with your membrane before purchase. Some liquid membranes require specific thinsets to bond correctly. Using an incompatible adhesive can delaminate the tile assembly even when the membrane itself is intact.
Common pitfalls to avoid include: applying liquid membrane too thinly at corners, failing to prime absorbent substrates before bonding sheet membranes, neglecting to detail the membrane at wall-to-floor junctions, and skipping the flood test because the tiling schedule is tight.
Membranes across different floor types
Not every floor is the same, and the membrane solution needs to match the construction beneath it.
- Concrete slab-on-grade floors need a distinction drawn between underslab vapour retarders and wet-area membranes. High-performance underslab vapour barriers like PERMINATOR 15-mil control ground moisture vapour rising through the slab. A separate wet-area membrane still handles surface water from tile use above.
- Timber subfloors present the greatest waterproofing challenge. Wood moves seasonally, so the membrane must be flexible and bonded to a rigid substrate. A decoupling board screwed to the joists, followed by a liquid or sheet membrane rated for movement, is the standard approach. Refer to a liquid membrane guide for concrete and timber substrate details.
- Underfloor heating systems create thermal cycling that expands and contracts the tile assembly repeatedly. Uncoupling membranes with genuine waterproofing ratings are particularly valuable here. The air-cavity structure of uncoupling mats also improves thermal efficiency, allowing the heating system to perform more effectively.
- Outdoor and balcony tiles face UV exposure, freeze-thaw cycles (in colder climates), and pooling water. Membranes here must carry a specific external rating and be detailed with movement joints at regular intervals to accommodate thermal expansion.
- Wet rooms require full floor and wall tanking, not just the shower area. The entire floor acts as the shower, so the membrane must cover every square centimetre of floor and extend up all walls to a minimum height. Controlling moisture beneath tiles in wet rooms is covered in detail in lifespan-extending techniques for South African conditions.
For heritage or older properties where substrates may be uneven or of uncertain composition, moisture management guidance covering membrane selection and substrate assessment is worth reviewing before specifying a system.
My honest take on membrane selection
I have reviewed enough failed tile installations to say this clearly: the membrane type you choose matters far less than people think. What actually determines whether a floor stays dry for twenty years is the quality of the workmanship during installation and whether the right product was specified for the specific context.
The most common expensive mistake I see is using an uncoupling membrane and assuming it provides waterproofing. It usually does not. People conflate the two functions because some products do both, and marketing language does not always make the distinction obvious. The waterproofing and uncoupling layers should be treated as separate decisions, even if one product ultimately serves both roles.
The second mistake is rushing. Flood-testing adds a day to the schedule. Proper cure times add another two or three. On a busy project, these feel inconvenient. But every failed tile floor I have seen that had to be ripped up and redone cost far more in time and money than those testing days would have.
My genuine advice: spend more time on substrate preparation and seam detailing than on debating liquid versus sheet. For genuinely complex cases, including outdoor balconies, large-format tile installations on timber, and wet rooms in heritage buildings, get a professional involved before you start. The waterproofing application process is not complicated, but the details matter enormously.
— Eben
Let Prowaterproofing protect your tiled floors
Getting the membrane selection and installation right the first time is what Prowaterproofing does every day. Whether you are a homeowner tiling a new bathroom or a developer specifying wet-area finishes across multiple units, the team at Prowaterproofing brings the expertise to recommend the correct system, prepare substrates properly, and install with the workmanship quality that makes the difference between a floor that lasts and one that fails. From liquid-applied wet-area tanking to sheet membrane assemblies with full drain and corner detailing, Prowaterproofing covers the full range of tile waterproofing solutions across South Africa. Contact them for a consultation or quote, and get the peace of mind that your tiled surfaces are genuinely protected from moisture damage.
FAQ
What is an under tile waterproofing membrane?
It is a continuous barrier, either liquid-applied or sheet-based, installed between the substrate and tile adhesive to prevent moisture from penetrating the tile assembly and causing structural or mould-related damage.
Are uncoupling membranes the same as waterproofing membranes?
No. Uncoupling membranes primarily manage stress from substrate movement to prevent tile cracking. They only provide waterproofing if the specific product carries a rated waterproofing classification.
How do I know if my membrane has been installed correctly?
After installation and before tiling, a flood test is the standard check. Block the drain, fill to 25mm, and leave for 24 hours. Any drop in water level indicates a membrane failure that must be addressed first.
Which membrane type is best for a bathroom floor?
Liquid-applied membranes work well for most bathroom floors because of their seamless coverage and flexibility at corners. Sheet membranes are preferred in shower bases where consistent thickness and system-based seam sealing are priorities.
Can I install a waterproof tile membrane myself?
Liquid membranes are within reach for confident DIY installers on straightforward substrates. However, critical details including drain integration, corner reinforcement, and cure time management are often mishandled without professional experience, particularly in wet rooms and outdoor applications.