
TL;DR:
- Proper water proofing for sump systems involves sealing lids, using gravel backfill, and installing backup pumps to prevent water and gas infiltration. Neglecting these components can lead to basement flooding, structural damage, and health hazards from radon and sewer gases. Ensuring correct installation, routine maintenance, and redundancy significantly enhances long-term sump system reliability.
Proper water proofing for sump systems is one of those topics that looks straightforward until something goes wrong. Many property owners install a sump pump, assume the job is done, and then discover water pooling on the floor, damp walls, or worse, a flooded basement after the first heavy storm. The reality is that sump waterproofing involves far more than dropping a pump into a pit. From liner installation to sealed lids and backup systems, every component plays a role. This guide walks you through what actually works, what commonly fails, and how to protect your property for the long term.
Table of Contents
- Key takeaways
- Fundamentals of sump water proofing
- Installation steps and best practices
- Choosing the right products and backup systems
- Maintaining sump systems and fixing problems
- Advanced protective measures and innovations
- What I have seen go wrong, and why it matters
- Get professional sump waterproofing from Prowaterproofing
- FAQ
Key takeaways
| Point | Details |
|---|---|
| Seal lids and penetrations | Unsealed sump pits allow radon and sewer gases into your basement, creating a health hazard. |
| Use gravel backfill, not soil | Washed gravel around the liner improves water collection efficiency dramatically compared to clay or native soil. |
| Rim placement is critical | The pit rim must sit flush with or no more than 1/8 inch below the floor slab to prevent water pooling. |
| Backup pumps are non-negotiable | Battery and water-powered backup units protect your basement during power outages and peak flood events. |
| Routine maintenance matters | Scheduled inspections and cleaning extend pump life and keep your waterproofing system reliable year-round. |
Fundamentals of sump water proofing
A sump system is only as good as the waterproofing around it. The pump itself is just one component. What keeps a basement truly dry is a correctly installed pit, a sealed enclosure, and a drainage path that channels groundwater efficiently into the sump before it can seep through walls or floor joints.
The core function of sump waterproofing is to intercept water before it becomes a problem. When groundwater rises, it needs somewhere to go. A properly waterproofed sump pit collects that water and the pump discharges it away from the property. Without adequate sealing and correct pit installation, water finds other routes, typically through cracks in the slab or along wall junctions.
Here is what a complete sump system typically includes:
- Sump pit liner with perforations to allow groundwater entry
- Gravel chimney backfill surrounding the liner for drainage efficiency
- Submersible or pedestal pump to discharge collected water
- Sealed, gasketed lid to prevent gas and humidity infiltration
- Discharge pipe routed away from the foundation
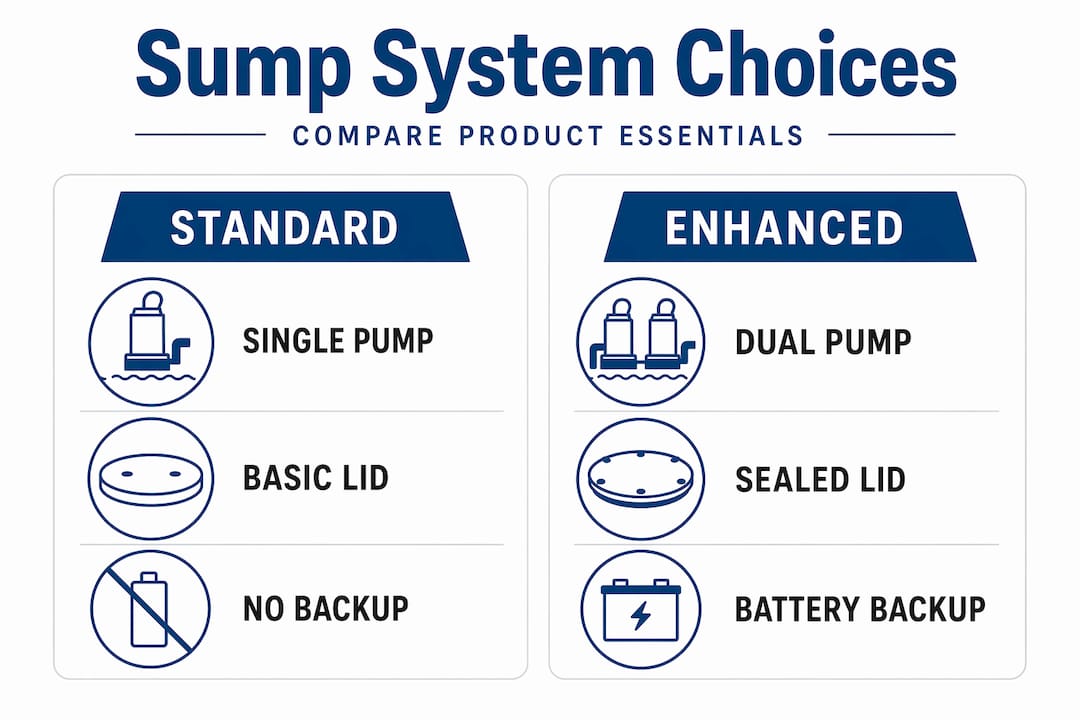
- Backup pump unit for uninterrupted protection
One risk that many property owners underestimate is gas infiltration. Unsealed sump pits are a major pathway for radon, sewer gases, and elevated humidity into basement air. This is not just a comfort issue. Prolonged radon exposure carries serious health implications, and the fix is as simple as a gasketed lid with sealed pipe penetrations.
Pro Tip: If your basement has a musty smell that worsens near the sump pit area, an unsealed lid is often the first thing to check. Fit a gasketed lid with foam tape around the rim and seal all pipe entries with silicone.
Neglecting sump water proofing also accelerates structural deterioration. Persistent damp conditions weaken concrete, corrode steel reinforcement, and invite mould growth. Addressing the waterproofing side of your sump system is genuinely less expensive than repairing the damage that follows if you ignore it.
Installation steps and best practices
Getting the installation right from the start saves considerable expense and frustration later. Whether you are working with a contractor or overseeing a DIY project, these steps represent current best practice for effective sump waterproofing.
- Excavate the pit to the correct depth. The hole should accommodate the liner with enough clearance for gravel backfill on all sides. Rushing this step and cutting corners on pit size is one of the most common installation errors.
- Prepare and clean the excavated surface. Remove loose debris, and if the pit area shows existing cracks or damaged concrete, repair these before placing the liner. Clean surfaces help waterproofing membranes and sealants bond properly.
- Place the liner and fill with gravel. Washed gravel backfill around the liner dramatically improves water collection compared to native soil or clay, which can reduce collection efficiency by over 50%. Use clean, washed stone throughout the chimney zone.
- Set the rim at the correct height. The pit rim must be flush or no more than 1/8 inch below the finished floor slab. A rim set even slightly above floor level causes water to pool on the floor rather than entering the pit, undermining the entire system.
- Install the pump and connect discharge pipework. Route the discharge pipe to discharge water well away from the foundation, ideally to a storm drain or designated drainage area.
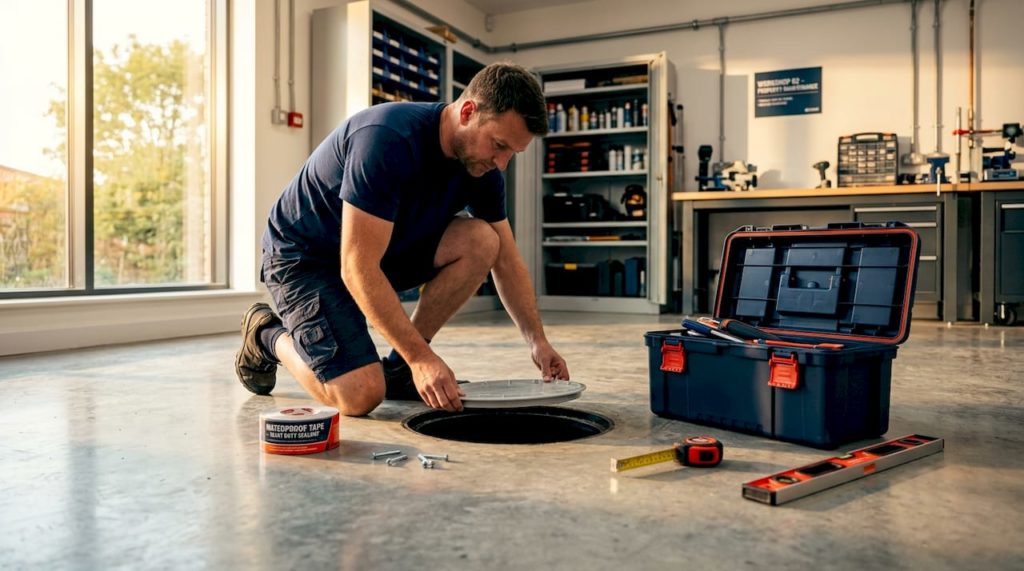
- Seal the lid and all penetrations. Use a gasketed lid and apply silicone sealant around every pipe penetration. This step is non-negotiable for both gas exclusion and humidity control in the basement space.
Here is a quick comparison of backfill materials and their impact on sump performance:
| Backfill material | Drainage efficiency | Risk of blockage | Recommended |
|---|---|---|---|
| Washed gravel | High | Low | Yes |
| Native soil | Low | High | No |
| Clay | Very low | Very high | No |
| Crushed stone | High | Low | Yes |
One installation issue that often surprises property owners in high water table areas is liner flotation. When the excavation fills with groundwater during installation, an empty liner can float and shift before backfill holds it in place. Weighting the liner with bricks during the backfill process prevents this and maintains proper positioning for a sound seal.
Pro Tip: Always test the pump and float switch before sealing the lid permanently. Pour water into the pit manually and confirm the pump activates at the correct level. A small test now prevents a major problem during the first rainfall.
For a broader look at basement waterproofing methods that complement sump installation, Prowaterproofing offers detailed guidance on industry-approved approaches for both residential and commercial properties.
Choosing the right products and backup systems
Product selection makes a significant difference in the long-term effectiveness of your sump waterproofing solutions. The market offers a range of coatings, membranes, and pump configurations, and not all are suited to the same conditions.
For pit waterproofing, the main product categories are:
- Cementitious coatings applied directly to the pit walls to block minor seepage before water reaches the liner
- Bituminous membranes for waterproofing the exterior of the liner or the surrounding excavation walls in high-pressure groundwater situations
- Epoxy sealants suitable for crack injection and sealing joints within concrete pits
- Polyurethane foam sealants for sealing around pipe penetrations through the pit wall or lid
When it comes to the pump itself, redundancy is what separates an adequate system from a reliable one. Battery backup and water-powered sump pumps are strongly recommended for flood-prone properties, particularly where power outages coincide with heavy rain events. A water-powered backup uses municipal water pressure to operate without electricity, making it genuinely independent of the power supply.
The cost argument for a quality system is straightforward. Interior basement waterproofing including sump pump installation averages around $3,000, while exterior solutions often exceed $7,000. Investing in the right products and a redundant pump setup at the outset is significantly less expensive than remediating a flood-damaged basement later. Quality waterproofing investment also maintains property market value, which is a practical consideration for anyone managing rental or commercial property.
For guidance on integrating drainage systems effectively with your sump setup, proper drainage design is what makes the whole system perform under pressure.
Maintaining sump systems and fixing problems
A sump pump that runs reliably for a decade does not happen by accident. Scheduled inspections and cleaning extend pump life and keep your waterproofing intact through high-risk seasons. Most failures are preventable with a simple maintenance routine.
Signs your sump waterproofing or pump system needs attention:
- Pump cycling too frequently without heavy rain, which may indicate a cracked pit, poor backfill, or groundwater breach
- Standing water around the pit rim, pointing to incorrect rim height or a cracked floor slab nearby
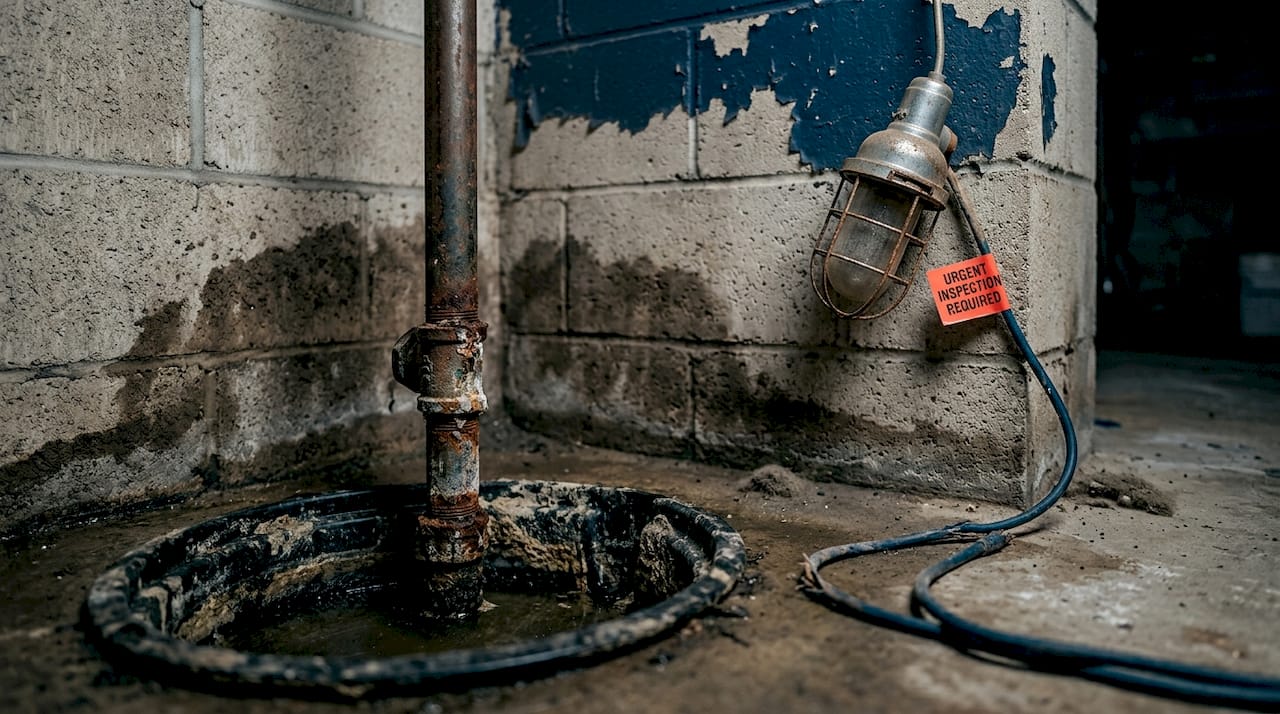
- Musty or sulphurous odour near the pit, indicating gas infiltration through an inadequate lid seal
- Pump not activating when water levels rise, which could mean a stuck float switch or power supply issue
- Visible rust or corrosion on the pump housing, suggesting moisture exposure above normal operational levels
For routine maintenance, a quarterly check covers most situations. Test the pump by pouring water into the pit, inspect the lid seal for gaps or cracking, clear the intake screen of debris, and confirm the discharge pipe is clear and directing water away from the foundation.
Pro Tip: Set a phone reminder every three months to run a manual pump test. It takes under five minutes and will almost certainly reveal minor issues before they become expensive ones.
For internal waterproofing strategies that work alongside your sump system, Prowaterproofing’s guide on waterproofing from the inside covers complementary methods worth reviewing.
When problems exceed routine maintenance, calling a professional is the right call. Repeated pump failures, water ingress through pit walls despite sealing, or visible cracks forming around the pit all warrant expert assessment. Attempting to patch structural waterproofing failures without understanding the underlying cause often delays the problem rather than solving it.
Advanced protective measures and innovations
Modern sump waterproofing goes beyond a basic pump and pit. A number of practical upgrades genuinely improve system performance and basement air quality.
High-level water alarms are one of the most underused additions available. These simple sensors sit inside the pit and alert you by audible alarm or smartphone notification when water reaches a dangerous level. For property managers overseeing multiple sites, remote monitoring systems now integrate with sump alarms to send alerts in real time.
Sealed sump systems do more than manage water. They create a healthier basement environment by excluding humidity, radon, and ground gases. A properly sealed pit paired with a dehumidifier can transform a habitually damp basement into genuinely usable space.
Advanced drainage designs now incorporate perimeter drain channels that intercept water at the wall-floor junction and channel it directly to the sump pit. This approach, sometimes called a French drain interior system, works with waterproofing the basement rather than against it, and significantly reduces hydrostatic pressure on wall membranes.
Innovative liner coatings and crystalline waterproofing products are also seeing wider use inside sump pits. These treatments penetrate the concrete substrate and react with moisture to form crystals that block water pathways over time. Unlike surface coatings that can delaminate, crystalline treatments become part of the concrete itself.
For high water table installations, design considerations also include anti-flotation collars around the liner and weighted concrete bases that resist upward pressure during saturation events. These are not standard inclusions in budget installations, but they are worth specifying in areas with consistently high groundwater levels.
What I have seen go wrong, and why it matters
I have reviewed a considerable number of sump installations that failed before they should have, and the pattern is almost always the same. The property owner focused entirely on the pump and ignored everything around it. The liner was backfilled with the excavated soil, the lid was a loose-fitting cover with no gasket, and the rim sat a centimetre above the floor. When rain came, the system performed at maybe a third of its potential capacity.
The unsealed lid issue bothers me most, honestly. It is a three-minute fix with silicone and a gasketed cover, yet it is routinely skipped. I have seen basement air quality tests from properties with unsealed sump pits that showed radon levels well above safe thresholds. The pump was working perfectly. The problem was everything else.
My strongest advice is on backup systems. Most property owners treat a battery backup pump as a luxury. It is not. Redundant pump systems are becoming standard recommendations precisely because the scenarios that stress a sump system most, heavy rain and extended power outages, arrive together. A water-powered backup does not need electricity and does not need a charged battery. It operates off mains pressure, which rarely fails in the same moment as the power grid.
If you take one thing from this, make it this: the pump is the last line of defence, not the first. Get the liner, the backfill, the rim height, and the sealed lid right. Then add a backup pump. That combination outperforms any single expensive pump without proper installation support.
— Eben
Get professional sump waterproofing from Prowaterproofing
Effective sump waterproofing means getting every component right, from liner placement and gravel backfill to sealed lids and reliable backup systems. If any part of that process is uncertain or your current system is showing signs of strain, professional assessment makes a measurable difference. Prowaterproofing delivers expert sump waterproofing for residential, commercial, and industrial properties across South Africa. With a team that understands local soil conditions, groundwater behaviour, and current product standards, Prowaterproofing installs, inspects, and maintains sump systems built to perform under real-world conditions. Contact Prowaterproofing today for a quote and protect your property before the next storm tests it.
FAQ
What is water proofing for sump and why does it matter?
Water proofing for sump refers to sealing and protecting the sump pit, lid, and surrounding structure to prevent water ingress, gas infiltration, and pump failure. Without it, even a functioning pump cannot keep a basement reliably dry.
How often should I inspect my sump waterproofing system?
A quarterly inspection covering the pump function, lid seal, and discharge pipe is sufficient for most properties. Increase frequency to monthly during high-rainfall seasons or if your property sits in a flood-prone area.
Can an unsealed sump lid really cause health problems?
Yes. Unsealed sump pits allow radon, sewer gases, and elevated humidity to enter basement air, which creates genuine health risks for occupants. A gasketed lid with sealed penetrations is the straightforward fix.
What backfill material works best around a sump liner?
Washed gravel or crushed stone is the correct choice. Gravel backfill dramatically outperforms native soil or clay, which can reduce water collection efficiency by more than half.
Do I need a backup sump pump?
If your property is in a flood-prone area or experiences power outages during storms, a battery or water-powered backup is worth having. Redundant systems protect against the exact conditions that most often lead to basement flooding.