

Flashing is the continuous waterproof strip fixed at roof junctions, penetrations, and abutments to divert water away from vulnerable joints and into the drainage system. Without it, every intersection where a roof meets a wall, chimney, pipe, or parapet becomes a potential entry point for water. The role of flashing in waterproofing comes down to five core functions:
- Diverting water away from joints and towards gutters or outlets
- Sealing penetrations around pipes, vents, and service entries
- Tying in membranes to create a continuous waterproof layer
- Preventing capillary movement where water would otherwise wick upward against gravity
- Protecting junctions from wind-driven rain and thermal movement
The sections below cover local materials, SANS compliance requirements, common failure modes, and the professional workflow Prowaterproofing follows on every installation.
Table of Contents
- What flashing is and which materials work best in South Africa
- How flashing actually protects a building
- The main flashing types and where each one belongs
- Flat roofs and parapets: the details that matter most
- Flashing against masonry and around service penetrations
- Common failure modes and the mistakes that cause them
- Maintenance and inspection: when to repair and when to replace
- Material selection and South African compliance considerations
- How a professional installer approaches flashing: the Prowaterproofing workflow
- Key takeaways
- Why flashing is the detail most installers underestimate
- Prowaterproofing: professional flashing inspection and installation across South Africa
- Useful sources and further reading
What flashing is and which materials work best in South Africa
Flashing is an impervious strip, formed from metal or flexible membrane, fixed and dressed to cover the intersection between a roof surface and any vertical or projecting element. Think of it as the seam between two planes that water would otherwise exploit.
South African practice draws on a range of materials, each with genuine trade-offs:
- Aluminium: Lightweight, corrosion-resistant in most inland environments, easy to form on site. Avoid uncoated aluminium in direct contact with concrete or mortar, which causes galvanic corrosion.
- Galvanised steel: Affordable and widely available. The zinc coating eventually weathers, so repainting with a compatible primer every few years extends service life considerably.
- Zincalume (zinc-aluminium alloy coated steel): Better corrosion resistance than standard galvanised steel; a practical upgrade for coastal or high-humidity sites.
- Copper and zinc-titanium alloys: Long service life and self-healing oxide layer. Higher cost, but appropriate for prestige or heritage projects where longevity justifies the spend.
- Stainless steel: Excellent in aggressive coastal environments; harder to form by hand and more expensive than aluminium.
- Butyl and elastoplastic tapes (e.g., Butyband): Self-adhesive, excellent adhesion to most substrates, and fast to apply at awkward details. A practical complement to formed metal, not a full substitute at exposed junctions.
Pro Tip: Match your material to the exposure zone before ordering. Coastal sites within roughly 1 km of the sea demand stainless steel or Zincalume at a minimum; standard galvanised steel will show red rust within a few years. Inland highveld sites with wide temperature swings need a material that tolerates thermal movement without cracking sealant joints.

How flashing actually protects a building
The primary mechanism is simple: water follows the path of least resistance, and flashing creates a continuous sloped surface that makes the path of least resistance lead away from the building. Four mechanical behaviours drive most flashing failures when the detail is wrong.
- Capillary action draws water upward into narrow gaps between flashing and substrate, especially where laps are too short or sealant has dried out.
- Wind-driven rain forces water horizontally and even upward against gravity, defeating any detail that relies on gravity alone.
- Ponding on flat roofs creates sustained hydrostatic pressure that will find any pinhole or inadequate lap.
- Thermal movement causes metal to expand and contract, eventually working sealant joints loose if the flashing is not correctly fixed and lapped.
Counter-flashing is the detail that ties these mechanisms together. The lower (base) flashing is dressed up the vertical face; the upper (counter) flashing is cut into the masonry or capping and laps over the base flashing, leaving a small drainage gap. Water that gets behind the counter-flashing is caught by the base flashing and redirected outward. Step flashing at raking abutments works on the same principle, with each piece overlapping the one below it like roof tiles, so water is handed down the slope from piece to piece.
Flashing creates a continuous path to shed water to gutters and outlets. Where that continuity is broken — by a short lap, a missing counter-flashing, or a sealant-only repair — water finds the gap. The detail is not decorative; it is structural.
Installer guidance consistently identifies profile selection and lap integrity as the two factors that separate durable installations from repeat-leak jobs.
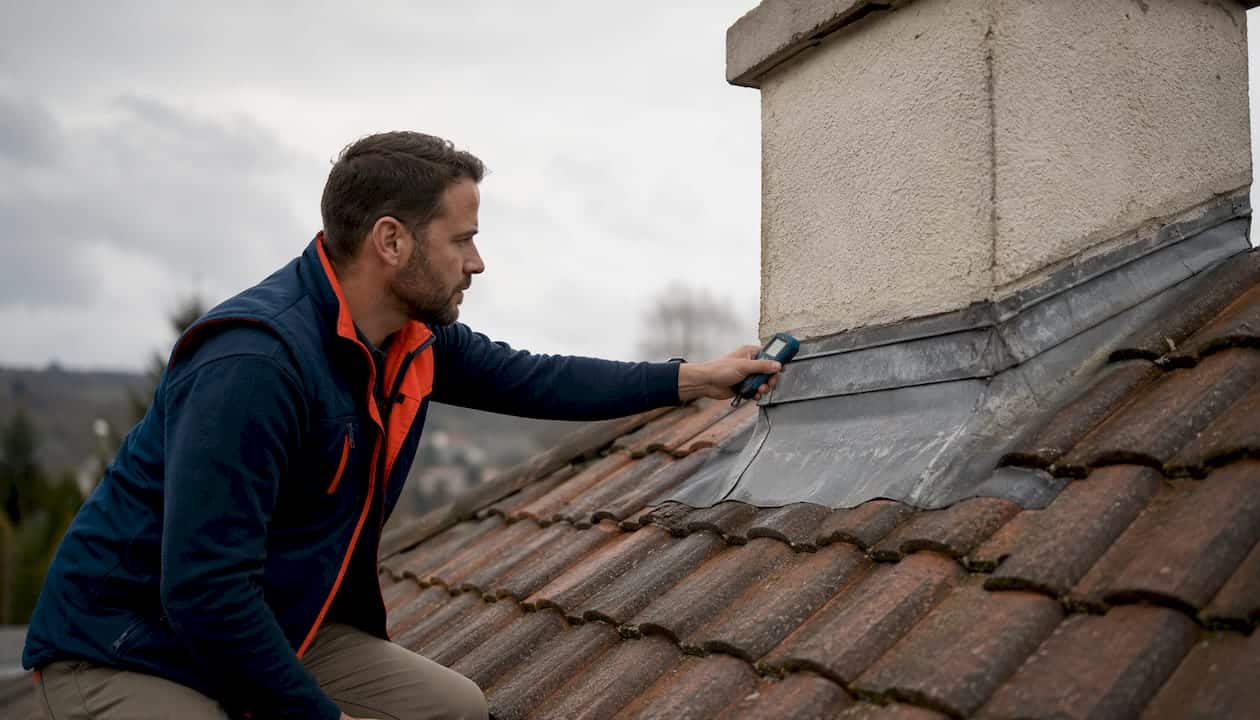
The main flashing types and where each one belongs
Knowing which profile you are looking at helps you spot what is missing and ask the right questions of a contractor.
- Ridge flashing: Caps the apex of a pitched roof, covering the joint between two opposing roof slopes. Often the most visible flashing on a building; missing or lifted ridge flashing is easy to spot from ground level.
- Apron (headwall) flashing: Runs horizontally where a roof slope meets a vertical wall above it. A single piece, turned up against the wall and lapped under the roof covering below.
- Step flashing: Used at raking (sloped) abutments where a roof slope meets a side wall. Each piece is L-shaped, interlaced with the roof covering course by course. Absence of step flashing is one of the most common causes of side-wall leaks.
- Counter-flashing: The upper flashing that laps over a base or step flashing and is fixed into the masonry. Prevents water from tracking behind the base flashing.
- Valley flashing: Runs in the internal angle where two roof slopes meet. Open valleys use a visible metal tray; closed valleys rely on the roof covering alone with a membrane underlay.
- Pipe and vent flashing: Collars dressed around service penetrations. Requires mechanical clamping at the pipe before the counter-flashing is applied.
- Parapet and continuous flashing: Runs along the top of a parapet wall, capping it and turning down both faces. On flat roofs, this detail is critical to prevent water pooling against the inner face of the parapet.
Practical cue for property managers: Walk the perimeter of the roof at gutter level and look for any junction where two planes meet without a visible metal or membrane strip. That gap is where the next leak will start.
Flat roofs and parapets: the details that matter most
Flat roofs concentrate risk because water sits rather than runs. The flashing details here are more demanding than on pitched roofs, and the consequences of getting them wrong are faster and more expensive.
- Upstand height: Membrane turn-ups against parapets and walls should be a minimum of 150 mm above the finished roof surface to keep water away from the top edge of the membrane.
- Counter-flashing at upstands: The membrane turn-up must be counter-flashed and, where not linked to a damp-proof course, cut into the masonry to a minimum depth of 40 mm per SANS 10400-L.
- Outlet treatment: Membrane must be dressed into and clamped at every outlet. A loose membrane around a drain outlet is the single most common source of flat-roof leaks.
- Sand-cement coves or timber fillets: Internal corners between the roof deck and upstand walls need a 45° fillet or radiused cove to prevent the membrane bridging and cracking at a sharp angle.
- Parapet capping: The top of the parapet must be capped with a metal flashing that sheds water to both sides; a flat capping that allows ponding on the parapet top will eventually leak through the masonry.
Pro Tip: On flat roofs exposed to the Western Cape’s south-easter or KwaZulu-Natal’s summer storms, increase your upstand height to 200 mm and use mechanically fixed counter-flashing rather than sealant-retained strips. Wind uplift on exposed parapets is far higher than most standard details assume.
Check that:
- All outlets are clear and the membrane is clamped, not just dressed over the drain body
- Upstand flashings show no signs of delamination or lifting at the top edge
- Parapet cappings have no open joints or lifted sections
Flashing against masonry and around service penetrations
Masonry abutments and service penetrations are where most South African roofs eventually leak, because they combine two problems: movement between dissimilar materials and the need to cut into an existing structure.
- Counter-flashing into masonry: Where a membrane or base flashing turns up against a brick or block wall, the counter-flashing must be cut into a raked mortar joint or a chase to at least 40 mm depth, then sealed with a compatible pointing mortar or sealant. Sealant alone, applied over the face of the masonry, fails within a few seasons.
- Cavity tray interaction: In cavity-wall construction, a cavity tray must be installed above any opening or abutment to intercept water travelling down the inner face of the outer leaf. The cavity tray and the external flashing must overlap and be continuous.
- Pipe and flue penetrations: Dress the membrane up and around the pipe, then mechanically clamp the membrane to the pipe with a hose clamp or purpose-made collar before applying the counter-flashing over the clamp. Relying on sealant alone at a pipe penetration is a maintenance liability.
| Detail | Correct approach | Common mistake |
|---|---|---|
| Masonry turn-up | Cut into wall ≥40 mm, sealed mortar joint | Sealant bead on face of wall only |
| Pipe penetration | Membrane clamped, then counter-flashed | Sealant fillet around pipe base |
| Cavity tray | Continuous, lapped with external flashing | Omitted or not lapped |
| Window head | Apron flashing under sill, turned up at jambs | Sealant bead at frame perimeter |
Masonry flashings are precision-formed to create a watertight seal where low-slope roofs meet masonry walls; factory-formed profiles reduce on-site error significantly.
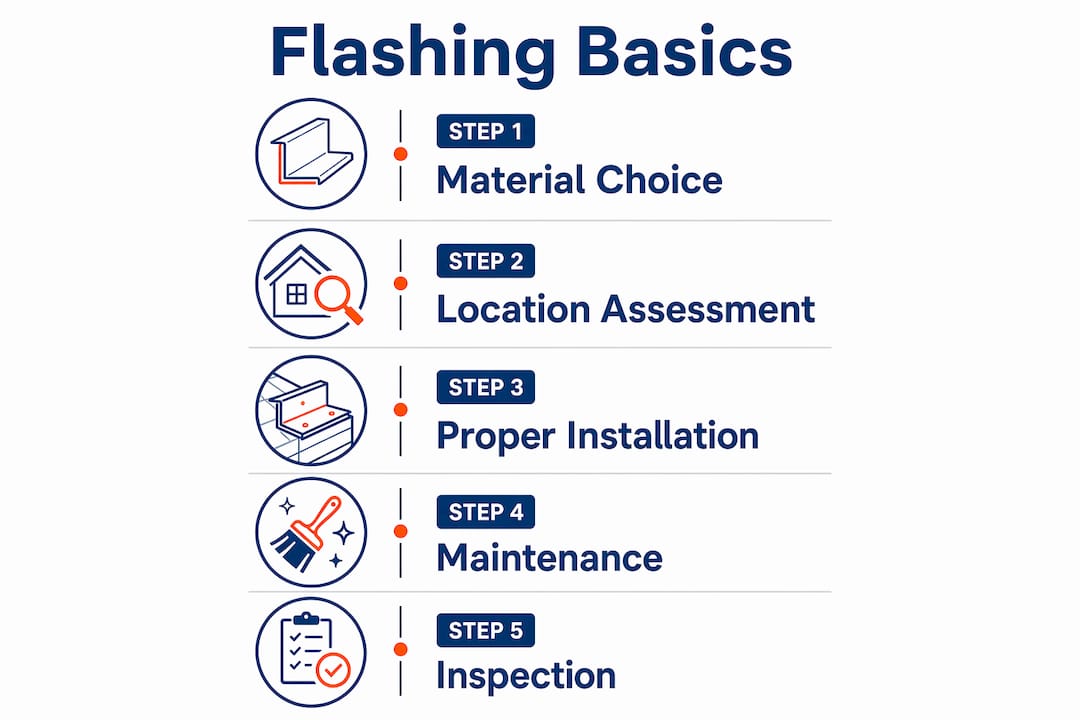
Common failure modes and the mistakes that cause them
Poor flashing workmanship is one of the most frequent causes of leaks and long-term structural damage in South African buildings, partly because flashing is often treated as a finishing trade rather than a waterproofing trade.
Typical failures to look for:
- Short laps: Laps less than 75 mm allow capillary action to draw water upward into the joint.
- Missing counter-flashing: Base flashing dressed up a wall with no counter-flashing above it will eventually lift in wind or allow water behind it.
- Sealant-only repairs: Applying a bead of silicone over a failed flashing joint is a temporary fix that typically lasts one to two seasons before cracking.
- Incorrect profile: Using a flat strip where a stepped or raking profile is needed leaves gaps at the roof covering.
- Corrosion: Galvanised steel in coastal zones corrodes through within a few years, creating pinhole leaks that are hard to trace.
- Insufficient upstand: A turn-up of less than 150 mm on a flat roof is routinely overtopped during heavy rain.
- Poor substrate preparation: Flashing fixed to a dusty, damp, or painted surface will delaminate within months.
Sealant is not flashing. A sealant bead over a gap is a repair that buys time; it is not a substitute for a correctly formed and fixed metal or membrane detail. Every sealant-only repair you see on a roof is a leak waiting to happen.
- Photograph every flashing joint from close range before commissioning repairs.
- Note the profile type, material, and any visible corrosion or lifting.
- Record the lap dimensions where accessible.
- Ask the contractor to explain the root cause, not just the symptom.
Pro Tip: If a contractor’s quote mentions “re-sealing” without specifying new flashing material or counter-flashing, ask them to explain what they are actually replacing. Re-sealing a failed joint without addressing the underlying profile or lap is a short-term patch.
Maintenance and inspection: when to repair and when to replace
Most flashing failures are gradual. A structured inspection routine catches problems before they become structural damage.
Suggested inspection cadence:
- Visual inspection from ground level: every six months
- Close-up roof inspection (by a competent person): annually, ideally before the summer rain season
- Full condition assessment: every five years, or after any severe weather event
Maintenance tasks:
- Clear debris from valleys and gutters that could cause ponding against flashing
- Check sealant joints at counter-flashings for cracking or separation
- Inspect fasteners for corrosion or backing-out
- Repaint or re-coat galvanised steel flashings showing surface rust before the zinc layer is fully consumed
Repair vs replacement:
- Minor repair: Isolated sealant failure at a sound, correctly profiled flashing less than ten years old. Re-seal with a compatible sealant after cleaning and priming the joint.
- Partial replacement: Corrosion through the metal, lifted sections, or repeated leaks at the same location. Replace the affected run with new material of the same or better specification.
- Full replacement: Flashing over fifteen years old showing widespread corrosion, multiple lifted sections, or delamination from the substrate. Patching at this stage costs more over time than a full re-flash.
When calling a professional, bring photographs, a description of where water appears inside the building, and the approximate age of the existing flashing. That information cuts diagnostic time significantly.
Material selection and South African compliance considerations
Choosing the right flashing material for a South African property means accounting for corrosion zone, roof type, and the requirements of SANS 10021, which classifies acceptable metals and profiles for building waterproofing.
| Material | Durability | Coastal suitability | Formability | Notes |
|---|---|---|---|---|
| Aluminium | Moderate durability | Moderate (avoid contact with mortar) | High | Lightweight; galvanic risk with steel fasteners |
| Galvanised steel | Limited durability | Low | High | Requires repainting; avoid coastal zones |
| Zincalume | Moderate durability | Good | High | Better corrosion resistance than standard galvanised steel |
| Stainless steel | High durability | Excellent | Moderate | Suitable for coastal environments; higher material cost |
| Copper | Very high durability | Excellent | High | Premium option; avoid contact with aluminium |
| Butyl tape | Limited durability | Good | Excellent | Used as a complement to metal; not recommended for primary exposed junctions |
Key compliance and compatibility notes:
- SANS 10400-L requires waterproofing systems to be installed by a competent person and to remain watertight for at least five years without maintenance beyond cleaning.
- Dissimilar metals in contact cause galvanic corrosion; always use compatible fasteners (stainless steel screws with stainless flashing, aluminium rivets with aluminium flashing).
- Protective coatings on galvanised steel must be compatible with the coating system; zinc-based primers are the standard starting point.
- Flexible butyl tapes are a practical solution for awkward details and fast repairs, but they complement rather than replace formed metal at primary exposed junctions.
For a broader view of how flashing integrates with different roof waterproofing systems in South Africa, the choice of membrane and flashing material must be made together, not independently.
How a professional installer approaches flashing: the Prowaterproofing workflow
Profile selection and installer workflow are the two factors that determine whether a flashing installation lasts five years or thirty. Here is the sequence a competent installer follows.
- Site assessment: Identify all junctions, penetrations, and abutments. Note the roof type, slope, exposure zone, and existing waterproofing system.
- Substrate preparation: Clean and dry all surfaces. Remove old sealant, loose mortar, and surface contamination. Apply primer where specified by the membrane or tape manufacturer.
- Profile selection: Choose the correct profile for each junction — ridge, apron, step, valley, parapet cap — based on the roof geometry and exposure.
- Cutting and forming: Form metal flashings on site or use factory-formed profiles. Ensure all cut edges are deburred and, where exposed, treated with a compatible edge sealant.
- Fixing: Fix base flashings mechanically (screws or clips at correct centres) before applying any sealant. Never rely on sealant as the primary fixing method.
- Laps and seals: Minimum 75 mm laps at all joints, sealed with a compatible sealant or butyl tape on the underside of the lap before pressing together.
- Counter-flashing: Cut chase or rake joint in masonry to minimum 40 mm depth. Fix counter-flashing mechanically, then point up with mortar or sealant.
- Penetration treatment: Dress membrane around pipe, clamp mechanically, then counter-flash over the clamp.
- Testing: Hose test all flashings before sign-off, starting at the lowest point and working upward.
- Handover: Provide the property owner with photographs of all completed details, material specifications, and the installer’s warranty documentation.
What to verify on completion:
- Photographs of every flashing run, including lap dimensions
- Written material specification (product name, grade, thickness)
- Confirmation that counter-flashings are mechanically fixed, not sealant-retained
- Warranty period and what it covers
Pro Tip: Ask for a hose test before the contractor leaves site. A ten-minute test with a garden hose, starting at the lowest flashing and working up, will reveal any open lap or missed penetration before the scaffolding comes down.
Prowaterproofing’s industry-standard approach follows this sequence on every project, with photographic records provided at handover.
Key takeaways
Flashing is the single most important detail in any waterproofing system: correctly installed, it prevents water ingress at every junction; incorrectly installed or omitted, it is the first place a roof fails.
| Point | Details |
|---|---|
| Flashing’s core role | Diverts water at junctions, seals penetrations, and maintains membrane continuity across the whole roof. |
| SANS 10400-L compliance | Counter-flashings must be cut into masonry to at least 40 mm; systems must remain watertight for at least five years. |
| Material choice matters | Match material to exposure zone: Zincalume or stainless steel for coastal sites; galvanised steel requires regular repainting inland. |
| Most common failure cause | Short laps, missing counter-flashing, and sealant-only repairs account for the majority of repeat leaks. |
| Prowaterproofing | Provides professional flashing inspection, installation, and repair across South Africa, with photographic handover records. |
Why flashing is the detail most installers underestimate
There is a tendency on South African building sites to treat flashing as a finishing job — something the roofing crew sorts out on the last day before the scaffolding comes down. That attitude is exactly why so many roofs leak within two or three years of installation.
What I see repeatedly is that the membrane work is done carefully, the waterproofing specification is followed, and then the flashing is fitted quickly with whatever profile is on the truck and a bead of silicone to fill the gaps. The membrane is only as good as the detail that ties it to the wall, the parapet, or the pipe. Break that continuity and you have built a funnel, not a waterproof roof.
Two things make the biggest difference in practice. First, sequencing: flashing must be installed as part of the waterproofing process, not after it. The membrane and the flashing are one system. Second, visual records: photograph every lap, every counter-flashing chase, and every penetration before the next trade covers them. When a leak appears two years later, those photographs are the difference between a warranty repair and a dispute.
The buildings that hold up are the ones where the installer treated flashing as the critical junction it is, not as an afterthought.
Prowaterproofing: professional flashing inspection and installation across South Africa
Leaking junctions and failed counter-flashings are fixable, but only when the repair addresses the root cause rather than masking it with sealant. Prowaterproofing offers roof flashing inspection, full installation, and targeted repair services for residential, commercial, and industrial properties across South Africa, with every job documented and handed over with photographic records and written material specifications.

Whether you need a pre-rain-season inspection, a full re-flash of an ageing parapet detail, or advice on which material suits your coastal or highveld site, the team at Prowaterproofing can assess the condition of your existing flashings and recommend the correct fix. Contact Prowaterproofing for a no-obligation quote, or request the installer checklist to use when evaluating any waterproofing contractor.
Useful sources and further reading
The resources below are worth consulting when specifying flashing materials, checking compliance requirements, or evaluating contractor proposals.
- SANS 10400 Part L: Roofs — The primary South African standard governing roof waterproofing, including upstand heights, counter-flashing depths, and competency requirements for installers.
- SANS 10021: The waterproofing of buildings — Classifies flashing materials and acceptable profiles; the reference standard for specifying ductile, corrosion-resistant metals.
- SANS10400.co.za — Waterproofing roofs — Plain-language guidance on SANS requirements for membrane clamping at penetrations and counter-flashing details.
- SA Builder Magazine — Professional flashing — Installer commentary on why flashing workmanship determines long-term roof performance.
- Soudal South Africa — Sealing and repairing roof flashing — Product guidance on butyl tape applications and compatible substrates for repair work.
- Prowaterproofing — Waterproofing standards guide — Owner-focused overview of South African waterproofing standards and what to expect from a compliant installation.
- Prowaterproofing — Comparing waterproofing methods — Compares membrane systems and shows where flashing details differ by system type.
- TT Waterproofing — South African waterproofing contractor resource with practical application examples.
- Sealtek Cape — Western Cape waterproofing specialist; useful reference for coastal-specific product and application guidance.